Friday, July 6, 2012

Union Jack Miniature Rag Rug

Do you know what happens when you watch Doctor Who while making an American flag rag rug? You begin to look around and think, hmm, look at all this extra red, white, and blue I have laying around. The American flag turned out pretty well. Ooh! A Union Jack! That would be more of a challenge. Let's do it! 

Now sometimes I will show you a craft or a technique that I've made several times and I'm quite comfortable with. Other times, I have no clue what I'm doing and I'll figure it out as I go along. This was one of the latter. I've made rag rugs, and the American rag rug turned out tolerable, I suppose. But the Union Jack turned out to be a fun little challenge. Here goes!


What You'll Need:

(I actually took some measurements this time, so you'll have a better idea of how much you will need.)

  • Red Fabric Rope (about 70 inches)
  • White Fabric Rope (about 98 inches)
  • Blue Fabric Rope (about 98 inches)
  • Red, White, and Blue Thread to match

 1. Make Your Fabric Ropes.

A. Starting Out
For instructions on fabric ropes, check out my Rag Rug Basics post. I've been playing around with a different way to start the braid, so I'll share that with you now.

1a. Alternate Start Method.

 A. Cut fabric into 1" (ish) strips. Cut a small slit into each end of each strip. Lay out your first three strips as shown at right.

B. Stacking


B. Stack two of the strips, making sure to align the slits.


C. Thread the third strip through the other two.


D. Thread one end of the third strip through the slit on the other end. 

E. Continue to pull the end through until the loop is closed. 

F. Begin braiding like normal.
 G. See how nice it looks? Easier done than said, right?


1b. Alternate End Method.

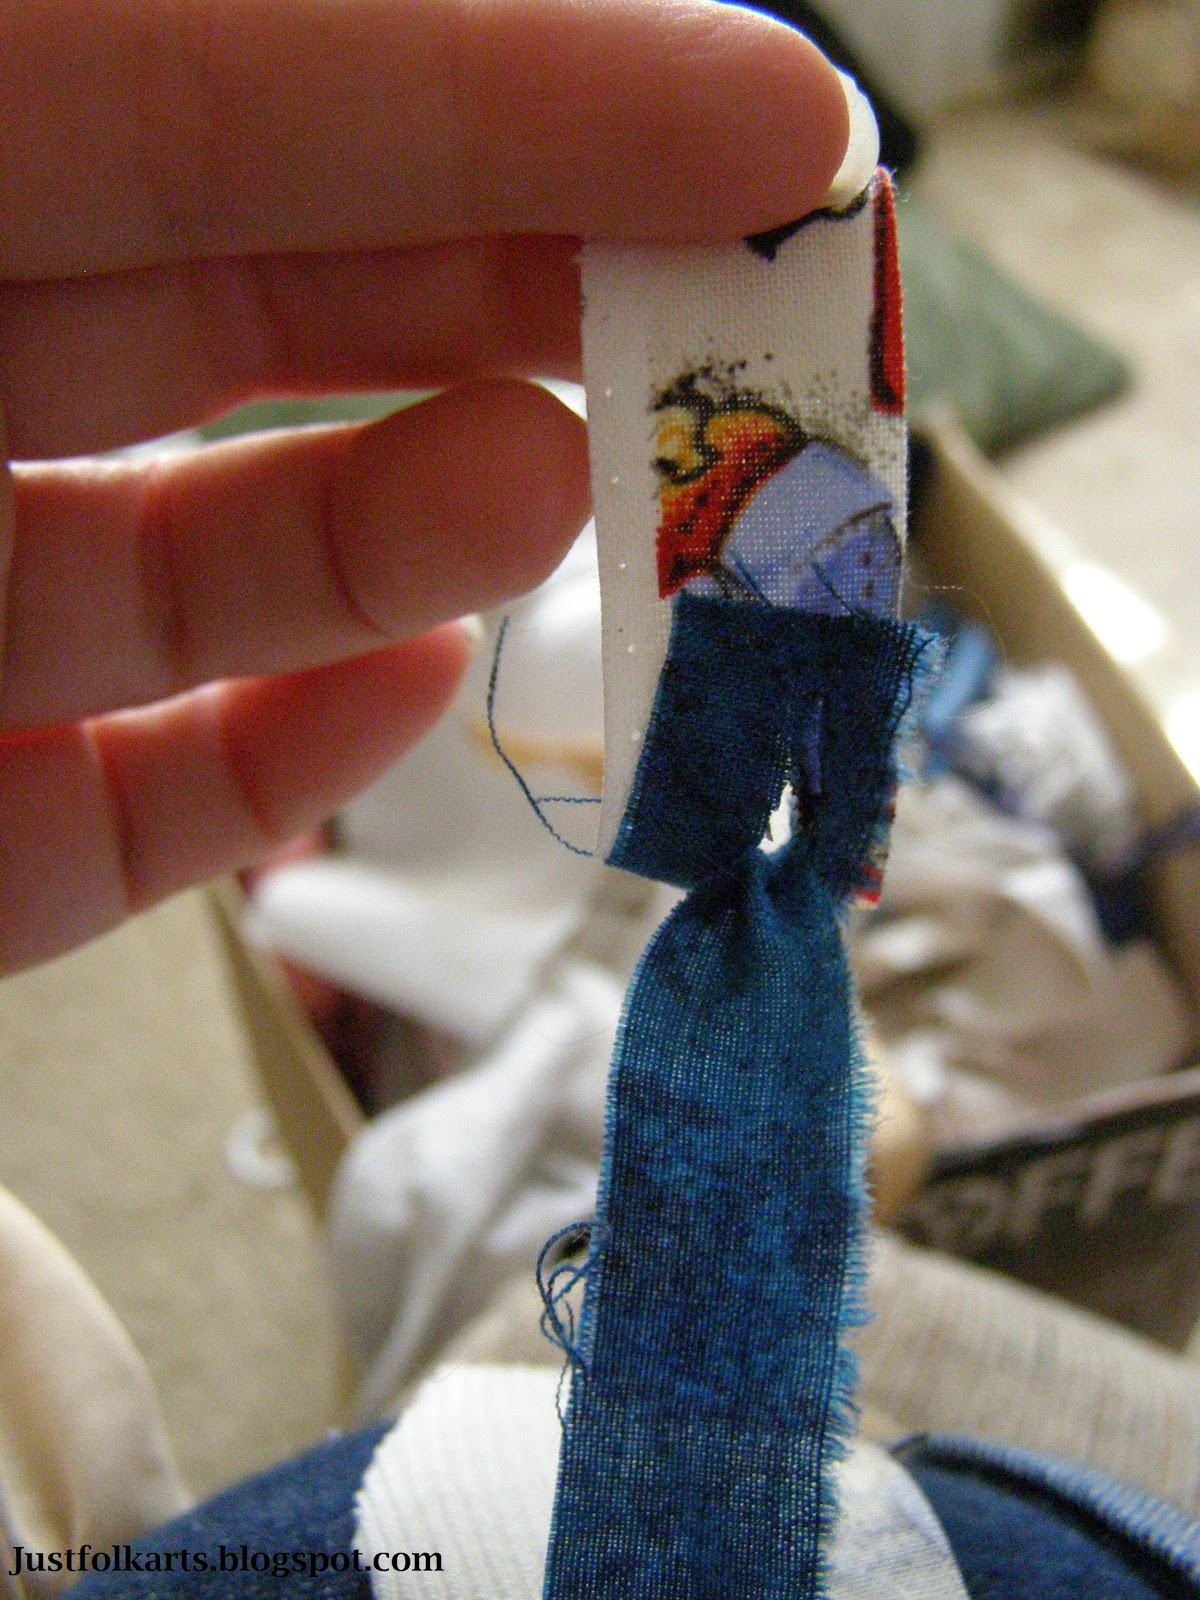
Cutting slits in ahead of time also makes it really easy to tie off an end, either when you're completely finished or just need to take a break.
 At left is a picture of the end of the braid.
 Simply pass the left piece (helps if it's the longest) over the center one and thread it through the slit on the right piece.
 And pull tight! This can be easily undone to add more if necessary.


2. Cut the pieces. 

In my American Flag Rag Rug post, I discussed how to use thread to tie off the ends of the strips we're using. I did make the fringe that extends past the thread longer on this one and it helped.

From the red rope I cut:
  • 1x 24" length
  • 2x 9"
  • 4x 7"
From the white rope I cut:
  • 4x 10 1/4"
  • 8x 7"
I cut the blue as I added it to the rag rug. Since it was the last color added, the pieces varied in size.

3. Make St. George's Cross.

We'll be starting in the middle with St. George's Cross (the vertical and horizontal red one). First, fold the 24" piece in half and using a catch stitch or a whip stitch, secure the halves together. The whip stitch is easier, but will show more of your thread on the reverse. Fold each of the 9" pieces of red in half and stitch together as well. Be sure to keep your work flat as you go.
Preparing to attach the shorter pieces.

Using a whip stitch, attach one end of each of the shorter pieces to the middle of the longer piece. 
Laying out the white pieces.
Lay out (and pin, if you wish) the 4- 10 1/4" white pieces so that they are parallel with the ends of the red pieces and form a sharp 90-degree corner at the intersection of the red pieces. Sew them in place.
Sewing in the white around St. George's Cross.

 4. Make St. Patrick's Saltire.

Now we'll be working on the diagonal red and white pieces. Lay out the remaining red pieces as shown below.
Starting on St. Patrick
 Then lay out the remaining white pieces so that each diagonal red piece has a white one running parallel to it on either side. It may help with the corners to trim the ends of the white pieces diagonally, as shown below.

Trim the ends.
 Secure the parallel white and red pieces to each other.
About to sew St. Patrick to St. George

Then sew the ends to the corners of the white pieces on St. George's cross. Extra points for authenticity if you can make the correct thicknesses and corner alignments. Since I knew this Union Jack was going to be claimed by a certain 5-year-old, I didn't stress too much about it. 
Securing the Diagonals

 5. Make St. Andrew's Cross.

Now we'll be adding in the blue, one strip at a time. First, attach a strip of blue parallel to each of the diagonal white strips.
Adding the Blue
 Then add a shorter strip parallel to each of the vertical white strips.

And add a blue strip parallel to each of the horizontal white strips. 
 Due to variations in thickness, just the strips I mentioned filled up one blue "pie slice" of my Union Jack.
 Where necessary, add another blue strip folded like a V. You may need to be creative with the stitching and cornering. This is where using T-shirt material comes in handy. It stretches, doesn't fray, and is quite forgiving with the bends.

6. Trim the Edges.

If your rug turned out a little crooked, or if it won't lay flat, don't trim the edges yet.  Soak it in water, then lay it flat, using weights if necessary to flatten it out. Once it's dry, continue with trimming.

Use a ruler and a pencil to mark the edges you wish to cut.

Use heavy duty scissors to cut off the ends. Then sew the edges using an overcast stitch. This part might be a little tricky as the braids will try to come apart as soon as you trim the edges. 
 Then trim off any pieces which are sticking up or unsightly. Be careful not to cut through your stitches.
 Trim away any errant thread ends.

 And you're done!


 I used some different colors with the Union Jack and made it a little larger than Old Glory to get all the detail in that I wanted.


Sunday, July 1, 2012

American Flag Miniature Rag Rug

Inspired by July 4th coming up in a few days, I decided to make a little tribute of my own: this adorable little flag made in the style of a rag rug.

What You'll Need:

  • red, white, and blue fabric strips
  • buttons
  • red, white, and blue thread
White, Blue, and Red Fabric Ropes

Making the Flag:

1. Make Fabric Ropes.

Yesterday I posted a tutorial on making fabric ropes (Rapunzel hair) here. For this project, you will need to have like colors. Use only the white strips for a white rope, blue strips for the blue rope, red strips for the red rope. Since this one is so small, I recommend sticking to the same shade of each color as much as possible. For example, don't mix sky blue and navy blue on this one.

2. Check the Layout. 

Decide on the approximate size you want your rug to be. Mine is 8 3/4" wide and 6 1/4" long. I did add a little more red to the end of this rope. As you can see at the bottom of the picture, I didn't quite have enough.

3. Cut the stripes.

Normally, I have a diagram and make excessive measurements. This time I didn't (and yes, I paid the price, I had to trim down my blue section and even then I wasn't entirely happy with the length of it). I made 4 short red stripes, 3 short white stripes, 3 long red stripes, and 3 short red stripes.

To make the stripes from the rope, sew a length of same-colored thread through all three pieces of a section of the fabric braid. Then wrap the thread tightly around the braid several times. Finish by sewing underneath the wrap and knotting. Repeat about 2 inches away. Then cut between the sewn sections. In the picture, I left a gap of about 3/4", which was fine for this section, but when the flag was finished, I would have liked to have had some excess on the sides to trim away.


4. Make the Blue Section.

To make the blue section, lay the end of the fabric rope flat on a surface. Keeping the rope flat, gently turn it at the desired length and run parallel to the end. Use same-colored thread to sew back and forth between the two parts and attach them together. You can use pins to hold the rope in place. Continue to snake the rope back and forth until you have a square-shaped section.

5. Assemble the pieces.

 Lay out the pieces of your rug as shown. We'll be working on the reverse side so the stitches aren't visible from the front. I started with the short stripes first and sewed them together, adding one more at a time.

Then I attached the blue section to the long white stripe using blue thread. 
 Then I attached the blue section to the ends of the short stripes, then the long white stripe to the short red stripe. From there, I continued to add long stripes until I had used all of them.

 6. Add the stars.

Although I would have loved to have done 50 tiny stars, I simply couldn't find any. Also, we're aiming for cuteness instead of accuracy. I had bought some star buttons just for this project, but didn't like the way they looked. So I raided the button stash and came up with a few options. Maybe you would have chosen differently than I did.
Circle and Square White Buttons

Small and Very Small White Buttons

Medium and Large White Buttons

Yellow Stars


 I chose the small round white buttons and used navy thread to attach them.

7. Attach a Wooden Rod for Hanging.

You can use a dowel rod, or nab a wooden skewer from your kitchen. On the reverse side, carefully work the rod through some of the red braided loops. Then trim the rod to just under the width of the flag. Sew the other end to the blue section using navy blue thread.


8. Hang and Enjoy!

Just in time for 4th of July! 


 This little flag enjoyed its time on our wall, but it's ready for a permanent home. Maybe yours? As of publication, this flag is up for sale on my Etsy shop. Check it out here  or visit my Etsy Store.


Saturday, June 30, 2012

Braided Rag Rug Basics- and Rapunzel Hair!

Rope Made from Rags
After every project, I meticulously fold and put away the leftover fabric. The scraps that are simply too small for anything else get tossed in a box. The leftover sleeves and seams from the T-shirt duvet cover that I've been working on (and I promise I will finish eventually) go in the box as well. Sometimes, this box gets overly full. On those days, I drag it out and start cutting whatever is in there down to strips that are about an inch wide, braid them, and make ropes. I used to either knot or sew them, but I saw a clever method on Moda Bake Shop that I've tried out and really like.

The Rag Box


1. Starting out. 

Knot the Ends
To start, you'll need a whole mess of fabric, cut down to similar size strips. Moda uses a really pretty print in contrast with white fabric, but since we're doing this to use up scraps, be kind to the environment, and stick to a more rustic look, we'll be sticking with whatever comes out of the box (yes, that is an old bathing suit!). Some fabric may rip neatly, which will save cutting time. Also keep in mind the thickness of your fabric. If you have a thick upholstery fabric, sometimes as little as 1/2" is plenty, but if you have something extremely thin like tulle, 4" wide strips are necessary. Just play with it and you'll get a feel for what you like. I personally like the different textures, shapes, and sizes. It makes each piece unique. Moda recommends sewing the ends, I'm lazy and knot mine.

If you have fabrics that are not colorfast, you might consider prewashing them on a gentle cycle and air or line drying them before cutting into strips.

2. Braid. 

If you are unfamiliar with braiding, check out the diagram on this website for more information. It often helps to have something anchoring the other end of the braid, whether you use a safety pin and pin it to a couch, your jeans, or a rug, have a patient friend hold it, or hold the braid underneath your foot. Start braiding away and stop when you're within a couple inches of the end of your shortest strip. If you are making a rag rug, you will want the braid to be loose. If you are making Rapunzel hair or a rope, you can braid tightly.

If you need to take a break from braiding, a safety pin will hold the braids in place. Or you can use a bobby pin while adding more, which is faster to move and remove. 


3. Add More Strips as Needed. 

This clever trick (from Moda) saved me so much time! When you get to the end of your strip, lay another strip over the end, overlapping by about 1 1/2 inches. 


Overlap the Ends

Fold both of them over and cut a small slit through both.


Take the end of your new strip, fold it under, and pull it up through the slit you've just made.


Pull tight.


Et Voila! Keep braiding like normal.


Here it is again with some different fabric:

Overlap the strips.
Fold them together.
Cut a small slit through both layers of fabric.
Unfold.
Pull the end of the new strip up through the slit.
Keep pulling gently.
When I'm adding new strips on, I like to pick three at a time. I add the longest new strip to the shortest old strip, the middle length new to the middle length old and the shortest new strip to the longest old strip. It helps to keep the braid fairly even.

As I started cutting more strips, I pre-cut the slits in each as well. I'm not sure which way is faster, but it was nice not having to reach for the scissors every few moments.

4. Keep adding until the desired length is reached. 

When the rope is as long as you need/want it, you can sew the ends or knot them. If you are working on something like a rag rug, I recommend just using a safety pin to hold the ends in place in case you wish to add more. I thought I had enough rope made for a rag rug I made for my sister, but I had nowhere near enough and had to add more on.

My two girls love to play like the fabric ropes are Rapunzel hair, hence the name. Really the only thing it has in common with Rapunzel's hair is the length and the braiding, but that doesn't stop their imaginations. I suppose if you used fabric in a hair-like color, it would look more like hair. Still, they love their ropes.


Monday, June 18, 2012

Nerding out a Messenger Bag

My Nerdy Bag
When I decided to write this post, I had hoped it would be a follow-up to our Revitalizing an Old Purse project. In case you missed it, we bought a leather purse for a song at a thrift store and added some embellishments to personalize it and cover up some pen marks. The entire project was less than $5 and took about 2 hours. Not bad at all!

This one started out the same way. For $10, my youngest sister sold me an old bag she'd gotten from her school. I probably wouldn't have paid that much for in its condition at a store, but youngest sisters have a way of getting around such things. It had great hardware, except the main magnetic clasp had two male ends and wouldn't close. The bag was filthy and had red Sharpie marks on the outside. I would have gotten a picture of the nastiness of the inside for you, but as soon as I got it, I went to town with the stain spray. The inside had turned a dull grey color, when it was supposed to be tan with white dots.

Then I thought I would get some cool pins and patches for it from various sources to represent my nerdy interests. That part was tons of fun, but also pushed the budget well out of the "cheap" range (for me, at least). All told, I spent about $33 on embellishments. Since they arrived from various sources, opening up the mailbox and receiving a new piece each day was a thrill.


Fixing the Bag

Left Magnetic Clasp and the Center Buckle

1. Fix the clasp.

Before Washing
The bag has buckles (as you can see in the picture), but they are rendered pointless by the magnetic clasps underneath each. To "fix" the center clasp, I undid the buckle and sewed one end of it on top of the magnetic clasp. The center buckle now functions as a buckle. The other two worked just fine, so I left them alone.


 2. Clean! Clean! Clean!

A couple days soaking in a warm bath of OxiClean removed most of the grime from the interior. Stain spray removed much of the red Sharpie from the front  of the bag. Just washing a bag like this will greatly improve its looks.

Reverse Side of the Flap


3.  Attach the embellishments.

After testing the placement of all the embellishments, I started to fasten them in place. Of course, the buttons and pins can be moved around as much as you want, but the patches are harder to move once held in place. I sewed the patches on with matching thread. You can iron on patches, but I prefer to sew them. I think it gives a better hold, and the stitches look pretty.


And it's done! 

Total Cost: $43
Time: 1 day soaking + 30 min. in washing machine + up to 2 weeks waiting for shipments to arrive + 30 minutes sewing on patches
Great Adjustable Shoulder Strap


If you are interested in obtaining some nerd flair like mine, here are the ones still available (as of the publishing date of this post):


Portal 2 Logo Pin Set from ablesisters on Etsy
Xavier's School For Gifted Youngster Patch from aardogfsu on ebay
Phoenix Patrol Patch from jeffbass on ebay
Allons-y! Pin from cafepress
Star Trek Command Pin from cafepress

I'm still looking to add something pertaining to Diablo, Elder Scrolls, and Borderlands, but for now, it's complete. If you should see one of these items, please let me know in the comments. Or, if you have a nerd that you'd like to customize a bag for and need some suggestions, let me know. I found a lot more than I bought.

Update: My amazing husband gave me a present for my nerdy bag! Here are a couple pictures of it: