Showing posts with label Play. Show all posts

Thursday, January 24, 2013

Canvas Painting Party

I'm sure all of you have seen those amazing birthday parties on Pinterest and other places where everything looks perfect. The favors are adorable, the cake looks professional, even the kids are photogenic. You know the ones. I'm sure, given the right budget, amount of time, and a professional team of house cleaners, I could throw one of those parties. Until that day arrives, I will continue to approach birthday parties with my same formula.

1. A theme, kinda keeps things together. This year was Cake and Canvas, a clever parody of the Coffee and Canvas classes I teach at our church.

2. Something homemade. This year, it was these cool canvases. For the younger daughter's birthday a couple years ago, I made owl treat bags out of fabric.

3. Save a year, splurge a year. The older daughter (I seriously need clever nicknames for these two kids) got to have a ceramics-painting party at a studio last year followed up by a tea party with the cups the girls painted. This year, an inexpensive home party.

4. Buy as little licensed merchandise as possible. For our Hello Kitty party, we bought Hello Kitty plates, cups, and a tablecloth. We made a Hello Kitty pinata. Everything else was purchased in coordinating colors.

5. Try to have something cool as a party favor. For this party, we bought plastic cups that look like crayons. We filled each cup with two paintbrushes and enough candy for the brushes to stand up. The kids got to use their new brushes to paint and took them (and their painting) home after. Did I get a picture? No, sorry.

6. I'm sure this won't count as any sort of tip, but if you have a friend who is an aspiring baker and offers you a cake instead of a gift, take her up on it! I am so blessed to have an amazing friend who bakes the girls' cakes for me. They always turn out so well. Again, no picture. But this year's cake was a palette with different colored icing globs of "paint" on it.


Prepping Paint Boards for a "Canvas" Party 

The irony of this "Cake and Canvas" party is that we didn't actually use canvas at all. The kids painted on thin plywood panels that we tacked to our fence. Here's what we did ( and by we, I mean my amazing man. I helped a little and took pictures). 

Here's What You'll Need:

  • 1- 4' x 8'  plywood underlay board, approx. 1/4" thick. I believe ours was around $10. 
  • Saw
  • Kilz 2 Latex primer
  • Paint Roller
  • Hammer
  • Nails

1. Cut the boards. 

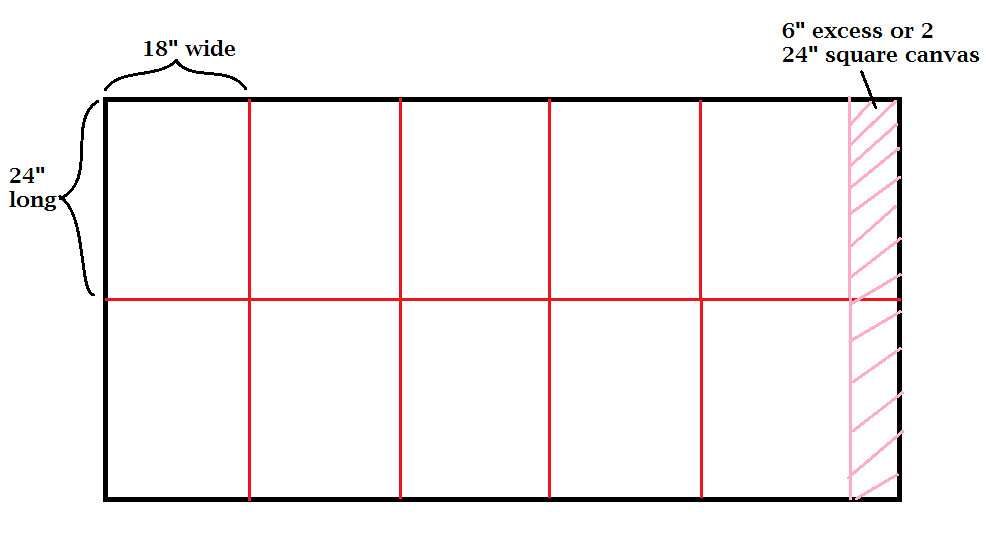
Cutting the board in half lengthwise, then cutting the halves into 18" wide segments will yield 10 18" x 24" boards. Or, you can leave the last two segments longer and have 8 18" x 24" boards and 2 24" x 24" boards.
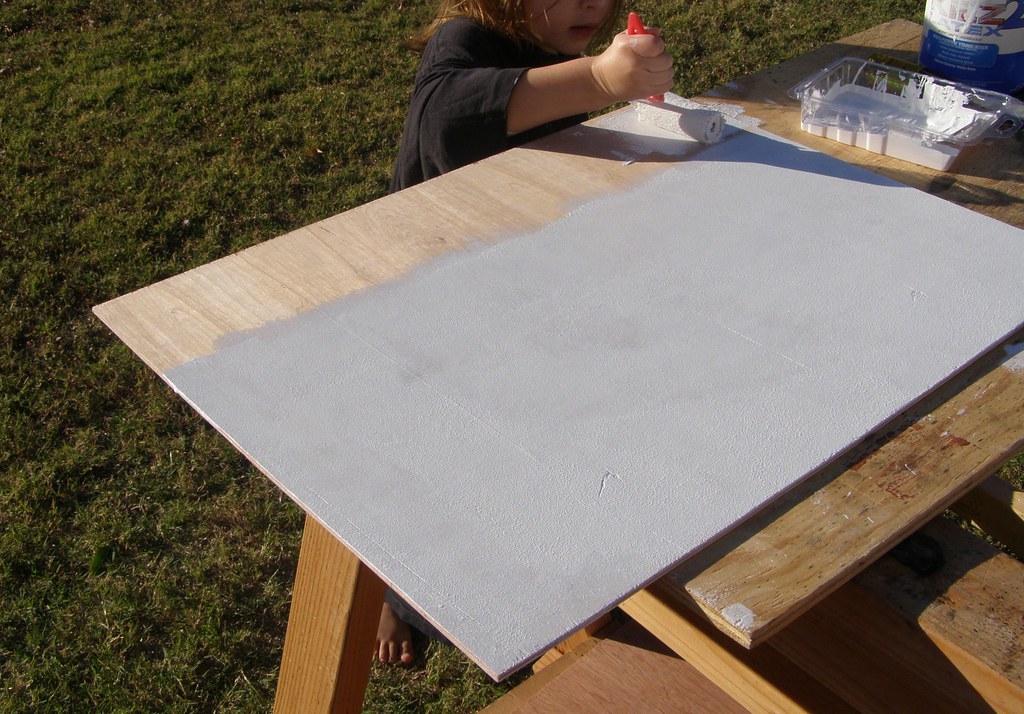
2. Sand and Primer the Boards. 

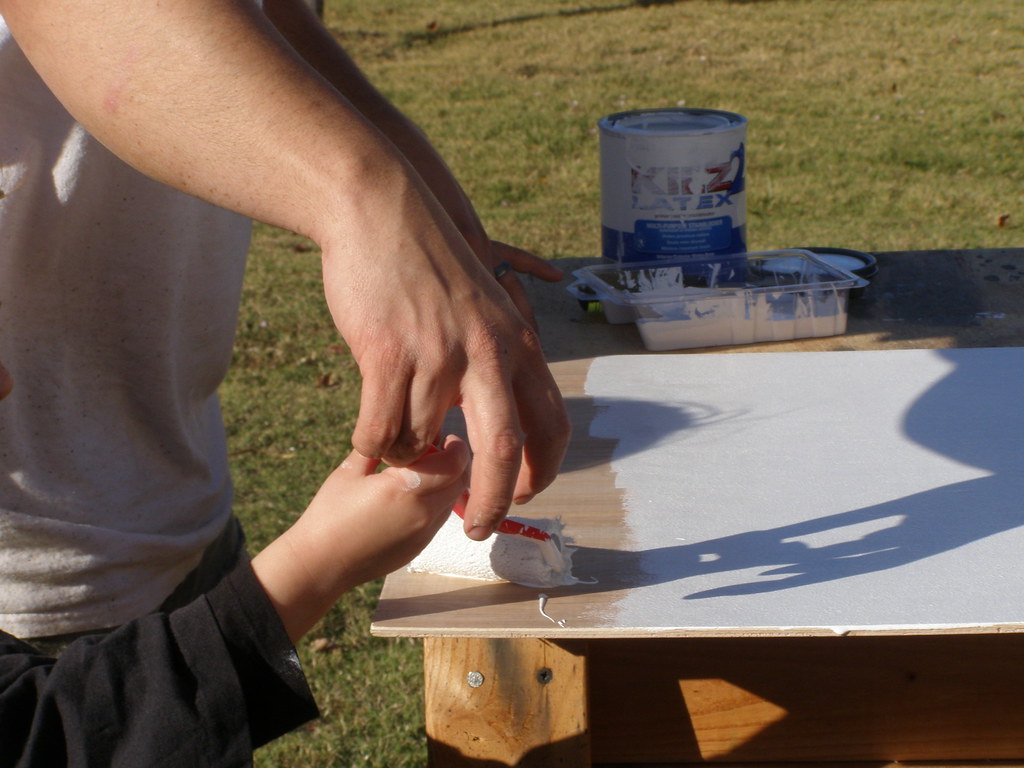
If you're feeling like an over-achiever, you can even use some wood putty to fill in any imperfections. Use a paint roller and apply 1-2 coats of latex primer. Even the birthday girl stepped in to help on this one.

Note: your boards may begin to warp. If so, after they are dry, stack them and place a weight on top to counteract the warp.
3. Tack the Boards to Your Fence. 

We used small nails, but you could use a staple gun (in theory, that is, haven't tried it).
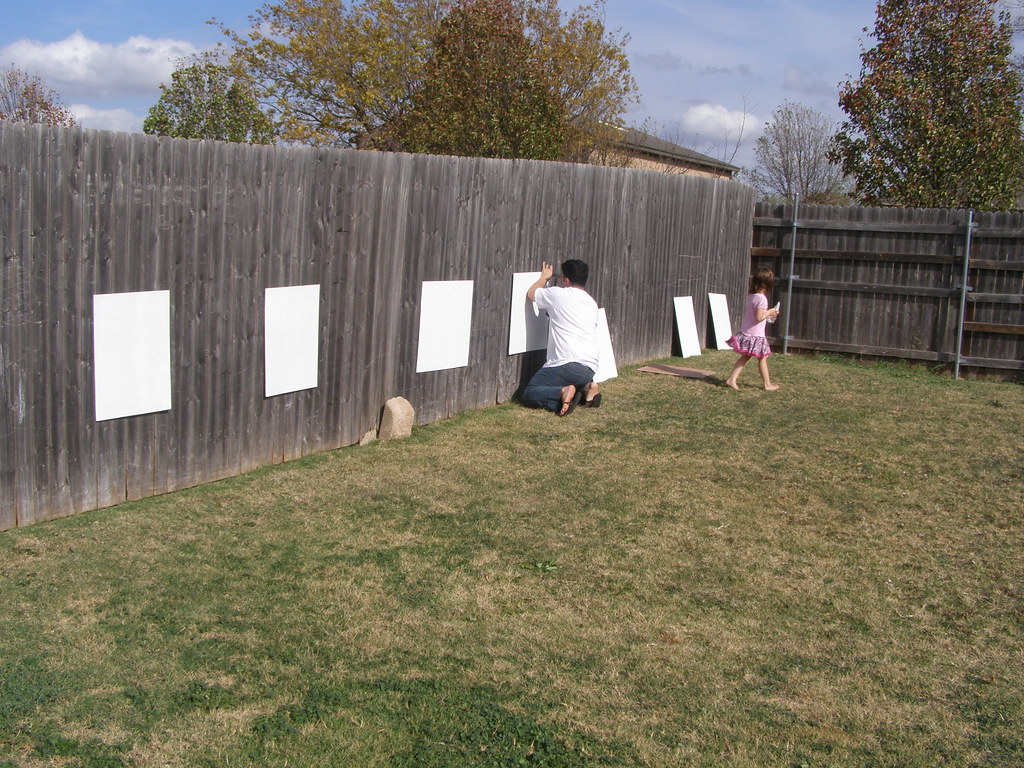
P. S. This party was on a very warm day in November, in case you were wondering. I've got a few other posts from last year I'm still working on. 

4. Set up the Paint Refill/Handwashing Station. 

As they arrived, each kid was given two paintbrushes in his/her treat cup. We also provided palettes by cutting thumb holes in foam plates. (I had wanted to make berets, too, but ran out of time). Then we loaded up the palettes with 3-4 colors of tempera paint for each kid. We have a plastic picnic table that served well for our paint refill station. The hand-washing station consisted of a large plastic tub filled with warm soapy water. It came in handy since each child finished his/her painting at a different time. Those who were finished could wash their hands and go play. Here's the birthday girl herself playing in the bubbles. Look closely and you might be able to spot a couple of the party favors.


5. Enjoy Your Guests' Creativity. 

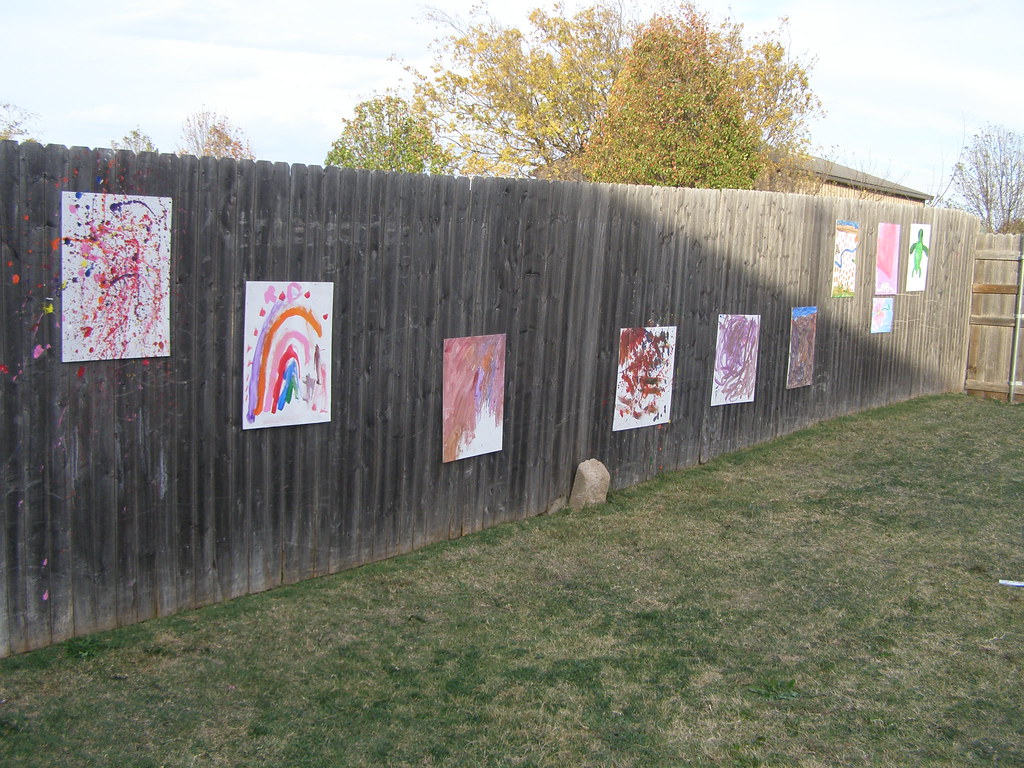
The kids had a blast decorating their paintings. We had a couple canvas left over, so my sister and I tried our hand at splatter painting. So fun. After the painting was finished, we went inside for cake, ice cream, and presents. By then, the paintings were pretty much dry. As the guests left, we pulled their art off the fence, removed any tacks, and sent it home.
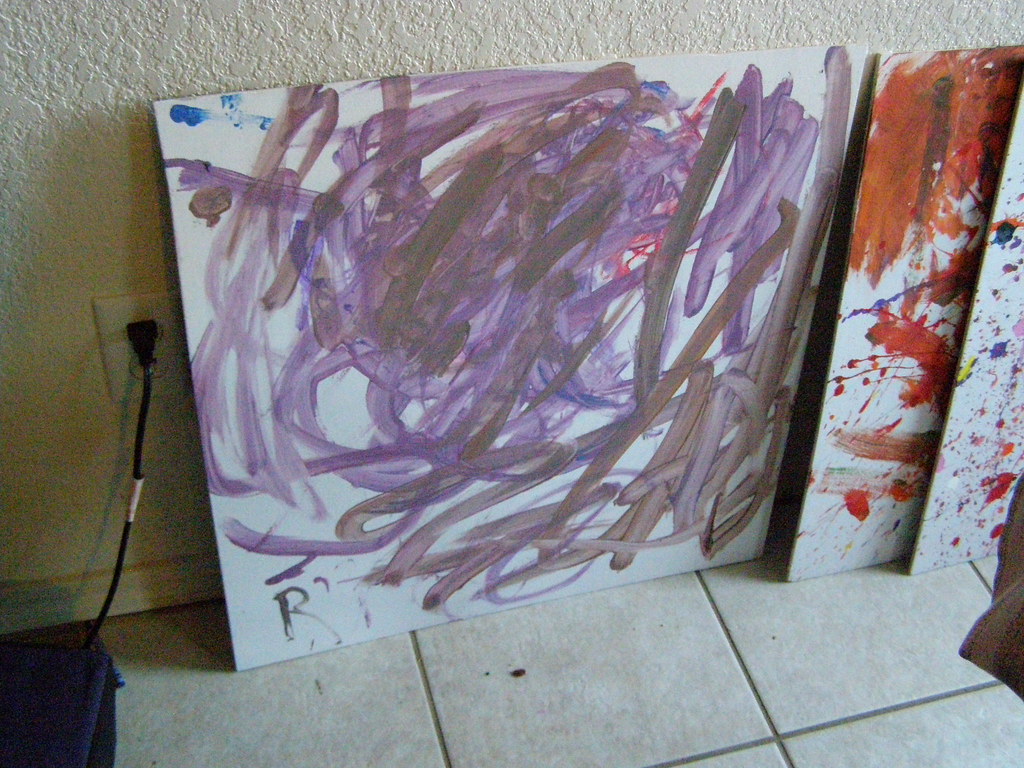
But wait, you're not done yet! We discovered something pretty nifty about these little boards. See the above painting? While it might look like an abstract interpretation of earthworms and purple yarn, it's actually a prime example of the birthday girl playing with the paint rather than painting. Which was fine. She had fun, which was the goal, but she wasn't happy with her art. So, on to round 2, if you want. I'll demonstrate with mine.

6. Rinse/Scrub/Rinse for a Clean Canvas. 

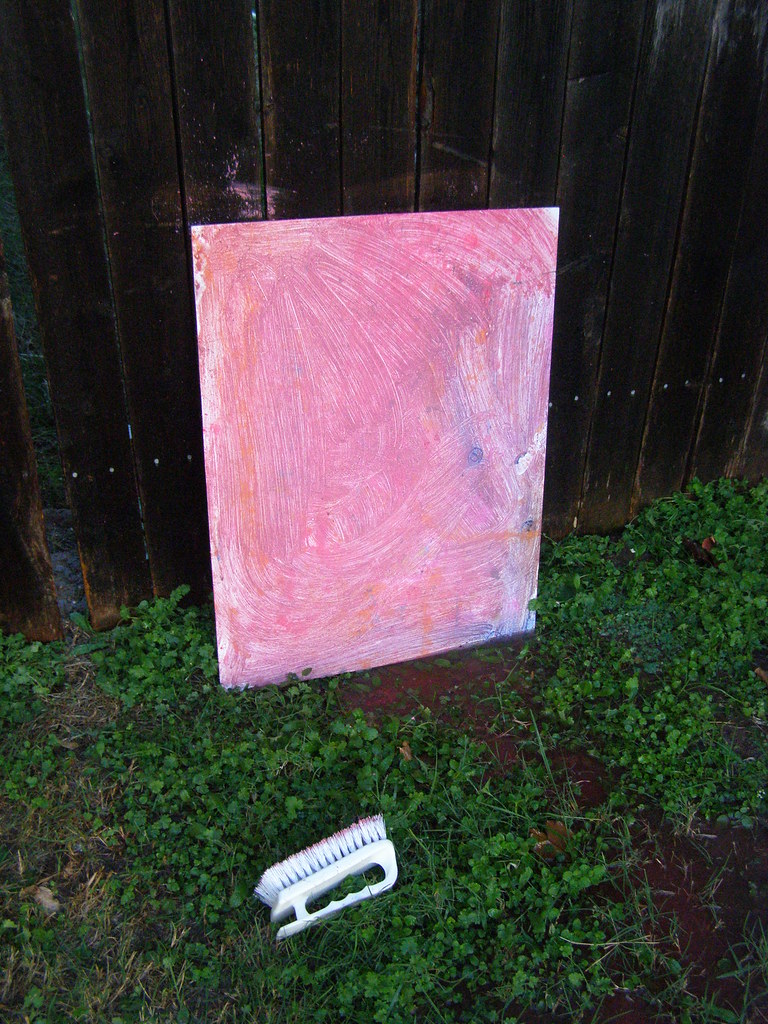
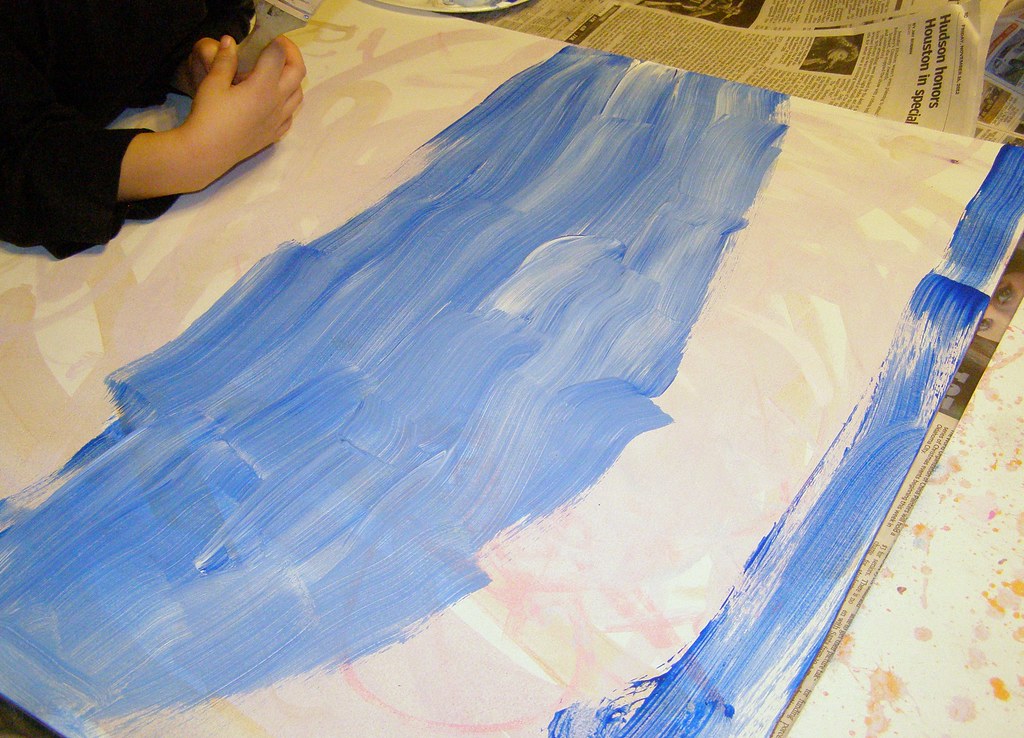
Since we used non-toxic tempera paint, we were able to rinse it off outside. Then we took a scrub brush to get off most of the paint. Another rinse, and the globs of paint were gone. Yes, I did feel like a painting executioner. Some of the color remained, but it was much lighter than before.
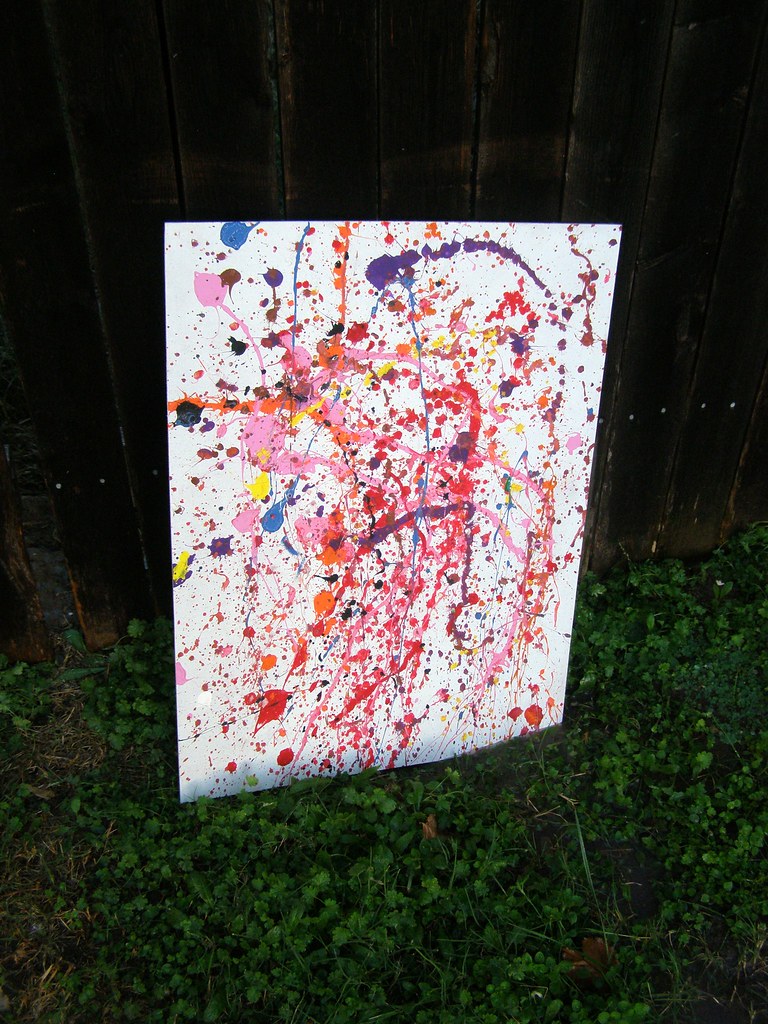
Before

During
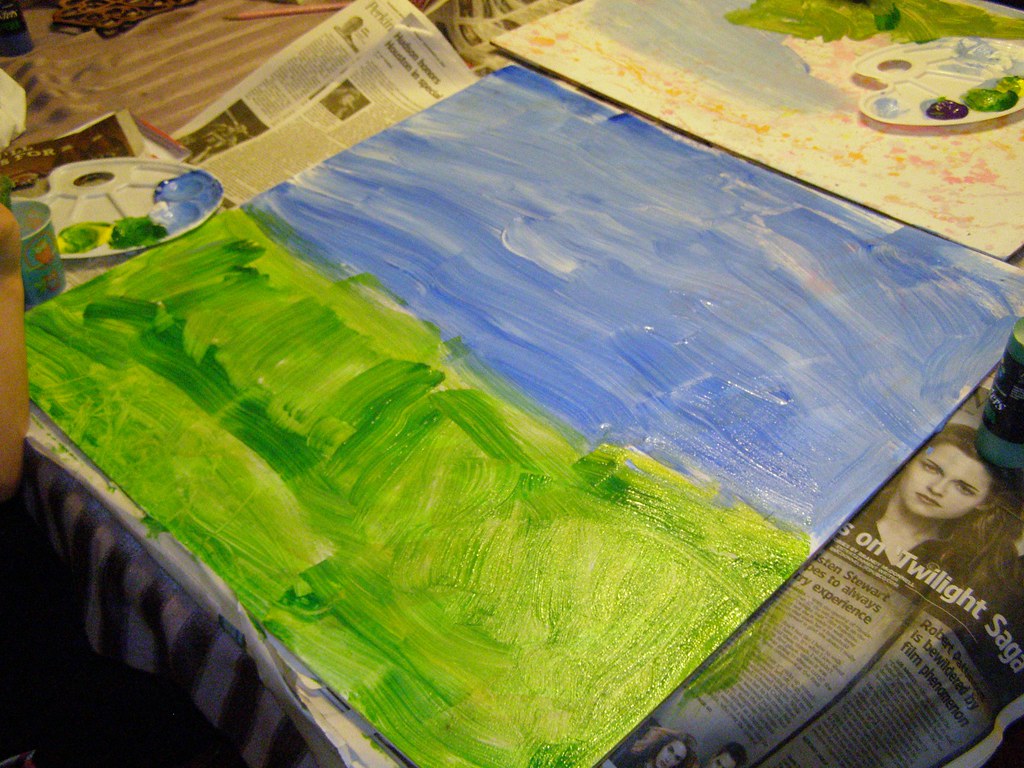
After   

7. And Paint Again! 

I'm sure you would be able to repeat the process a few times before the canvas was too stained to paint over. Even then, you could switch to acrylic for the last round and make the painting permanent. 


Saturday, June 30, 2012

Braided Rag Rug Basics- and Rapunzel Hair!

Rope Made from Rags
After every project, I meticulously fold and put away the leftover fabric. The scraps that are simply too small for anything else get tossed in a box. The leftover sleeves and seams from the T-shirt duvet cover that I've been working on (and I promise I will finish eventually) go in the box as well. Sometimes, this box gets overly full. On those days, I drag it out and start cutting whatever is in there down to strips that are about an inch wide, braid them, and make ropes. I used to either knot or sew them, but I saw a clever method on Moda Bake Shop that I've tried out and really like.

The Rag Box


1. Starting out. 

Knot the Ends
To start, you'll need a whole mess of fabric, cut down to similar size strips. Moda uses a really pretty print in contrast with white fabric, but since we're doing this to use up scraps, be kind to the environment, and stick to a more rustic look, we'll be sticking with whatever comes out of the box (yes, that is an old bathing suit!). Some fabric may rip neatly, which will save cutting time. Also keep in mind the thickness of your fabric. If you have a thick upholstery fabric, sometimes as little as 1/2" is plenty, but if you have something extremely thin like tulle, 4" wide strips are necessary. Just play with it and you'll get a feel for what you like. I personally like the different textures, shapes, and sizes. It makes each piece unique. Moda recommends sewing the ends, I'm lazy and knot mine.

If you have fabrics that are not colorfast, you might consider prewashing them on a gentle cycle and air or line drying them before cutting into strips.

2. Braid. 

If you are unfamiliar with braiding, check out the diagram on this website for more information. It often helps to have something anchoring the other end of the braid, whether you use a safety pin and pin it to a couch, your jeans, or a rug, have a patient friend hold it, or hold the braid underneath your foot. Start braiding away and stop when you're within a couple inches of the end of your shortest strip. If you are making a rag rug, you will want the braid to be loose. If you are making Rapunzel hair or a rope, you can braid tightly.

If you need to take a break from braiding, a safety pin will hold the braids in place. Or you can use a bobby pin while adding more, which is faster to move and remove. 


3. Add More Strips as Needed. 

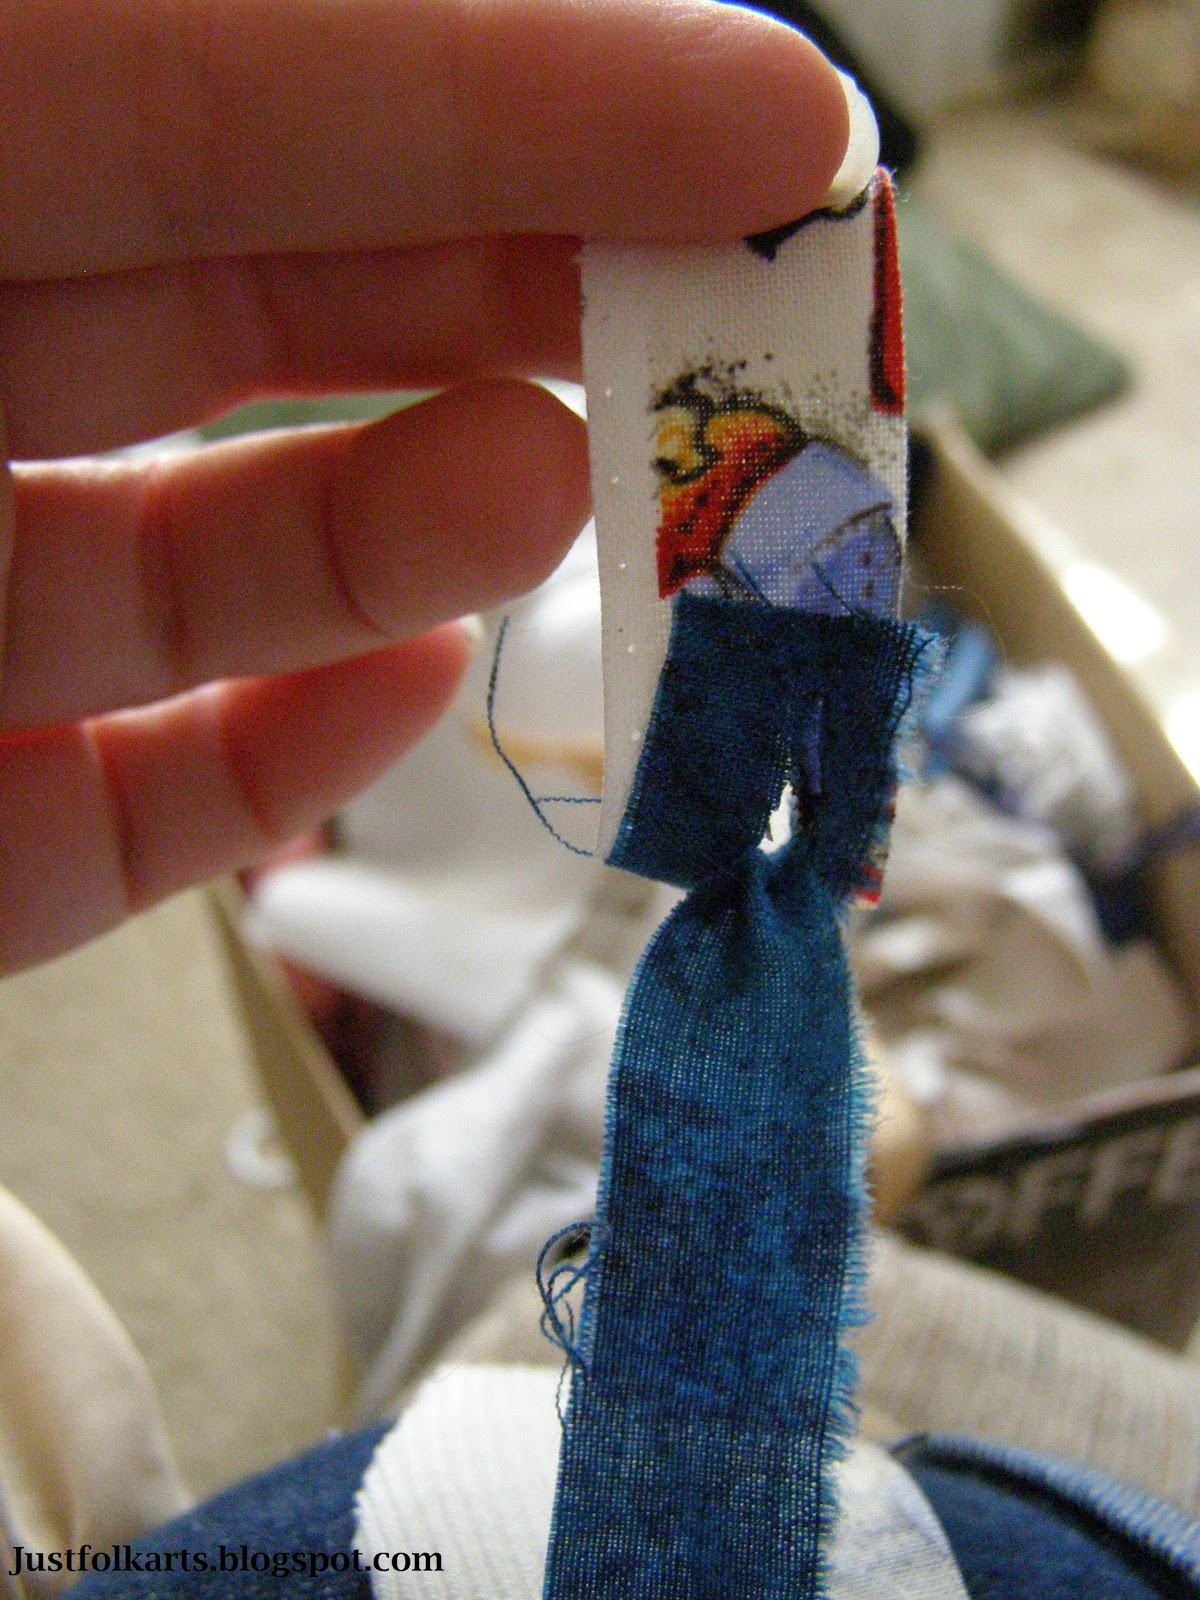
This clever trick (from Moda) saved me so much time! When you get to the end of your strip, lay another strip over the end, overlapping by about 1 1/2 inches. 


Overlap the Ends

Fold both of them over and cut a small slit through both.


Take the end of your new strip, fold it under, and pull it up through the slit you've just made.


Pull tight.


Et Voila! Keep braiding like normal.


Here it is again with some different fabric:

Overlap the strips.
Fold them together.
Cut a small slit through both layers of fabric.
Unfold.
Pull the end of the new strip up through the slit.
Keep pulling gently.
When I'm adding new strips on, I like to pick three at a time. I add the longest new strip to the shortest old strip, the middle length new to the middle length old and the shortest new strip to the longest old strip. It helps to keep the braid fairly even.

As I started cutting more strips, I pre-cut the slits in each as well. I'm not sure which way is faster, but it was nice not having to reach for the scissors every few moments.

4. Keep adding until the desired length is reached. 

When the rope is as long as you need/want it, you can sew the ends or knot them. If you are working on something like a rag rug, I recommend just using a safety pin to hold the ends in place in case you wish to add more. I thought I had enough rope made for a rag rug I made for my sister, but I had nowhere near enough and had to add more on.

My two girls love to play like the fabric ropes are Rapunzel hair, hence the name. Really the only thing it has in common with Rapunzel's hair is the length and the braiding, but that doesn't stop their imaginations. I suppose if you used fabric in a hair-like color, it would look more like hair. Still, they love their ropes.


Tuesday, June 12, 2012

Making Our Very Own Fairy Garden Part 2


In my last entry, I discussed how we made our fairy garden. Since then I have been informed that it is a "Princess Garden", not a Fairy Garden. My apologies to our Miniature Master Gardener.

Our Princess Garden was almost complete at the end of the last entry, but we brought in the big guns (my husband) to make some neat wood projects that make the garden even more amazing. He made wooden mushrooms, fence panels, and a ladder for the princesses to get up to their garden.


Mushrooms

Taking inspiration from The Magic Onions, we decided to add mushrooms to our garden.


Here's what you'll need:

  • Sphere halves (sold at a craft store, 6 per pack)
  • 1/2" Diameter dowel rod
  • Nails
  • Patio paint- red & white

1. Drill holes in tops. 

To make his life easier, my husband drilled a hole through the center of each sphere half, slightly smaller than the nails he used.

2. Cut dowel rod.

He marked 6 2" long sections on the dowel rod and cut using a saw. The remaining piece of the dowel rod was saved for the top of the ladder.

3. Paint tops.

Our Miniature Master Gardener did this step. She painted the tops red. After they were dry, she added white dots.

4. Nail tops onto the stems. 

And you're done! Amazing little decorations for the amount of effort. They are probably the two-year-old's favorite thing about the Princess Garden as she is constantly rearranging them.


Fence Panels

For each panel, you will need:

  • 7 popsicle sticks
  • wood glue (preferably outdoor safe)

1. Cut the popsicle sticks in half. 

Cut 3 of the popsicle sticks in half. Set 1 half aside for another panel (or something else).

2. Lay out the pieces. 

Arrange 5 stick halves parallel to each other, about 1/4" apart. Place one of the whole sticks on either side, parallel to the others with the tops (round edges) flush.

3. Glue.

Run a line of glue along the remaining sticks. Place them glue side down onto the other sticks, so that one stick runs 1/2" below all 7 tops and the other stick runs across the bottoms of the half sticks and the middle of the whole sticks. See the picture if I've completely confused you.

Mushroom, Ladder, and Fence

Ladder

Our princesses were using the vine to climb up to their garden, but they decided the vine was starting to look a little worn and they needed a ladder instead.

Materials:

  • 16 Popsicle sticks
  • 1/2" diameter dowel rod
  • Safety wire
  • Wood glue

 1. Cut the sticks.

Using a saw, cut 8 of the popsicle sticks in half. Cut the dowel rod into 2 sections approximately 4-6 inches long.

2.  Assemble the panels. 

Arrange 4 of the half sticks parallel to each. Glue a whole stick across the tops of the half sticks. Glue a second whole stick across the bottoms, parallel to the first. Drill a small hole (large enough for the safety wire) in each end of each whole stick.

3. Wire it together.

Lay out the panels end to end. Using safety wire, connect the adjoining holes. Be sure to twist them together tightly and tuck all sharp ends under. At the top of the ladder, use safety wire to attach the dowel rod pieces. Stick the dowel rods into the soil.


And we're done!

Well, we're done for now. Our Master Gardener has mentioned painting the fence and some other projects. I'll be sure to keep you posted if we add anything. For now, they are enjoying the garden. Here are some pictures of the completed project.

Rearranging the Mushrooms


In the Garden

Of course, I had to take a ton of closeups. What photographer could resist such a charming and sweet space! I hope you are inspired to make your own Fairy Princess Garden. Thanks for reading about ours, we have enjoyed making it and playing with it.


Update: The Moss Rose is starting to bloom in the perfect shade of pink!