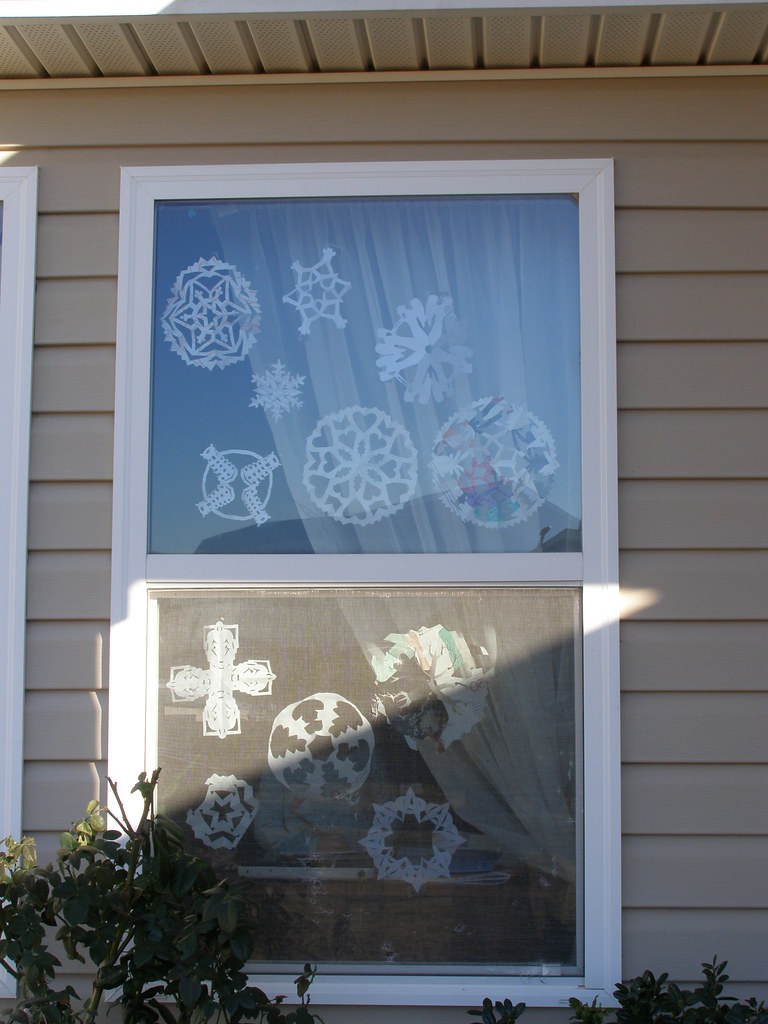
Christmas is finally looking like it might be welcome at my house. The school duties are slowing as the semester draws to a close (not a moment too soon!), which is giving me a little time to decorate. Please don't misunderstand, I don't NEED the decorations for Christmas to be considered a success. However, I love to decorate for Christmas and the fact that this year I was too overworked to care was an indicator that I needed to take a couple days off, relax, and do a craft project to unwind. So while the kindergartener was working on something for her school, I sat down and dug out the Doctor Who Snowflake patterns I've been saving for a long time now.
If you're interested in making a set of your own, here's where I got them: Oodly Crafting
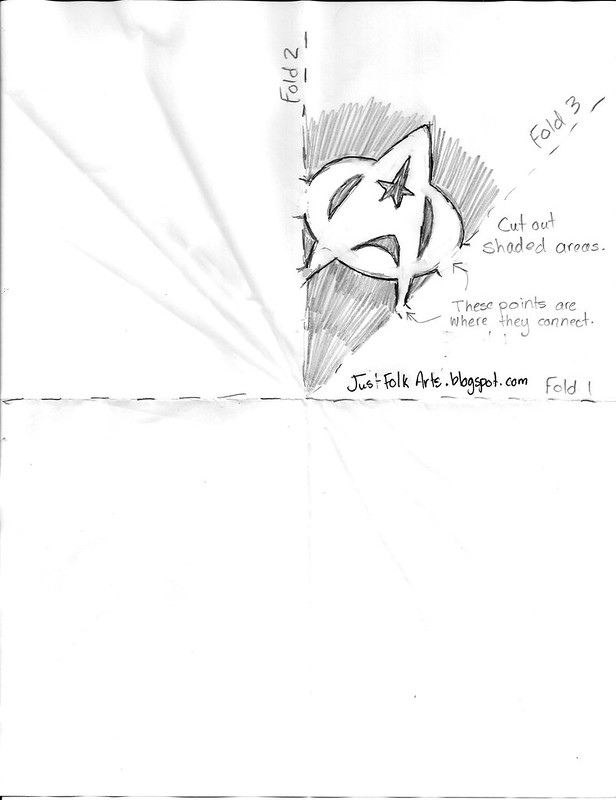
You might need to fold them a bit off-center since I believe these were made for A4, which is similar to, but not quite, letter size.


Just for fun, we made some other snowflakes as well. I made up a couple Batman patterns, but I'm not too happy with them just now. I'll keep working at them and post a template eventually, if I get another spare moment.
And finally, my word of the day (yesterday was grumbletonian) is nerdflakes. Here are some nerdflake sites I found and hopefully will be adding to my snowflake collection soon:
Doctor Who, Star Wars, Galactica Snowflakes
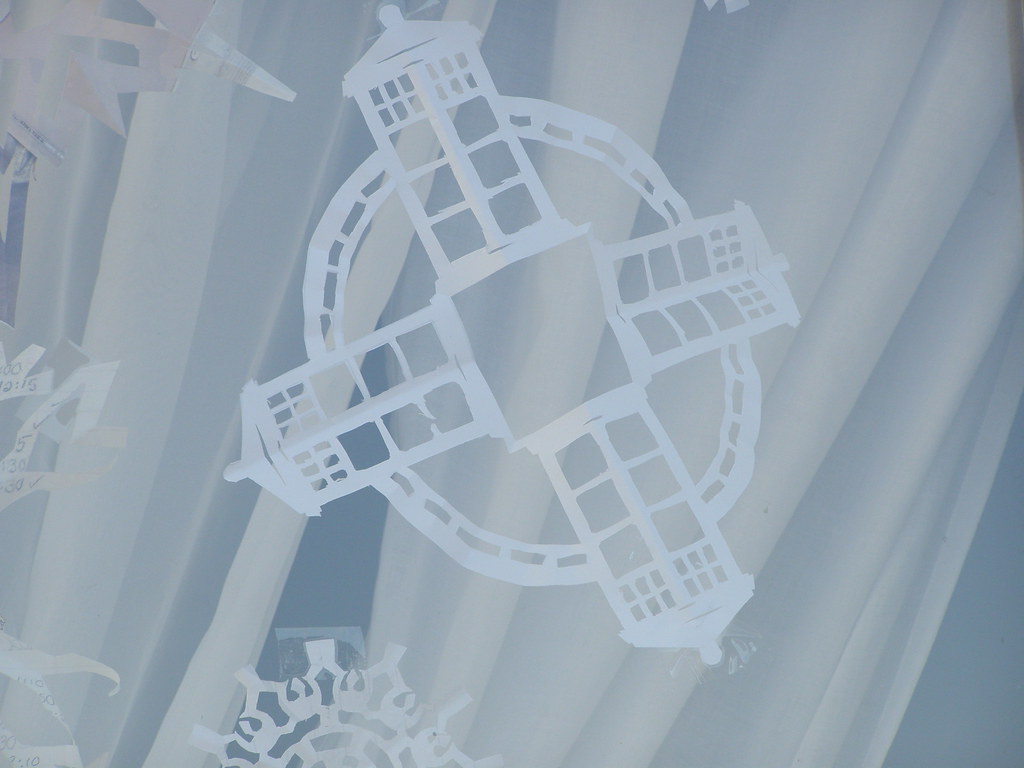
TARDIS and Weeping Angels Flake
Sonic Screwdriver Flake
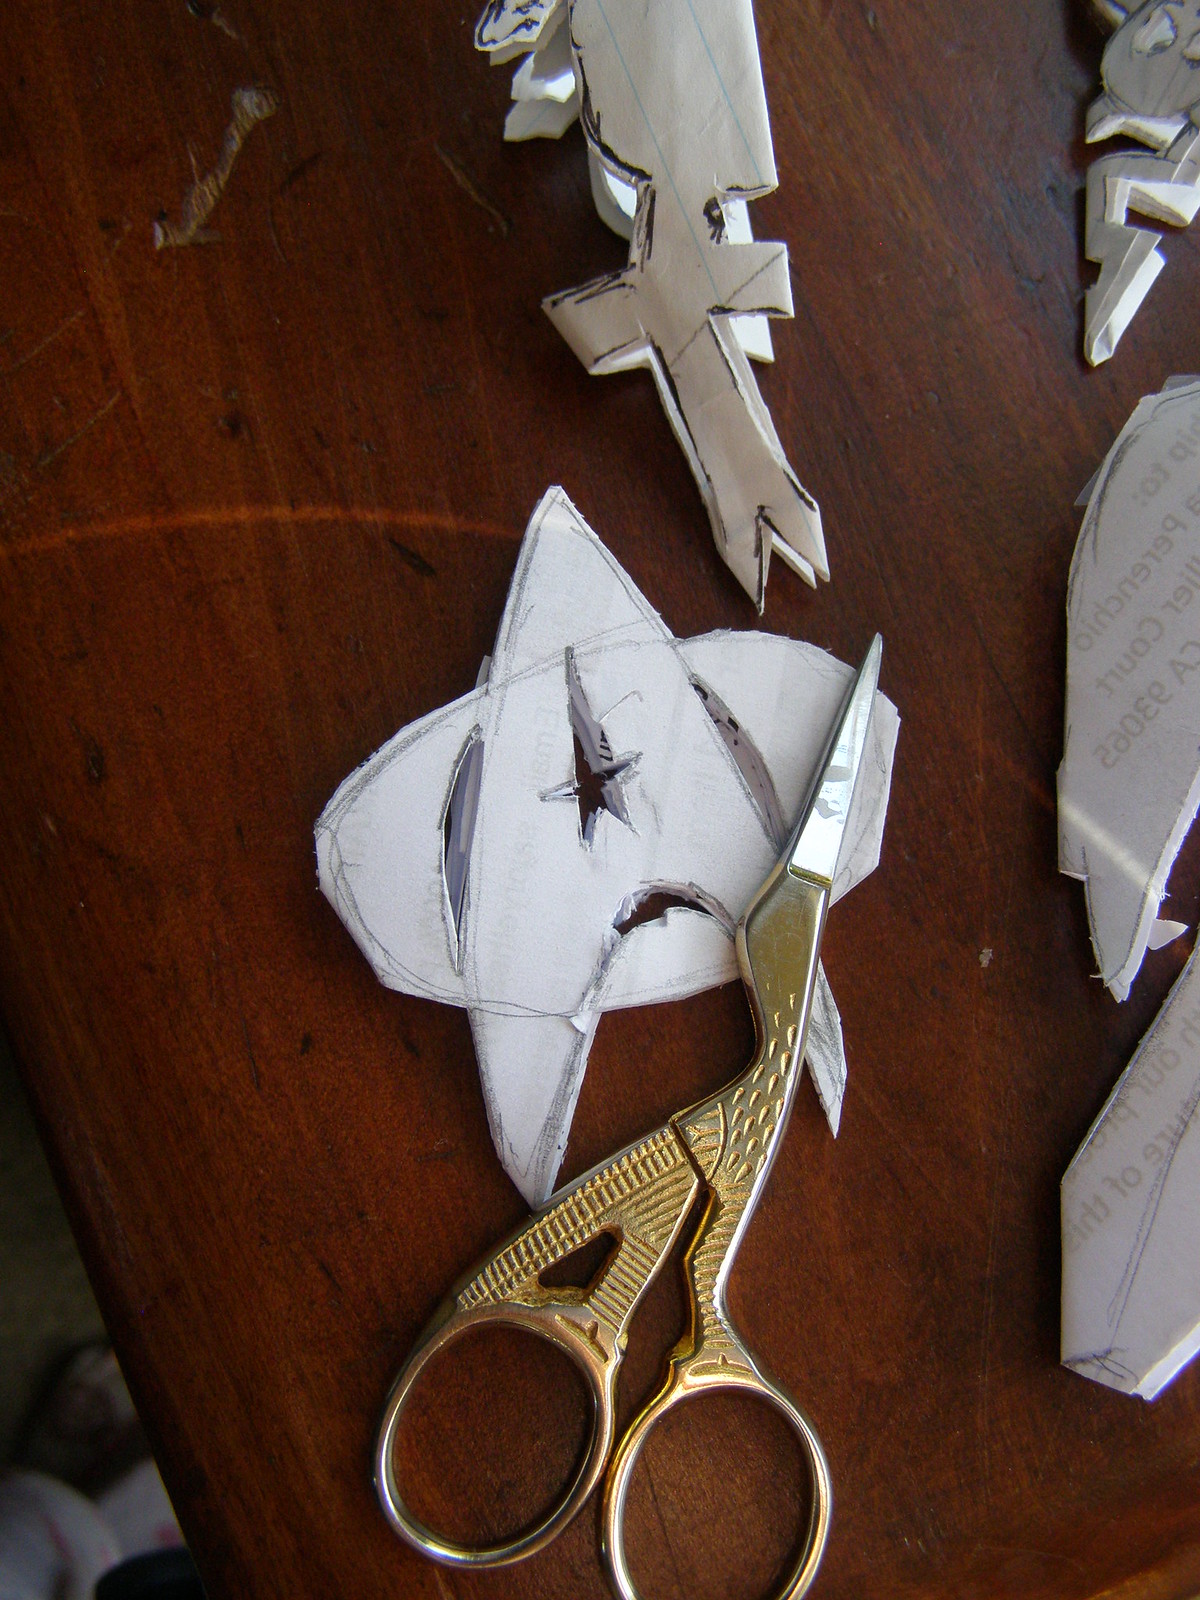
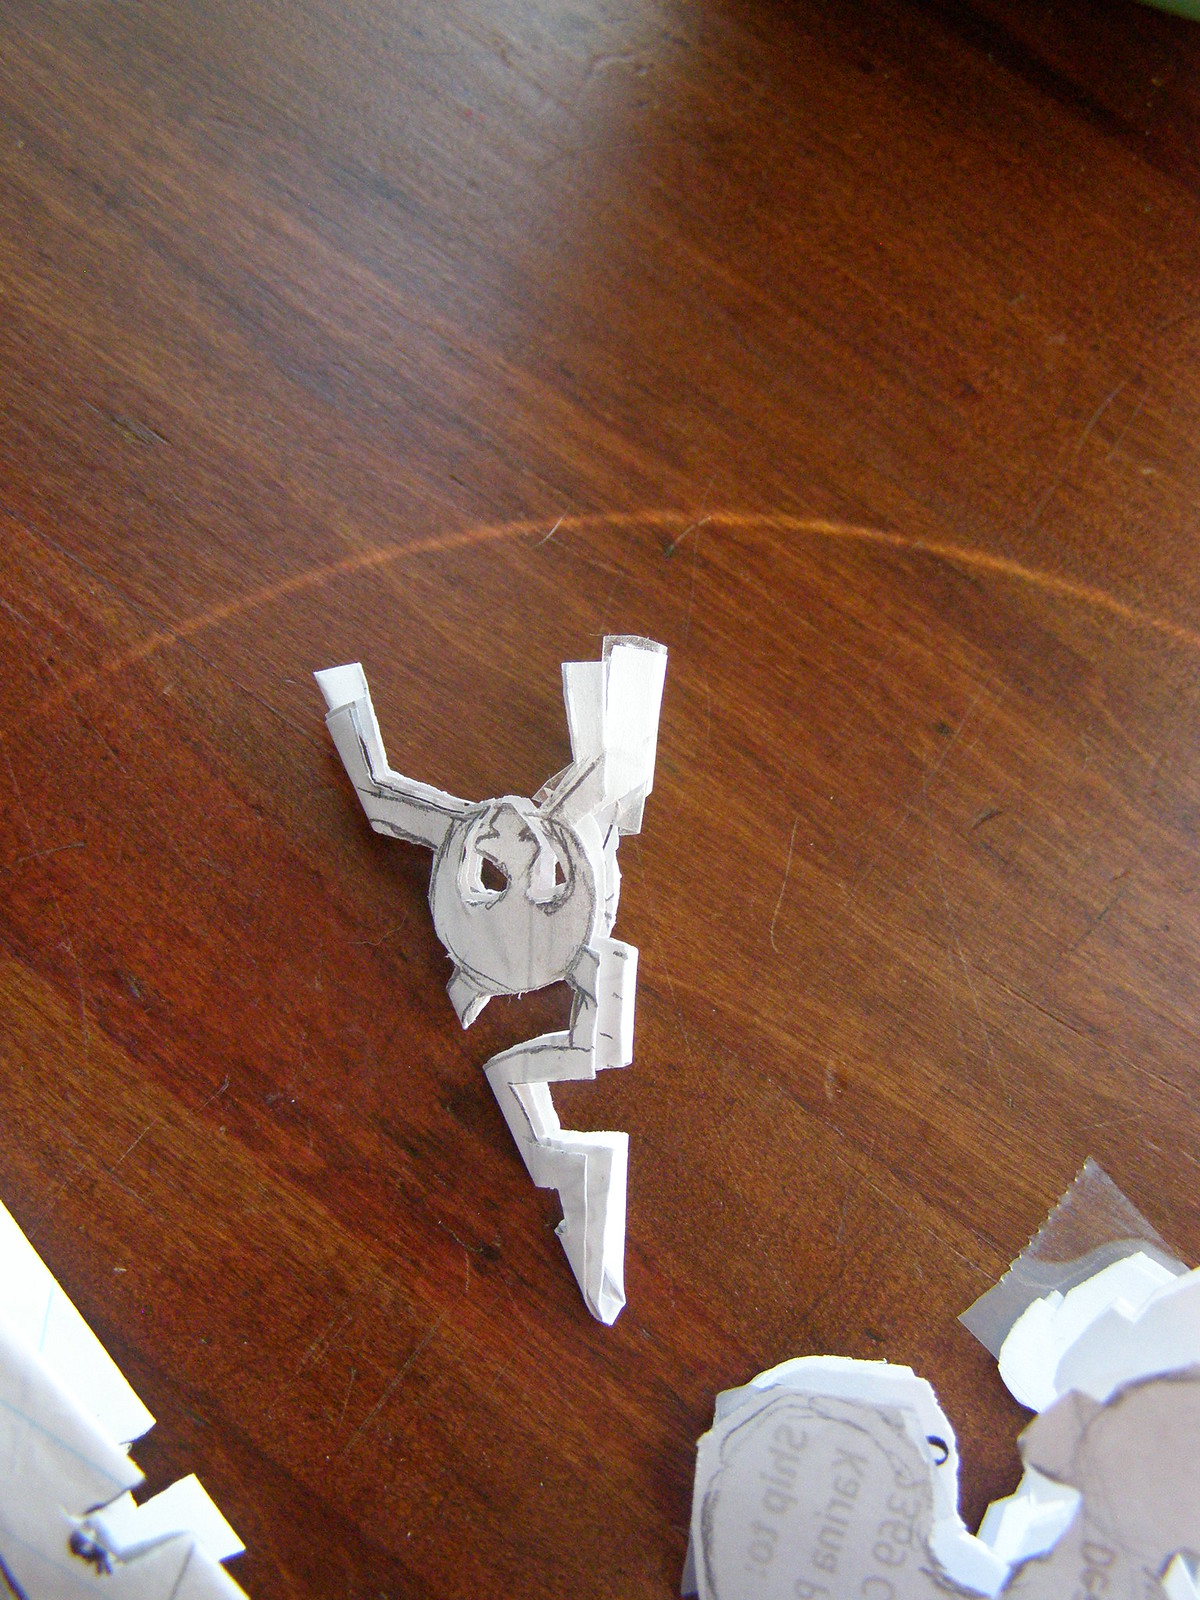
Let me know if you try any of these and how they turned out! I wasn't pleased with my Oods, so they didn't get a close-up. By the way, you will probably need some very sharp scissors, an X-acto knife, and a cutting board. Also lots of patience! Enjoy!
 UPDATE: We've added a few more flakes and I've done some nerdflakes of my own now. I can add a template upon request, but I don't have one yet. And without further ado: NERDFLAKES!!
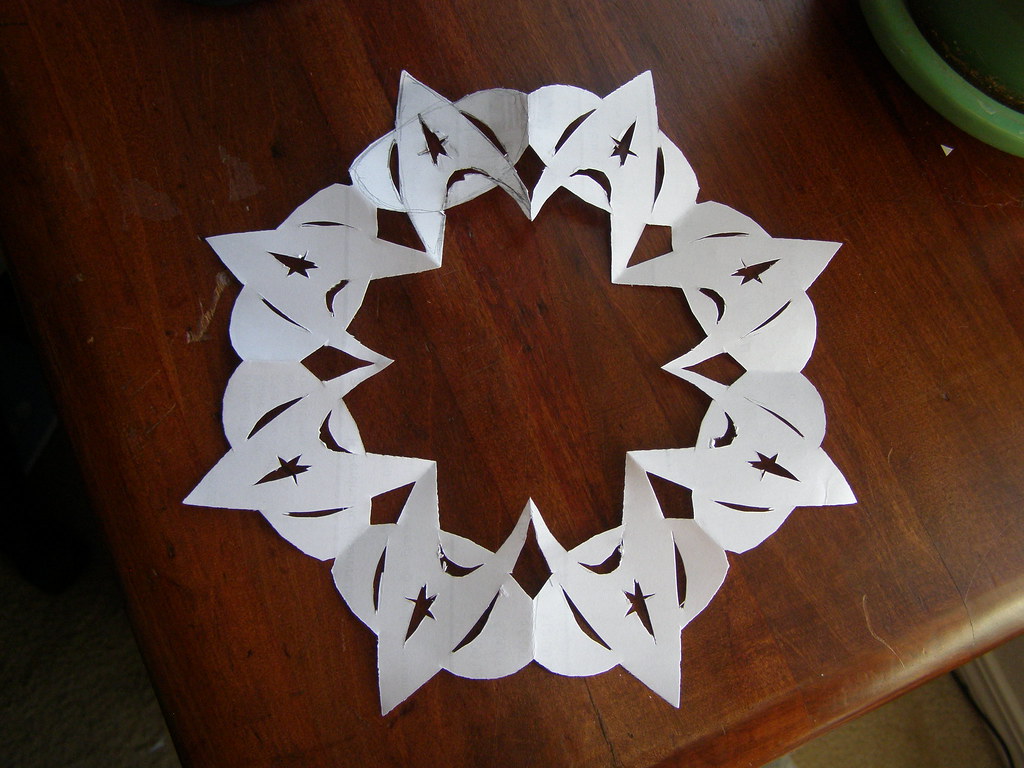
Star Trek

Rebel Alliance
(By the way, I did a Rebel Alliance logo in cross-stitch last year for a stocking topper. I might be persuaded to post the pattern.)
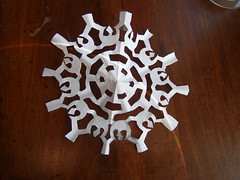
Adipose


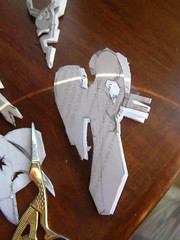
Weeping Angels