Showing posts with label Canvas. Show all posts

Monday, July 1, 2013

Bowl of Cherries Painting

You may file this under the category of lesser posts, I suppose. I have a few random little projects here and there I'll try to post as I get a few minutes over the summer. Today's short inspiration: cherries painting class.

Even a short post requires a little back story (that's the novelist in me, I suppose). We have a dear family friend who was planning to move away. She's been like an aunt to the girls and opened her home to us for every Easter. In honor of her, my husband and I decided to do some paintings for her kitchen.

I picked out a fairly simple painting of a bowl of cherries. Then I decided to invite over a couple of our teenage friends who babysit the girls for a freebie art lesson. They sat on one side of the table and I sat on the other. Can you tell which is mine and which are theirs?
 Bowl of Cherries Class
I think they did a fantastic job. We were able to share some techniques and figure out ways to help each other.
 Bowl of Cherries ClassBowl of Cherries Class
By the way, here is my finished painting.
 Bowl of Cherries Class
And my husband's pastel drawing.
 Bowl of Cherries Class
Although I am normally an introvert, I'm finding that painting with small group of artists is very helpful. And that's my pearl of wisdom for today. 

We presented our painting and drawing to our friend. Thankfully, they fit beautifully in her decor. We hope she is settling in to her new life well, but we sure do miss her here still.

Tuesday, April 2, 2013

Making a TARDIS Jewelry Box with Wood Panels

I haven't been posting lately because a.) I'm completely swamped with school and b.) all my craft time has been dedicated to a new custom order request. I'm pretty excited about this one and I'm sharing it with you today.

I apologize in advance, this is not a tutorial with the level of detail you might expect from my blog. Since I was trying out some new techniques, I decided to skip most of the step-by-step photos as they do take more time. Don't worry, though, I have learned a lot from this project and already have plans to ramp it up to the next level (more on that later).

TARDIS Jewelry Box with Wood Panels

Picking the Panel Materials

At first I thought I would be buying a thin sheet of balsa or other overlay wood and using a saw to meticulously cut the pieces down to size. Then I wandered over to the wood crafts section and discovered the myriad of precut wooden sticks available. Most are the same thickness. Check out the pics below for all the sizes.

And conveniently, the 2nd stick down in the top photo was the right width for the door panel crossbars. Voila!

Finding TARDIS Blue

Then it was on to picking the right TARDIS blue. I really loved the Americana True Blue I used for my other 2 TARDIS projects, but it didn't look right in pictures. I am thoroughly convinced TARDIS blue is the most difficult color to accurately photograph. I tried a couple of darker blues, but they looked too purple. Finally I decided to go back to True Blue and go for accuracy in person rather than in photos. When I walk in my friends' house, I can spot the TARDIS in the room almost immediately because the blue catches my eye. Next time (which I hope will be mine to keep), I want to try distressing the exterior like I did on the Distressed Gift Box.

Assembling the Panels

So here comes the tedious part. Basically, measure, cut, try it on the doors. Then get frustrated with the fit. Pry off half of what you put on. Cut new pieces. Accidentally crush a delicate window made of toothpicks. Re-glue tiny window. You get the idea. Spending hours fiddling with little pieces...and loving it (to quote Maxwell Smart).

Window and Door Assembly

The picture above shows the unpainted window mullions. To get them exactly right, I glued them directly onto the template I used for my cardstock panels. The assembly was very similar to the other two TARDIS projects which you can check out here or here.


Trim and Paint

If you look back to the various stick sizes photograph, you'll notice the longest sticks are pretty wide. In order to get the right length, I had to glue on extra and carefully trim it off. Then for some sanding and touch up painting (including the little narrow bits of the door panels). If you're wondering why there are white plastic toothpicks in the photo, I was thinking of using them for the window panels, but I couldn't get them to hold together and I fortunately found the wooden ones instead.

Interior

I didn't change much on the interior of this one from the other wooden one. In the photo below, the light bulb is jutting more in to the interior than it does in the final version.

Finishing Details

At this point, it was nearing completion and I was on a roll. So no pictures of the last few steps, sorry. I will tell you the drama of the light and casing, however. I had the auto bulb already, but had no idea how to adapt the casing from my previous TARDIS. On that one, I used a little bit of card stock to make a small box for it. For this one, I struggled for days trying to figure out how to replicate that one piece while making it sturdy enough to match the rest of the box. Then my sister came over to paint. She happened to have a mini canvas in her kit which I immediately seized. So that is what you see on the top of this TARDIS.

I also replaced the latch system. My other sister, who owns TARDIS 2, says the latch system on hers sticks and makes it hard to open. And by latch system, I mean a small piece of wood that holds the box shut with pressure. For this one, I upgraded the latch to a brass latch that matches the hinges. I also find some mini hooks which allowed me to put more hooks in the box (6 small rather than 2 large). With a box like this, some of the latch screws may poke in to the interior of the box. I used my trusty Dremel to file down the ends for safety and painted over them.

And without further ado, here it is! Okay, one more further ado. Remember my complaint about the color not photographing well? These pictures are all of the same box. That's what you get when you try to photograph something with a chameleon circuit, working or not.

The Door Panel


The Top

New Latch

The Back

The Interior

So What's Next?

Well, at the moment, house cleaning, home schooling, and completing my school projects. In terms of a TARDIS 4.0, doing one with a beacon that lights up, maybe adding the iconic sound when you open the door, installing glass in the windows and painting the back of the door panels like the back of the actual TARDIS doors, maybe making a plinth. Who knows? Coincidentally, all three of my TARDIS projects have been completed in April, so maybe by next April I'll have a TARDIS 4.0 tutorial up for you. Thanks for reading.

Tuesday, January 22, 2013

Step by Step Dolphin Painting

I've been wanting to do a step by step painting tutorial for a while now, but I decided to rot my brain on video games rather than craft over Christmas break. :) After a relaxing evening of painting with my amazing man, here's a fresh tutorial for you.

Dolphin Painting- Step by Step

Here's What You'll Need:

  • 8 x 10" pre-stretched canvas
  • pencil
  • 1" wide brush
  • detail brushes
  • toothbrush
  • water cup
  • acrylic paint
    • White
    • Orange (or Orange Yellow, which is technically what mine was)
    • Cadmium Yellow
    • Bahama Blue (or some light turquoise)
    • Desert Turquoise (dark turquoise)
    • Phthalocyanine Blue (dark blue)
    • Black (a tiny bit, or use a permanent marker)
Optional, but recommended
  • Easel
  • Apron
  • Palette
  • Hair Dryer

1. Sketch your dolphin and horizon line. 

I made my horizon just below the middle of the canvas. To sketch a dolphin, make the large banana shape first. Then add a longer nose, the flippers, and the tail. Don't worry about the tail too much, we'll be covering it up later.

2. Lay out your paint. 

Acrylic is know for its fast-drying qualities. While there are palettes available that keep your paint moist, I don't happen to have one yet. So to keep my paints from drying out, I only place what I need on the palette. Start out with white, orange, and cadmium yellow.

3. Sky- layer one. 

For the first layer of sky, blend the white and orange to make a pale orange color. Using a wide brush, paint the entire sky. Try to avoid covering the dolphin completely.


 4. Sky- layer two. 

While the first layer is still wet, apply a thin layer of orange (unmixed) to the edges of the sky. Don't paint the area where your sun will be. Rinse and dry the large brush.

5. Clouds.

Use a medium-sized brush to put in some clouds with more orange.

6. Sun and highlights.

Using a fine-tip brush, apply a mix of white and yellow to the edges of the clouds. The areas closest to the sun should have more white, the areas farthest away should have more yellow or no highlights at all. Make the sun using a blend of yellow and white. Then paint yellow and white radiating from the sun. Use your large, dry brush to blend the sun rays (and the edges of the clouds, if you wish). Ignore the blue streak in the picture, I got a little ahead of myself!

7. Add blue paint to your palette. 


8. Paint the water- layer one. 

Using your large brush, paint the entire water with a layer of phthalocyanine blue. Mine is upside down so I could paint the bottom edge of the canvas. If you are not planning on framing your piece, you might want to paint the edges as well.


9. Paint the water- layer two. 

While the first layer is still wet, load your large brush with both turquoise. Turn the brush so the wide part is parallel to the long edges. Paint from side to side to simulate gentle waves.


 10. Dry it! 

Now is a good time to get out that hair dryer, if you have one. Otherwise, wait for the blue and orange to be somewhat dry before proceeding.

11. Dolphin- layer one and sun reflection. 

Using your fine tip brush, make horizontal lines below the sun to look like sunlight reflecting off the water. If your lines get too wide, you can cover them back up with some of the turquoise colors.

For the dolphin, use the fine tip brush to fill in the top fin, the tail, and the lower fin on the right. Paint a thin line along the bottom of the dolphin's belly. Paint a thick line along the dolphin's back.


12. Dolphin- layer two. 

Use the darker turquoise and lay in a wide stripe along the dolphin's body just below the thick dark blue. Then layer in the lighter turquoise. Finally, use white to make the lighter parts.  For the nose, use the light turquoise to fill in. Then make a line for the mouth and the forehead shadow with the dark turquoise. Fill in the lower left fin and most of the lower right fin with dark turquoise.  Use your black paint or marker to add the eye.

13. Sea spray. 

I think this is the most fun part. Load up your toothbrush with white paint. Carefully run your thumbnail along the brush to make a controlled splatter. You might want to practice on paper before putting your spray on the canvas. You can retouch the sky or ocean with more paint or blend in the extra spray with a large dry brush if necessary.

And you're done! 

So long and thanks for all the fish. :)


Monday, November 5, 2012

10 Tips for Finding Good Art Deals

Well, we've been busy the last couple weeks! First, I have been privileged to teach not one, but TWO Coffee and Palette events. These events were held at our local church and I was asked to be the guest artist. It was an amazing experience and I think I learned just as much, if not more than, my students. I've especially learned about finding good deals on supplies and I'll share my not-so-starving artist tricks now:

10 Tips for Finding Good Art Deals

1. Buy canvas in bulk. 

If you can find a discount store with a large craft section, chances are they will sell pre-stretched canvases in multi-packs of 7-10. Some craft stores will also have the multi-packs and will allow you to use their coupons on them. Keep in mind, the larger the canvas, the more expensive it is.

2. Use coupons and sales.

Keep an eye out for those craft store sales flyers! I've seen canvas sell for as much as 60% off or buy one, get one free. Most of the craft stores around here offer internet coupons you can print if you sign up for the email listing.

3. Find a discount art store or wholesaler. 

One of the art stores here has a large wholesale warehouse that is open to the public. That's my favorite place to get brushes. They once had a box-style field easel for $30. (I still regret not getting that.)

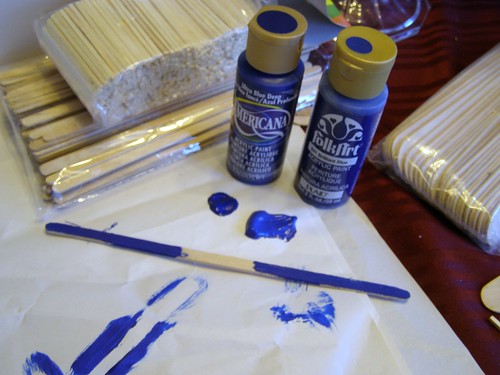
4. For paint, skip the art section. 

If you're just starting out on painting, the price tags on tubes of paint can seem very intimidating! I'd recommend getting a beginner's kit (just the small tubes of paint and a palette). Then, as you use the colors, you can replace them with ones from the woodworking and craft paints section. They are usually much cheaper. Bear in mind the craft paint has a different consistency sometimes and you might want to research viscosity, etc. when you're ready to "graduate" to the art paints.
 

5. Think outside the box. 

Sea sponges at craft store: $5 for 4. Natural sea sponge loofah at grocery store: $2. Buy loofah, cut into 8 wedges. It works. 

Also, old paintbrushes with paint caked on can be soaked in alcohol (read that somewhere, but haven't tried it yet). Or, they can be used as stipplers and rough edgers.

6. Network with other artists. 

I only found the wholesale warehouse through recommendation of a friend. You never know who is a budding artist, who has old supplies sitting around, or who might make a good painting buddy.

7. Don't skimp when it's important. 

Two words: fan brushes. My sister bought a brush set and was fairly happy with most of her brushes, except the fan brush. She tried my fan brushes, then went out and tried to find the perfect one. She finally did and it was a little pricey. However, that is still her favorite brush and she uses it on almost every painting for something.

8. Take advantage of your local library. 

I've found a fantastic DVD series on famous landscape artists by David Dunlop at mine! I'm learning so much by not only watching these videos, but also checking out art books.

9. Buy what you need. 

Most of the art paints I've found are cheaper in larger sizes. However, if you aren't going to be using neon orange very often, a giant container might start to get old and separate. For an accent color like that, I would probably head over to the craft section and buy a small inexpensive container.

10. Paint with friends. 

I know I've said it before, but it's worth repeating. If you can find someone to paint with, your paintings will turn out much better (I suppose it depends on who you paint with!). Also, you can share brushes, split costs for paint, etc.

Painting Classes Update

Well, I didn't set out to share my money-saving tricks, but there you have it. Back to my painting classes. We had fifteen students in each class. The first class painted the coffee cup painting, the second a landscape. I think everyone in the first class was pleased with their paintings. The second class, I'm not sure. Theirs was much more difficult and we ended fairly late at night because of the difficulty. Still, everyone ended up with a blue sky, green grass, brown trunks, and pink blossoms. They all seemed to have a great time and several ladies have since told me how much they enjoyed the evening.

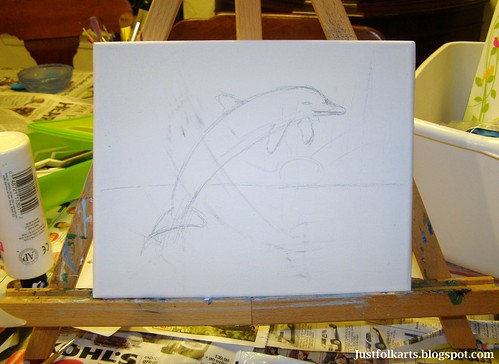
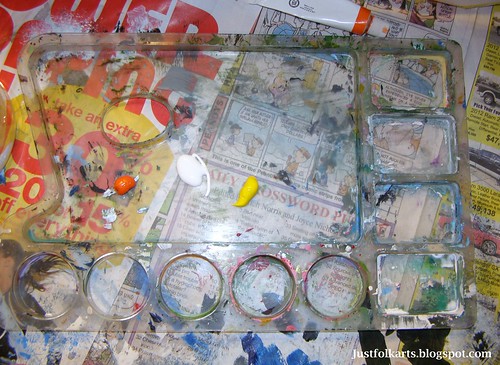
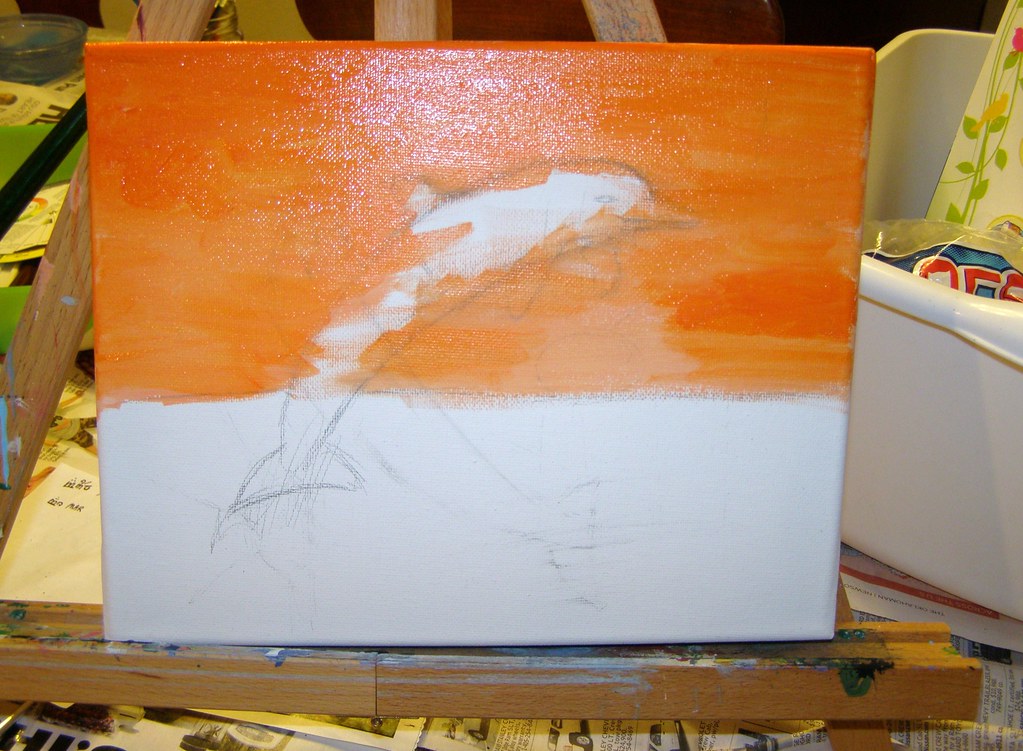
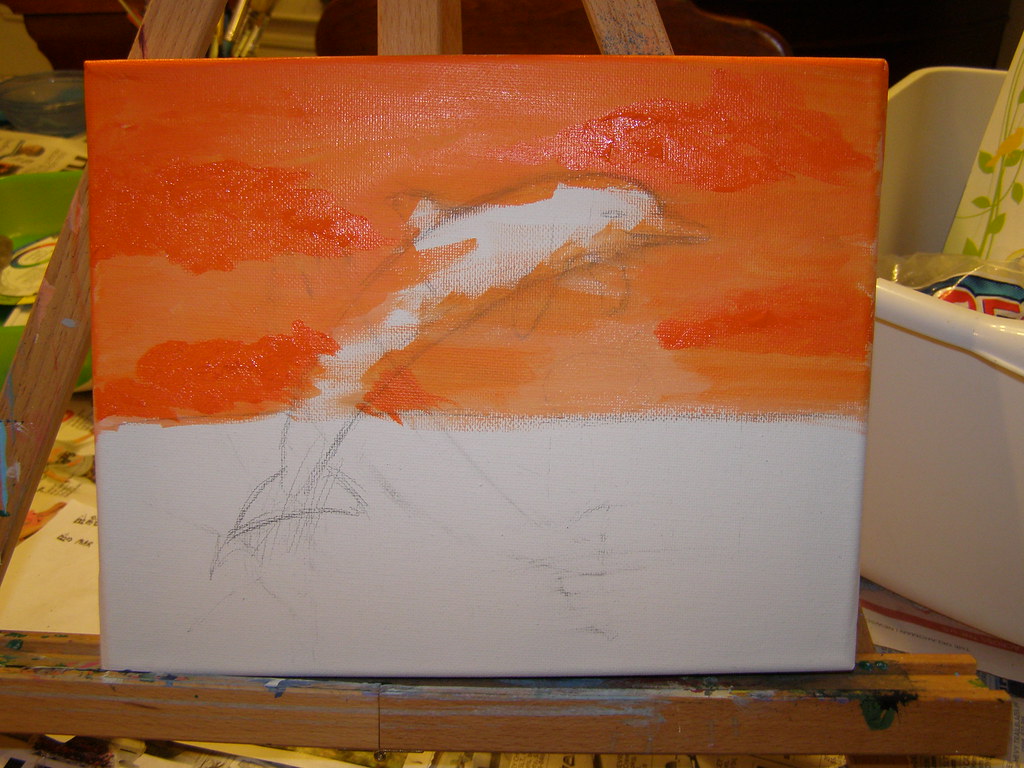
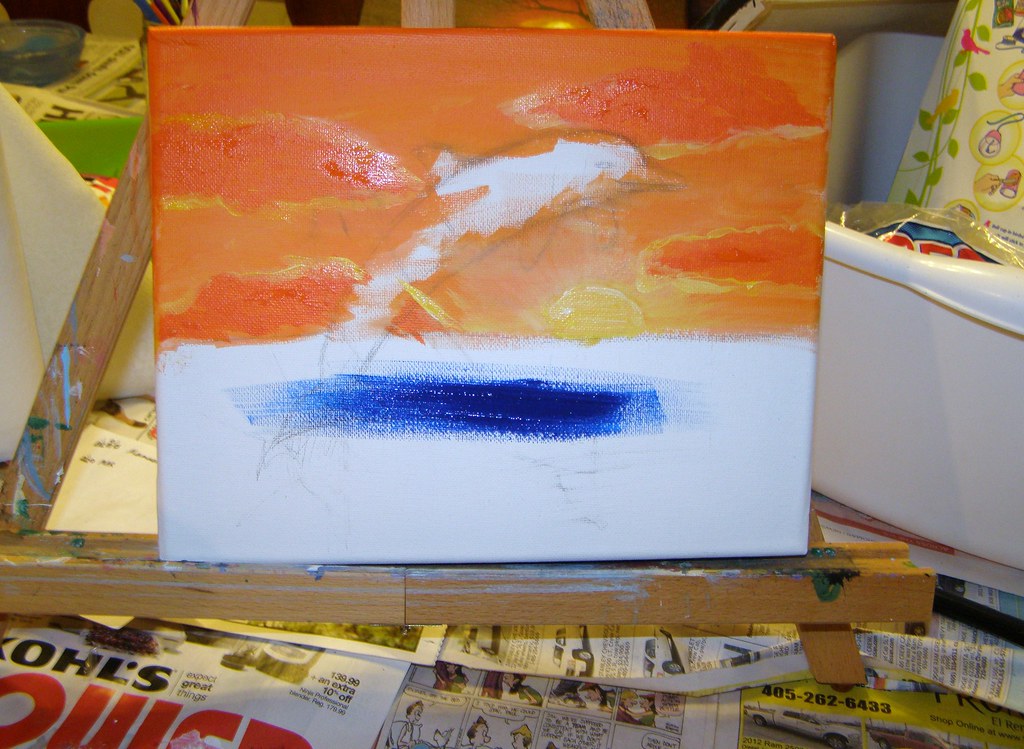
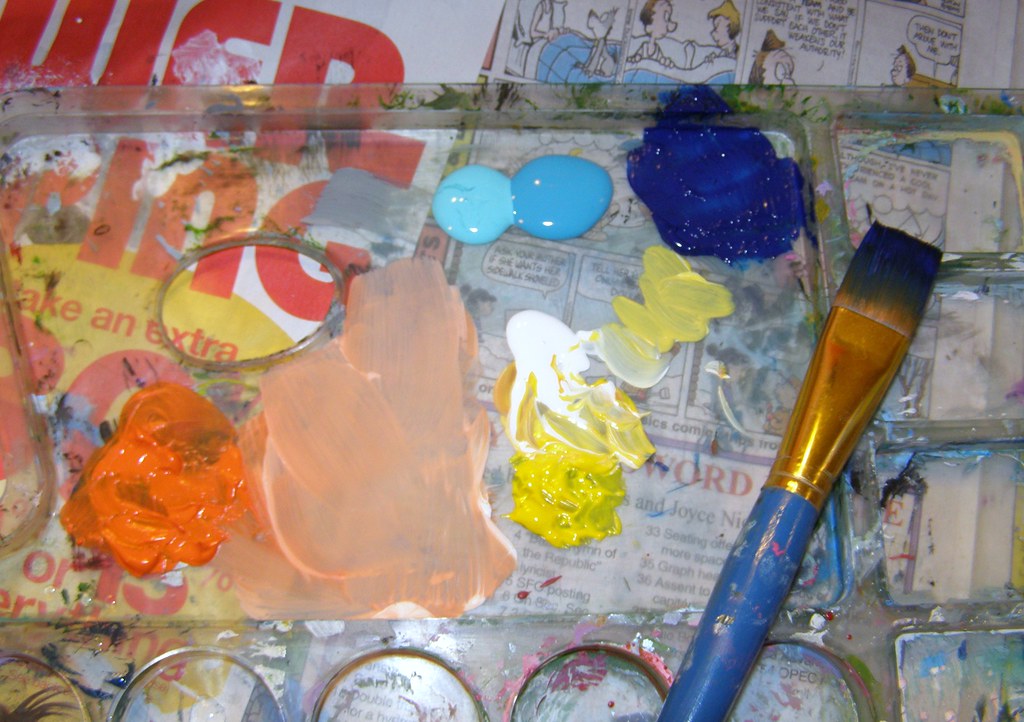
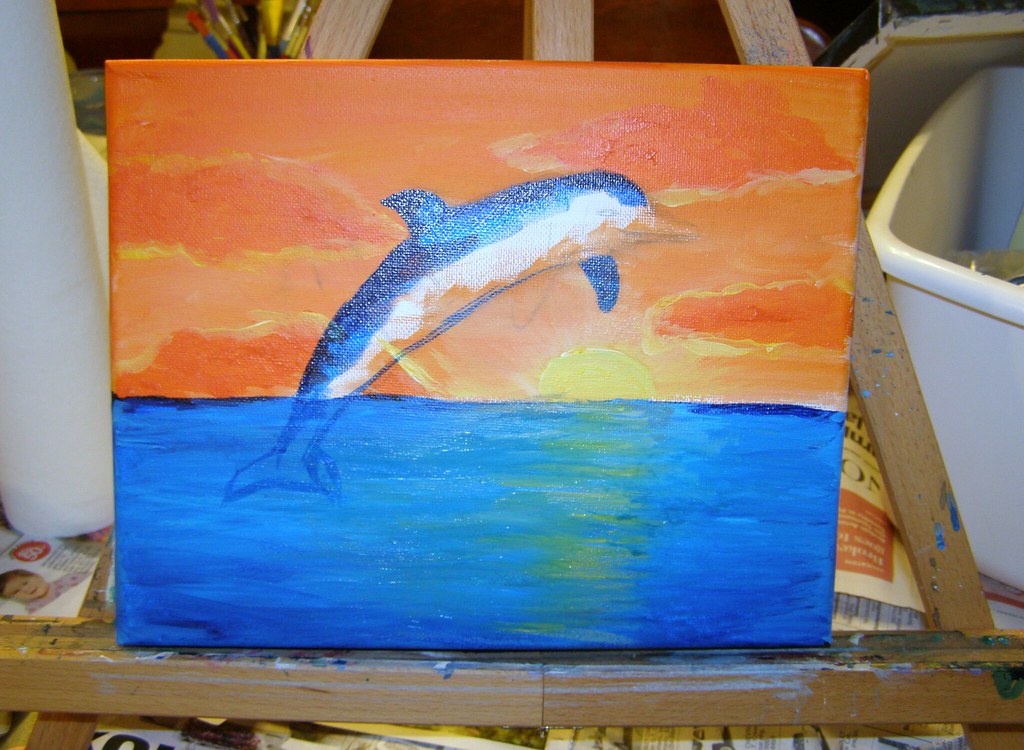
So when is the next one? We're working on it. I would like to do another before Christmas to keep the excitement for the classes going, but that's just around the corner! In the meantime, check out these process pictures I took during the practice session with my very patient husband:


 In case you're wondering, his painting is on the right and mine is on the left. The tiny painting in the middle is a result of being suckered into buying miniature canvases for two little girls and having leftover paint.

Isn't it cute? I had also bought myself a mini brush set specifically for this purpose and was dying to try it out. Coming up next are some Pinterest projects we worked together on.

Sunday, October 14, 2012

2 Paintings of England

Fall Break is Here!

And not a moment too soon! Of course, by Fall Break, I mean I'm doing just one class right now instead of 2. The class I just finished was the hardest, but the most rewarding class I have taken yet. Just 7 more to go! But enough about school and back to the art!

Framlingham Castle Moat

The painting at right is my favorite so far. It's based on one of my pictures. I prefer to work with my own pictures because I usually connect to them better and I can remember some of the details the camera didn't capture. This picture was an outing we took to Framlingham Castle in England. My husband is carrying our daughter on his shoulders as we stroll through the moat.

2 Tips for the Day:

1. Don't feel the need to accurately represent exactly what you see in your source. If that was the intention, it would be photography, not painting (unless you're doing someone's portrait, which is why I don't do portraits- yet). Painting is about artistic interpretation. As the artist, you get to choose the level of detail and what you want to include.

2. A mediocre picture can sometimes make an amazing painting. In the Castle Moat painting, I liked the picture okay, but I LOVE this painting, which is really saying something for me. My reactions to my own work usually range from loathing to indifference, it's rare that I really love something I've done.

So here's the painting once again. If seeing my source photo would absolutely ruin it for you, don't keep scrolling! (Or scroll really fast to the next painting!)


And here's the next one (I really need to think of names for these things!) Can you tell the difference between the top and bottom pictures? I tweaked it just a little and signed it.


 In case you were looking REALLY closely, you might notice my brand new easel (a birthday present from my sister!) in the top photo. That's probably the cleanest it will ever be. For what I changed on the painting: added light green in the top center leaves, added light green on the lower right leaves, added lighter colors to the gravel. And here it is next to the source photo, a picture I took from the window of a tea party in England.


Here are four of my other paintings grouped together:
In other news, I've been asked to teach a painting class for a women's group this month. They've had such an overwhelming response that we are offering the class on a second night! I'm quite excited to be teaching and encouraging others to branch out and try new things.