
So Here's the (Long) Story:

My friend recently completed a 30,000 word writing challenge. Since this was her first major writing project, I wanted to commemorate the occasion. I wanted to get her a fountain pen just like mine, but mine was no longer available with free shipping. In protest, I decided to buy a different pen. I ordered a pen and ink set that was supposed to come with a nifty suede roll to store the pen in. When it arrived, I was sadly disappointed. The suede was a sliver only large enough for the pen and a cartridge to sit on, not be rolled up in. The pen also looked cheap and was much lighter than I had expected. I sent it back and ordered a pen just like my favorite one. I expected it to come in a gift box like mine had. No such luck. It was sent very unceremoniously in a bubble mailer. A few days later we headed to the craft store for some art supplies. I found a cardboard necklace box for $1 that would have worked. Then I spotted this unpainted wooden box for $3.50. I decided that was the way to go.
How to Make a Distressed Gift Box
Here's What You'll Need:
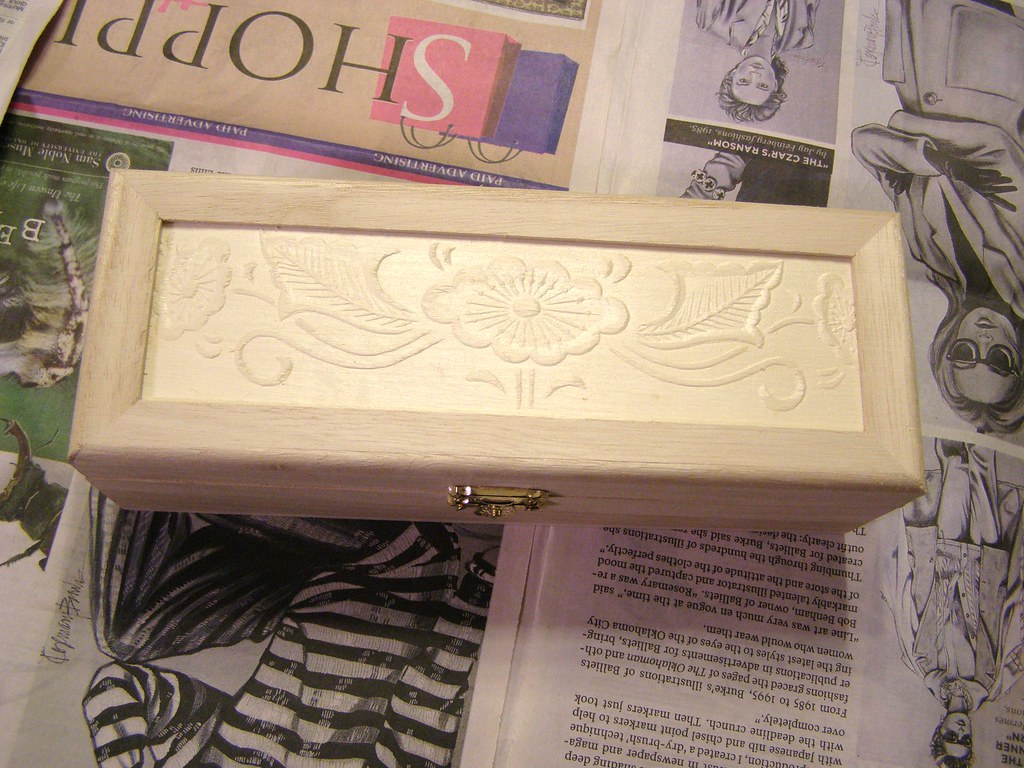
- Unpainted wooden box (found mine for $3.50 at Michael's).
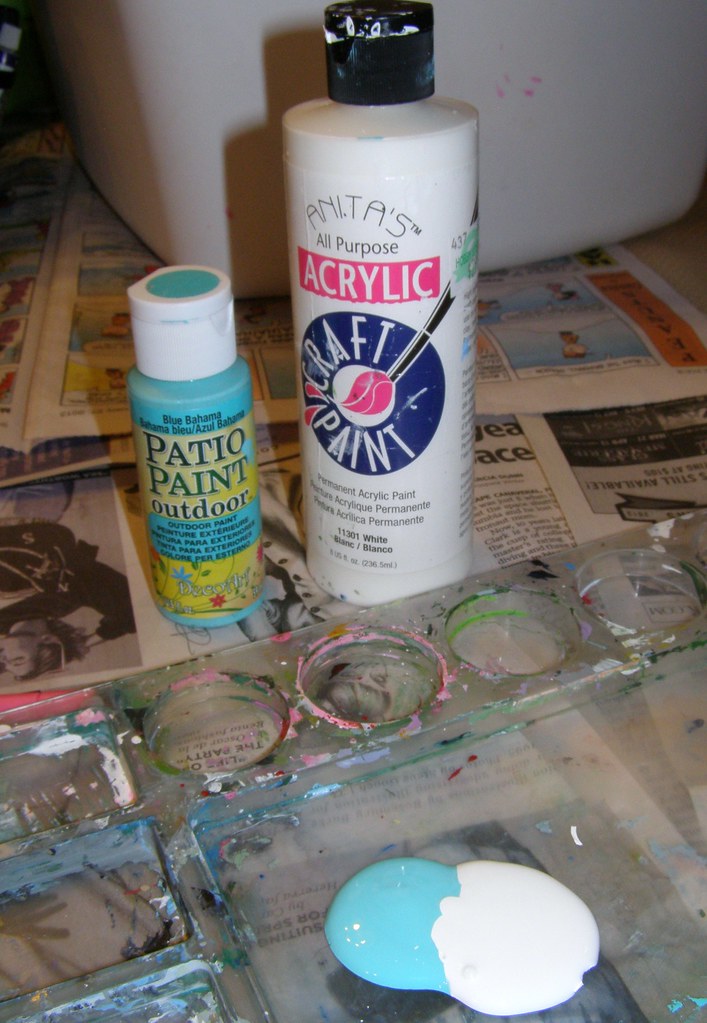
- Acrylic paints:
- White
- Turquoise
- Brown and/or Black
- Sandpaper
- Screwdriver

1. Remove the Hardware.
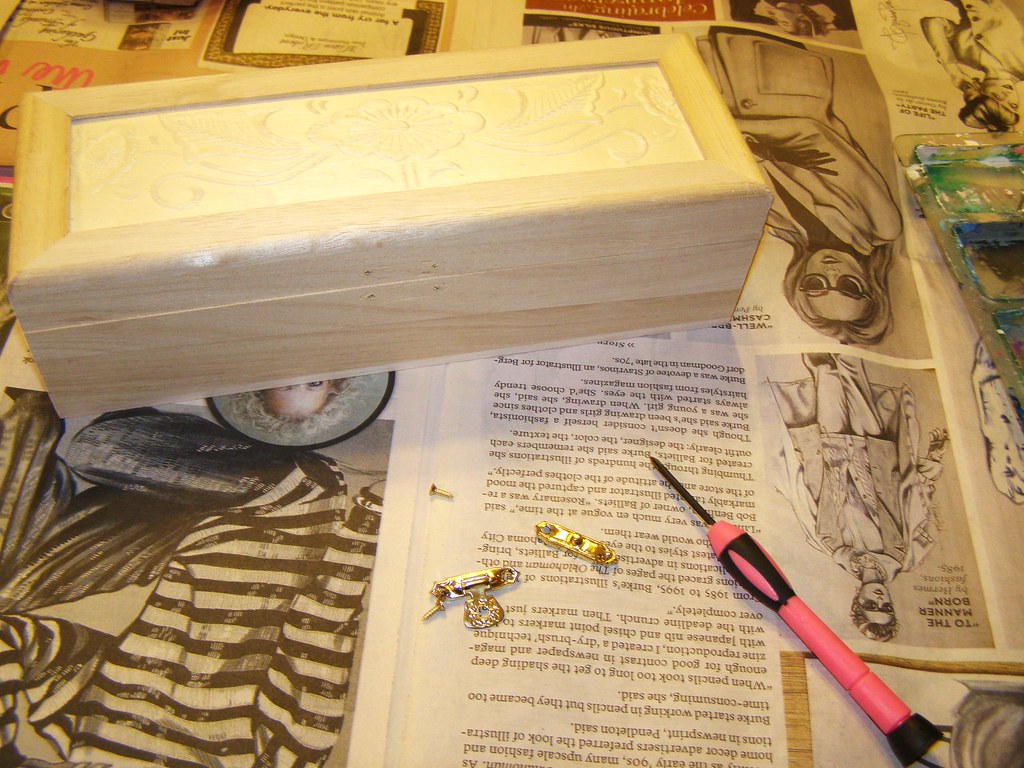 The hardware on my box came off pretty easily. If you wish, you can mark the underside of the hinges to make sure they get back in the right place. Mine were a little uneven and required some problem solving to get the box back together once it was painted.
 2. Clean the Box up a Little.
If you want to, sand any majorly rough places. Don't go too crazy, rough places catch paint and add to the distressed look. Whether you sand or not, make sure all excess sawdust has been removed from the interior of the box. I used an electronics duster to blast some air into the box.
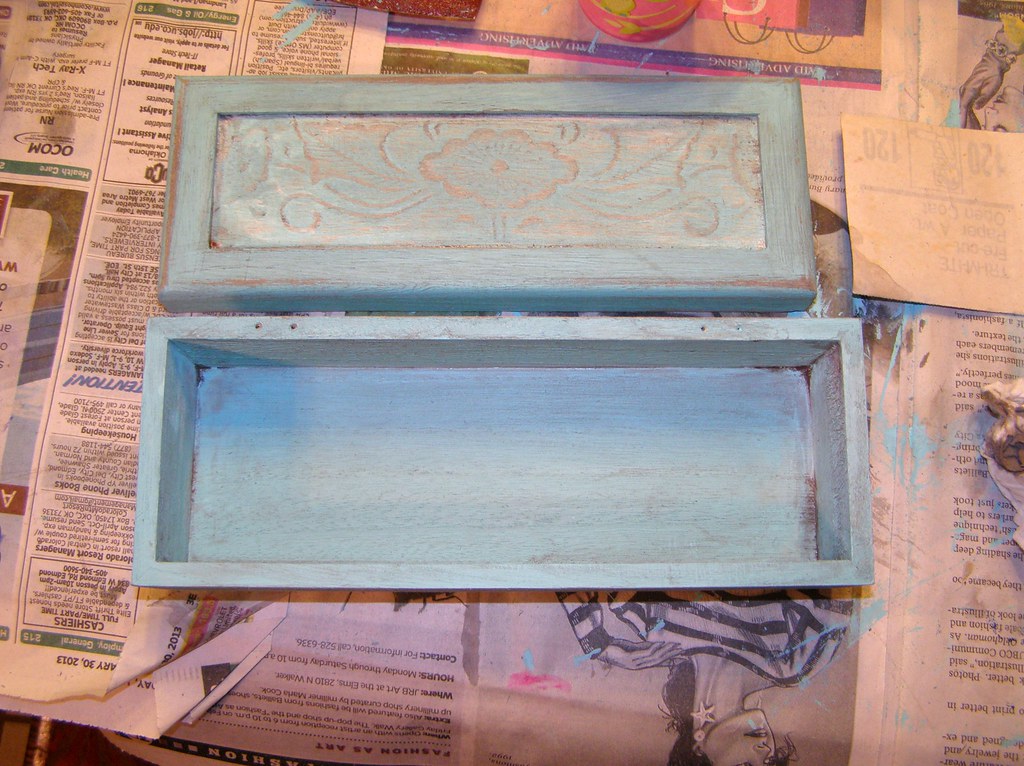
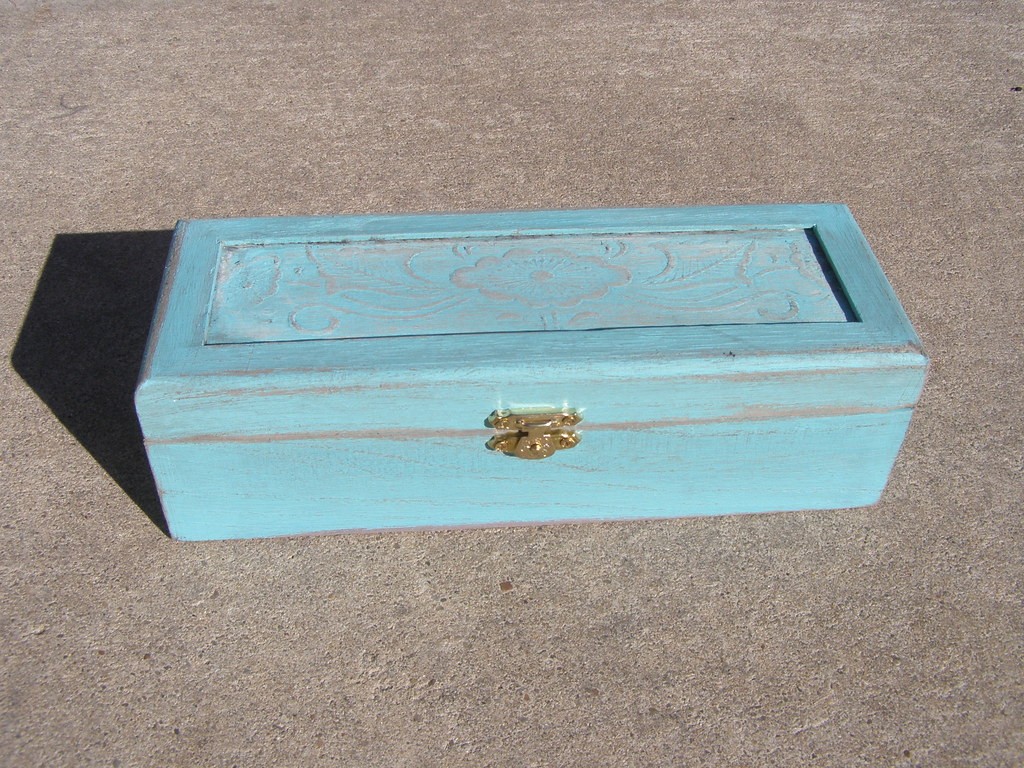
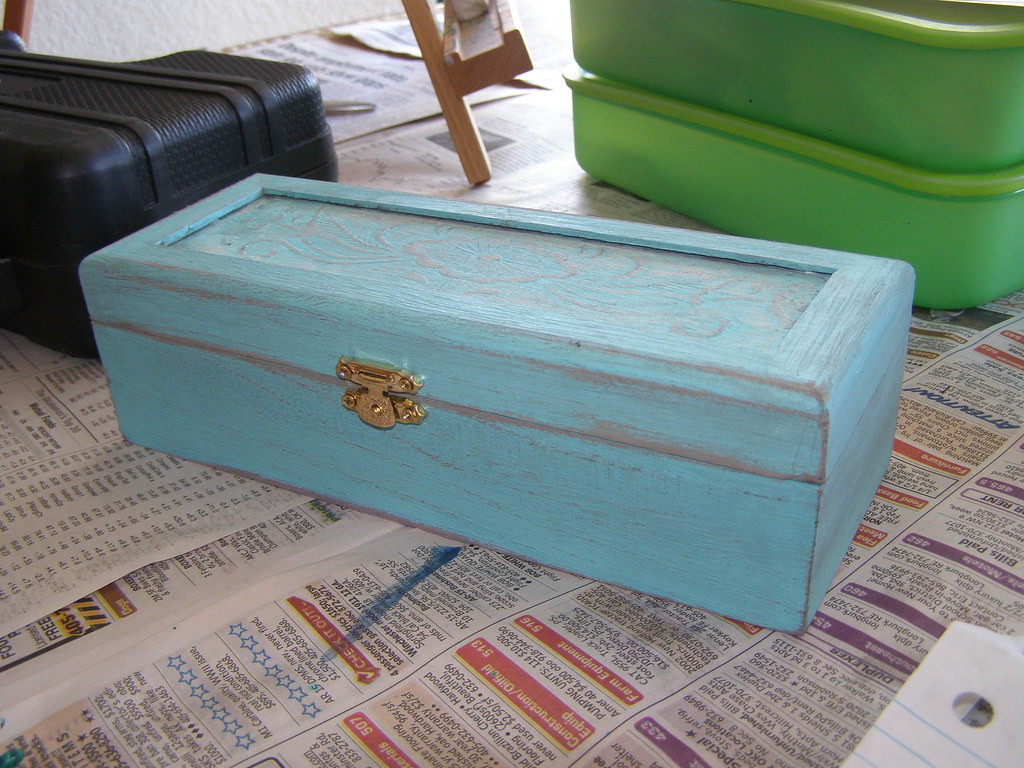
 3. Apply the Base Color.
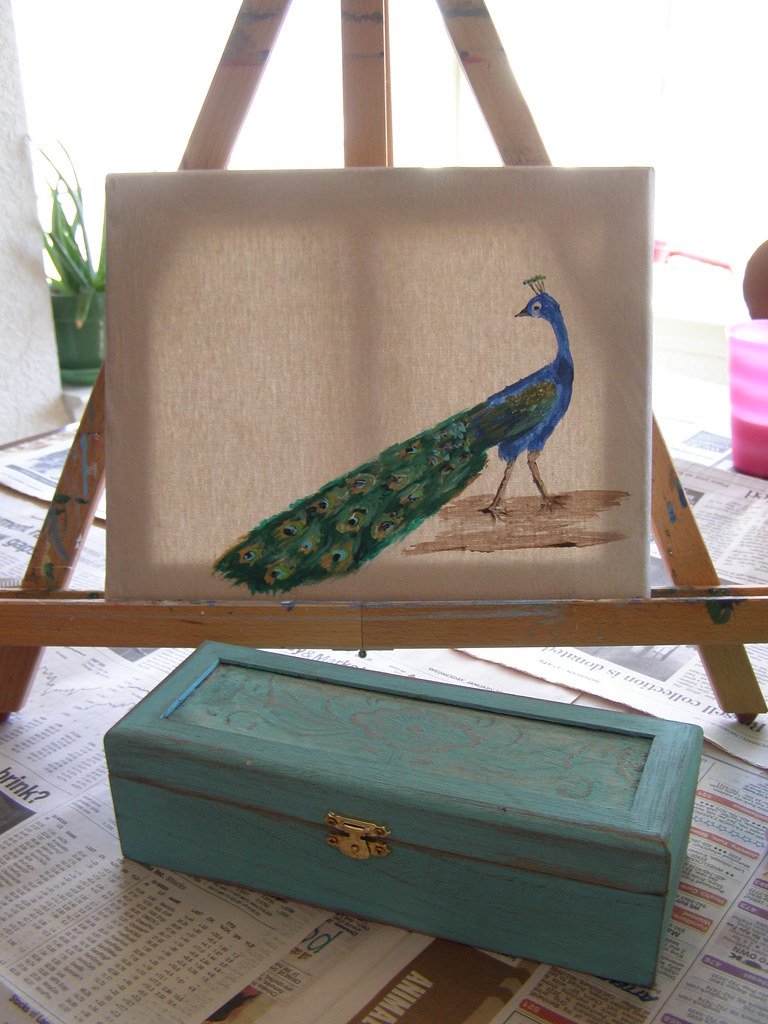
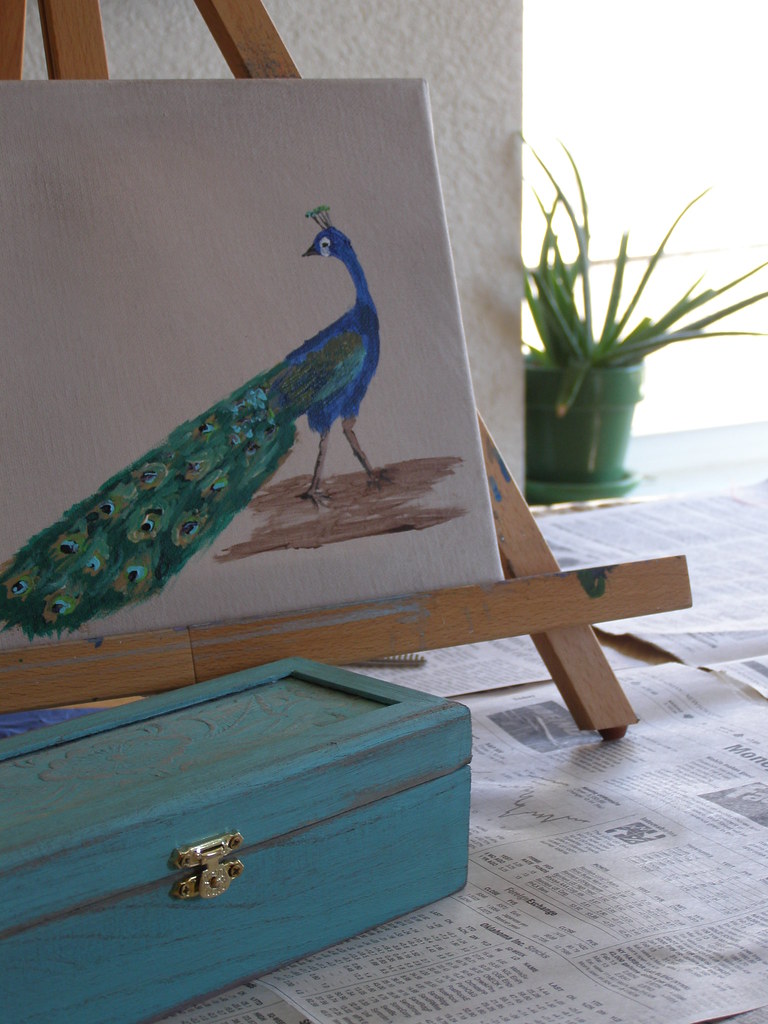
I mixed my white and turquoise in a 1:1 ratio, then applied it to the box with a 1" brush. Nothing fancy here. I only did one coat, since I'll be distressing the box. I had planned to paint the designs engraved on the box with different colors and do a peacock on the inside of the lid, but after looking at it, I decided simple was best.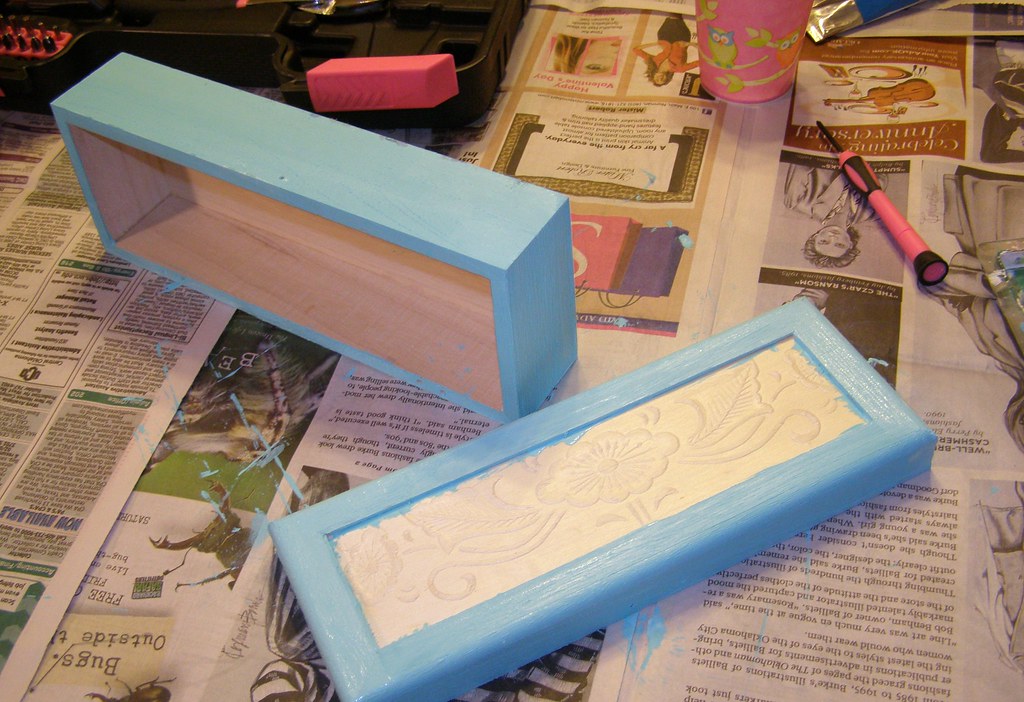

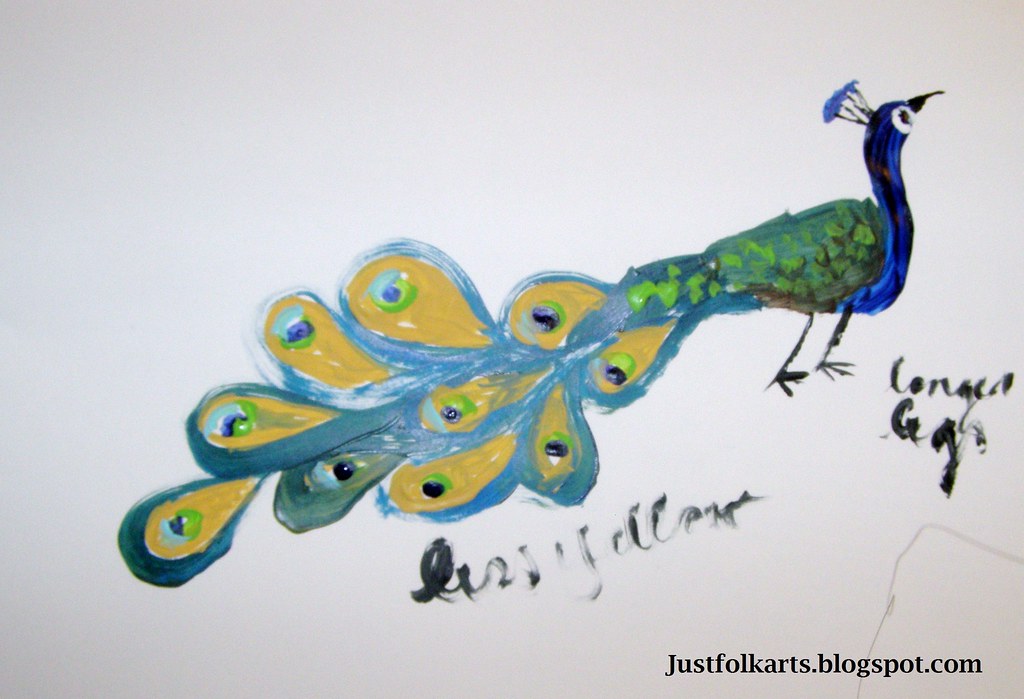
Here's my peacock sketch. Cute as he is, I decided I'm not an expert on painting peacocks. Need more practice.
4. Sand it Down.
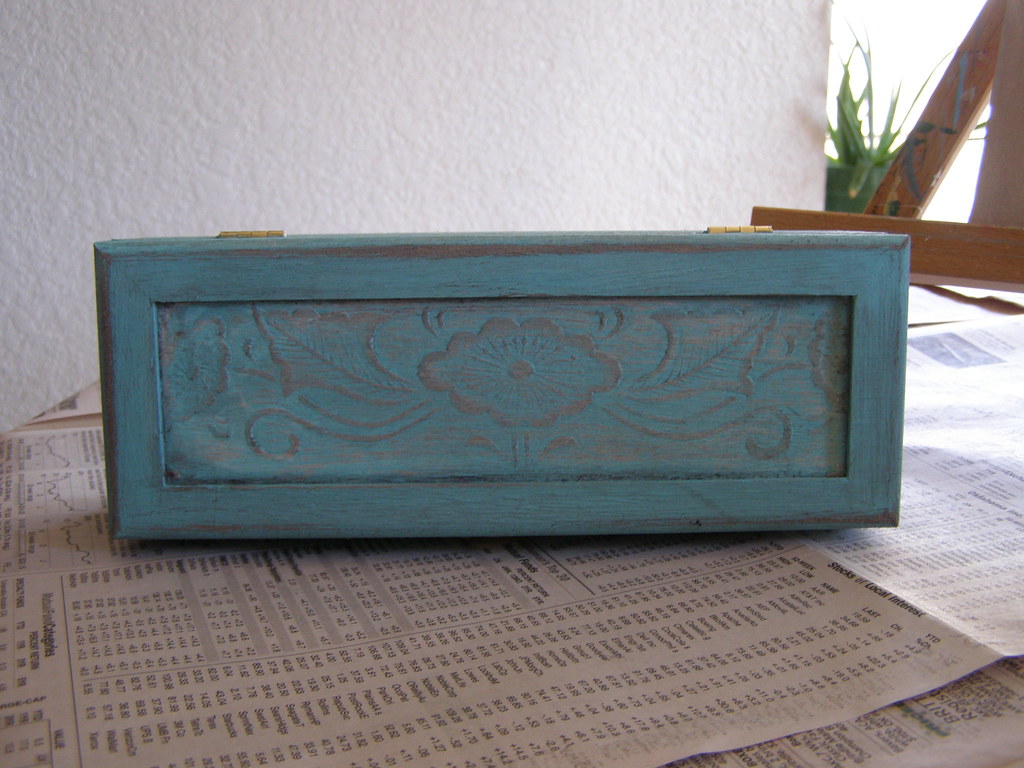
Dry the box with a hairdryer or wait for it to dry.I used some rough grain sandpaper for the initial sanding, then smoothed out a few spots with a finer grade. The goal is to focus on the areas that would be scratched the most by normal wear and tear over time. Corners and edges are especially important, but be careful with the corners. These boxes aren't super thick and you can chip off a piece of the corner pretty easily. No big deal if you do, that happens over time, too. Sand down to where you can see the natural wood underneath in some places. Also sand the engraved design a little, but not too much that you lose some of it.

5. Paint on the Distress Color.
Mix brown, black, and water until you have a dark brown color that is the consistency of dirty dish water. Brush the mixture with the wood grain, making sure to dab extras into the corners and details on the lid. Before it dries, use a paper towel or rag to remove all the color you don't want. The less you remove, the darker the finish will be.
6. Reattach the Hardware.
Once your paint is dry, reattach the hinges first, making sure the edges align as well as they did before you started painting. Then close the box and reattach the clasp.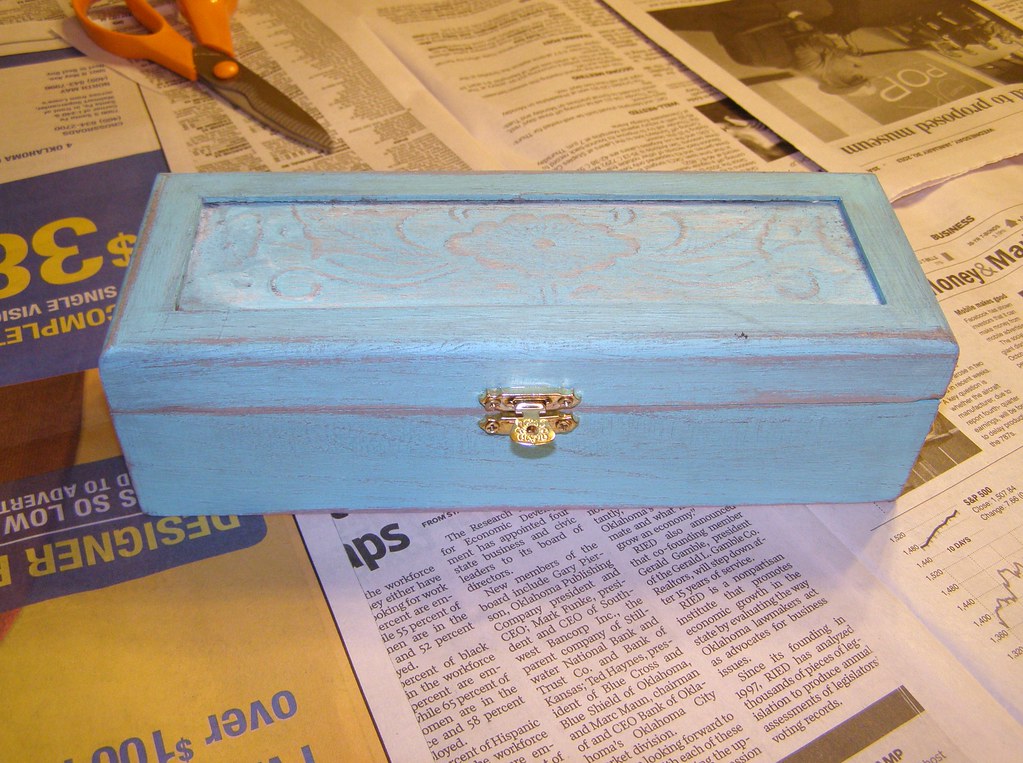
7. Fill the Box.
I filled the bottom of the box with some leftover stuffing from another project. Then I nestled the extra cartridges, ink, and instructions in the stuffing. I then cut a piece of scrap fabric in a rectangle that was about 3" wider and longer than the bottom of the box. I tucked the edges around the stuffing. Then put the pen on top and it was ready to go!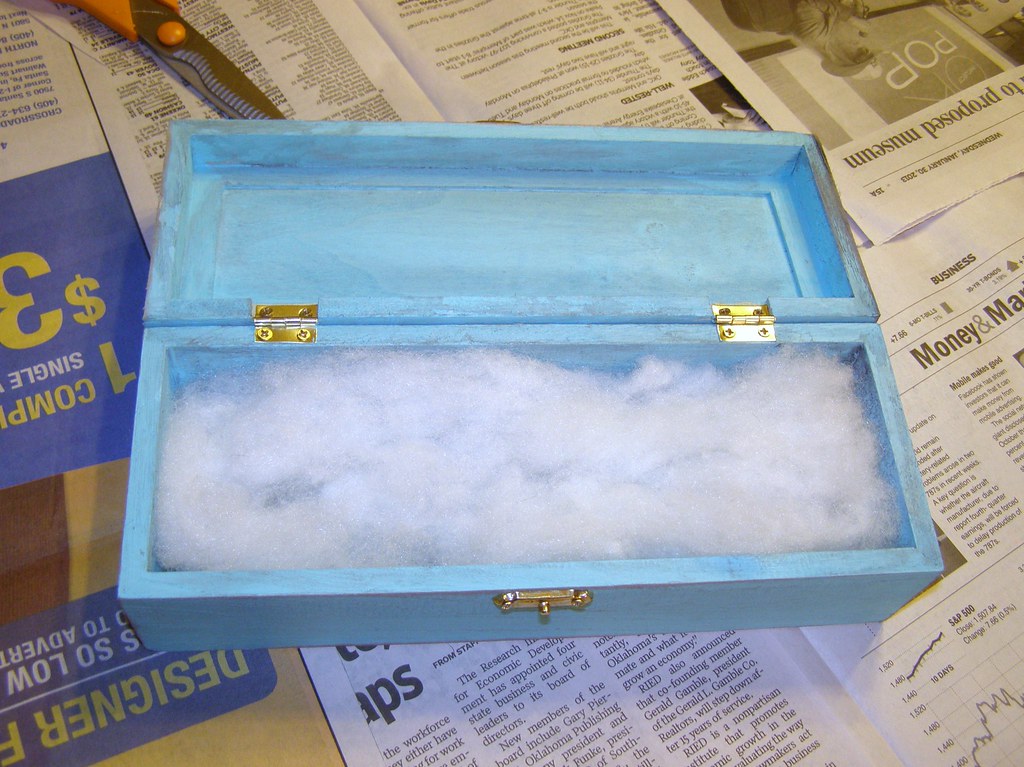
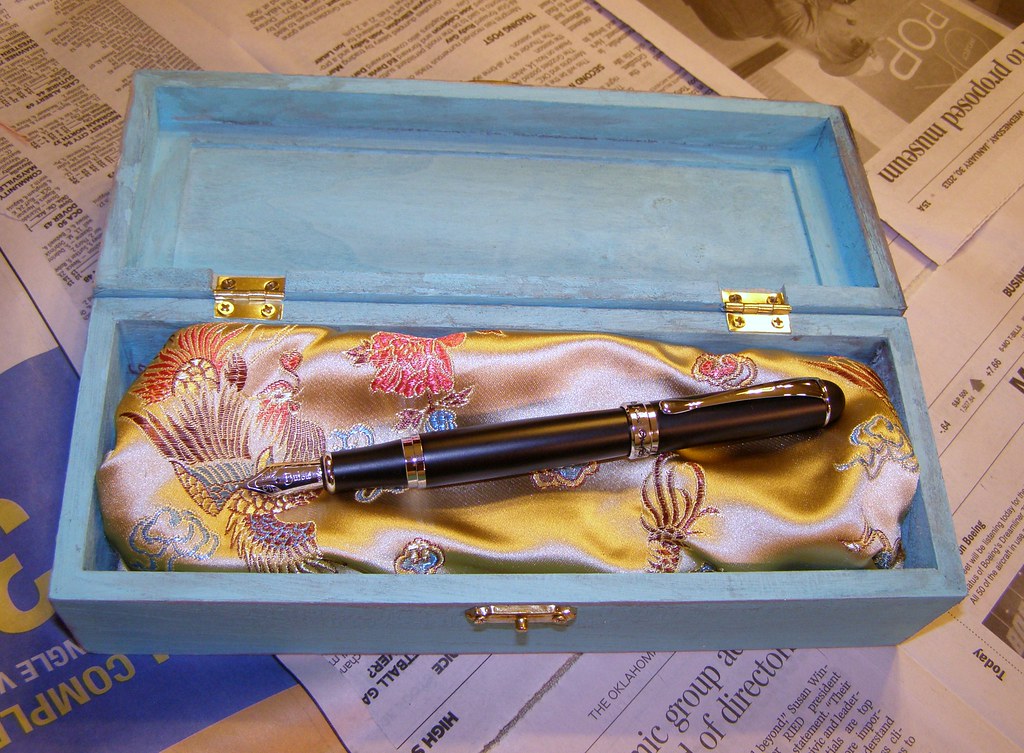
The box turned out to be just perfect for the present. Since I had all the other materials, the cost was only $3.50, which is about what I would pay if I had put it in a gift bag with some tissue paper.

And all my extra peacock colors? I used them to make a peacock painting. I was going to give it with the pen, but my husband convinced me to hold onto it for a little while longer and make some improvements. I'll let you know when (if) I do.
No comments:
Post a Comment