I think I may have the best mother-in-law in the world, just so you know. Well, for a while now we have been making plans for her to come stay with us for an extended period of time. We bought bunk beds for the two girls and moved them into a room together. Then we bought a TV for our spare room. We moved in a dresser and a small bookshelf. But the room looked really bare, more like a sad corner to shove an unwanted guest rather than a tribute to the wonderful woman who raised my husband.
I spent a few weeks collecting pictures of inspiration items on Pinterest and Etsy. I decided the room should be turquoise and red, her two favorite colors. Also, it should have a very international feeling since my mother-in-law is from Colombia. When we lived in New Mexico, she visited and absolutely loved the colors and the climate. Finally, I wanted the room to have some birds in it as well.
Okay, a disclaimer. I LOVE Etsy. I have a shop on Etsy (which I would love for you to visit, please). But I don't have an Etsy Budget most of the time. So here is how I made a nice room on a modest budget.
Step 1: Curtains
Probably the easiest thing to change about a room. We had some pretty lavender gingham curtains in there before, but lavender gingham would not match the international red and turquoise theme I was going for. I found these adorable
Retro Plaid Curtains on Etsy. But the $29 price tag with $12 shipping was a bit much for me. I bought some plain dark red ones from the base for only $8 instead. Not as cool, but $33 in savings.
Step 2: Bedding
 |
| Restored Vintage Quilt |
Since the bed is usually the largest piece of furniture in the room, changing it will make a big difference. I am still looking for an awesome daybed frame in my budget, but for now I wanted to change the bedding. Finding the right bedding for the right price was harder than you might think. For $43 (not including shipping) I could get this
Scroll Comforter Bedding Set from Target, but I thought it might look a little cheap. Then I found this
Esprit Spice Bedding Set on Overstock, but it was only available in queen size and it was $110. Of course if I was going all out, I could spring for the
Azaba Duvet Set from Anthropologie, which would be $422. Okay, so not really an option. Then I turned to Etsy where I looked for a simple red quilt twin-size quilt. Certainly more character, but not really much cheaper. Check out this amazing
Red and Aqua Quilt from Etsy, but with a price tag of $295 with $20 shipping, it was a bit out of my budget. Saying we went with a handmade quilt, a dark red sheet set from Overstock ($29), and a turquoise skirt from Bed, Bath, and Beyond ($30), the total would be $374.
Then I found on Etsy a
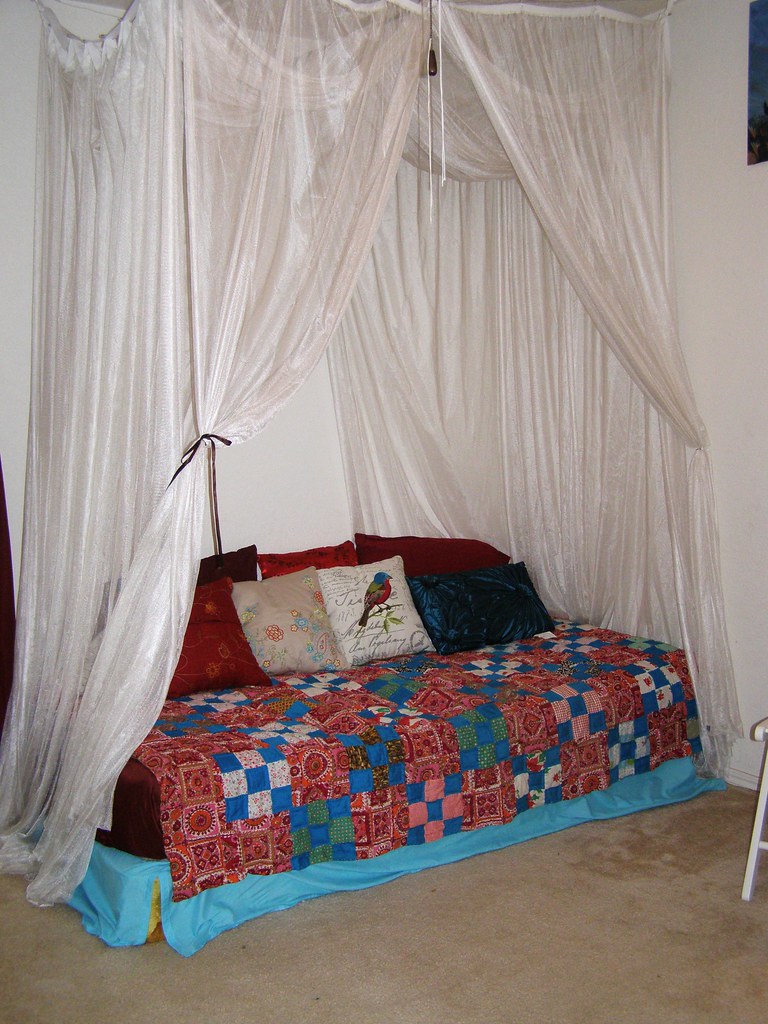
vintage quilt in need of repair. It was only $40 with $10 shipping, right in my price range. It would need some major repair work, but that is the topic of another post. After six weeks of intensive care, the quilt was once again beautiful. Partnered with a sheet set from the base ($8) and a turquoise bed skirt from Tuesday Morning ($2.50), my grand total was $60.50.
Step 3: Throw Pillows
 |
| "Betsy" Pillow |
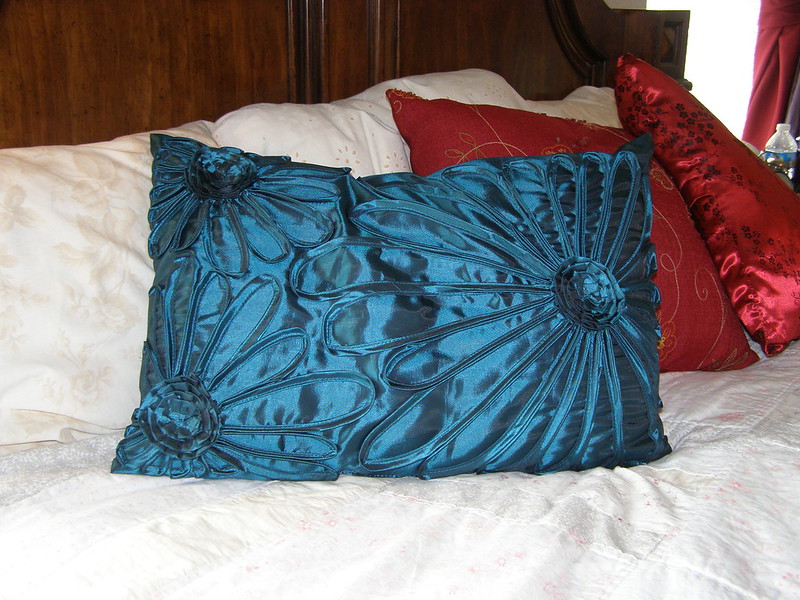
The quilt by far was the longest part of this project, but I did take several trips to different stores in search of the perfect throw pillows for the bed. Again, that's the topic of another post, which I will try to publish soon. First, I saw this pillow and knew it was central to my theme:
Betsy Pillow. What is $60 online was only $15
at Garden Ridge. Hooray!
 |
| Turquoise Pillow |
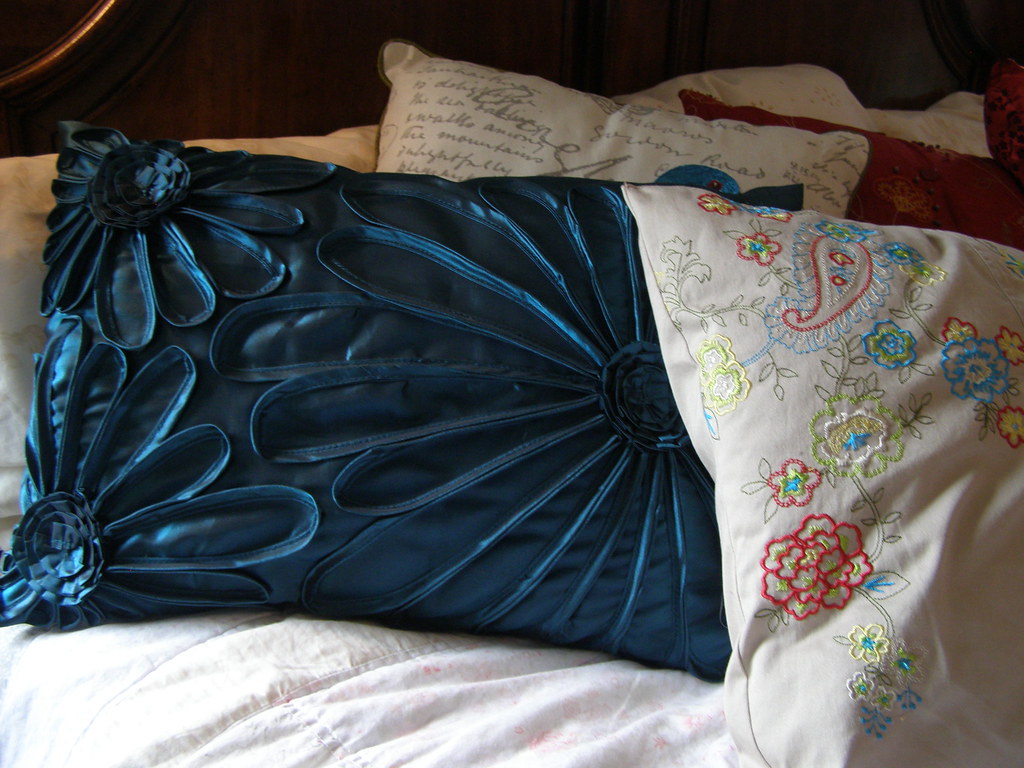
Now for a turquoise pillow. I could pay $125 on
Ebay for a pair of shams from their Rivulets Bedding Collection, but I only needed one turquoise pillow. A pillowcase we already had stood in for the second. I found a beautiful turquoise satin pillow for only $13 at Garden Ridge.
 |
| Three Pillows for $8 |
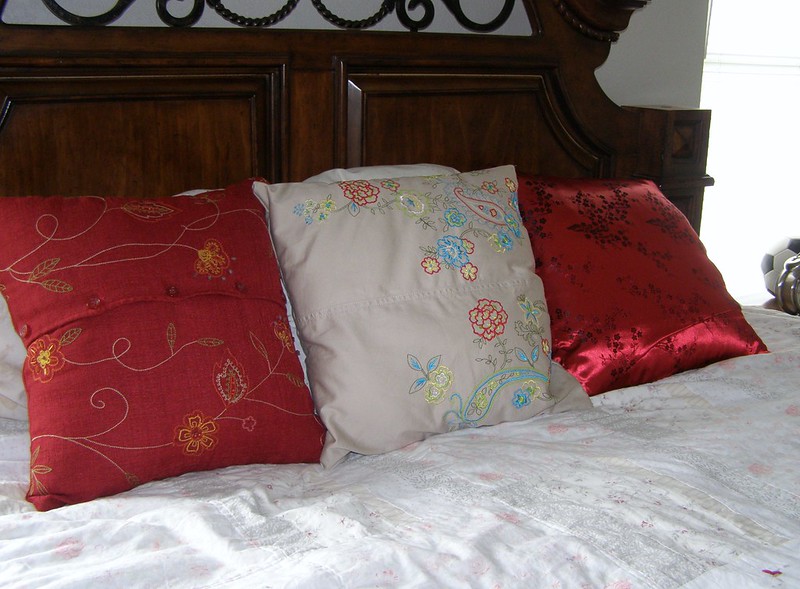
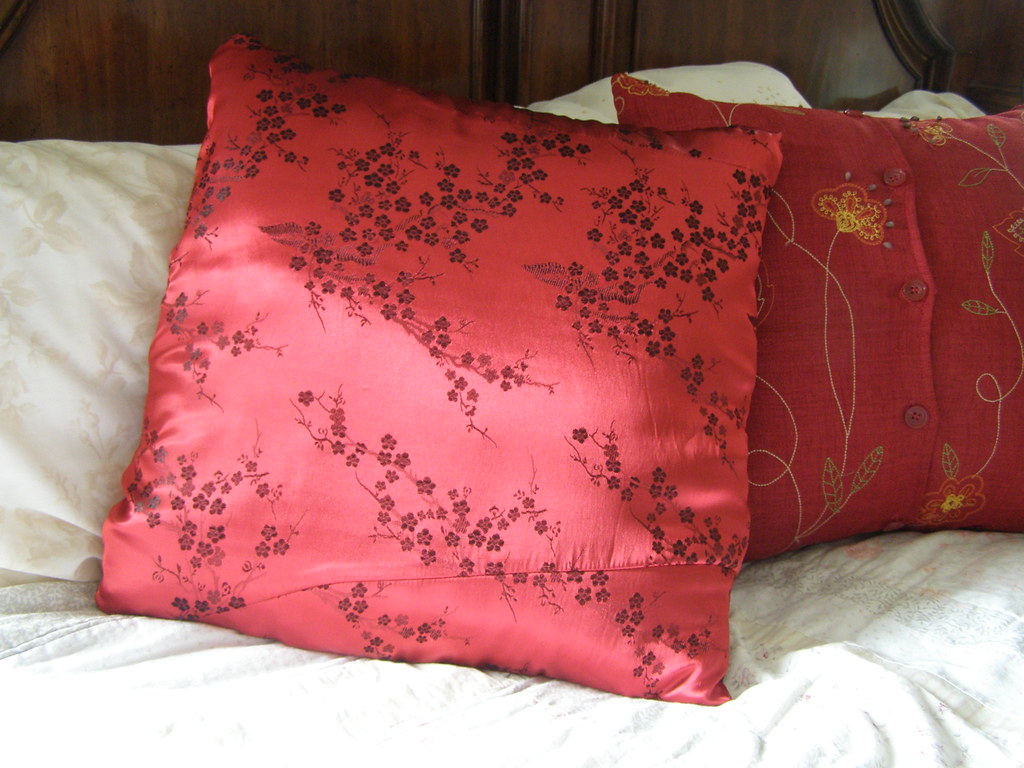
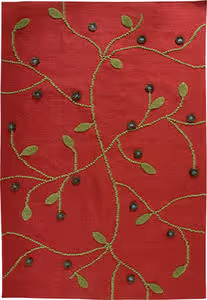
The remaining three pillows were inspired by
this rug,
this pillow, and
this pillow (a cheaper alternative to third is
this one, which is similar to mine and would cost $31 with shipping). Similar pillows to the first one go for about $26. The second pillow was $49, and the third $47.50. The second and third pillows do not include pillow inserts, which run $9 apiece at Hobby Lobby. Total for all three pillows: $140.50. My total? $8 for all three. Yep, you read that right. Not $8 apiece, $8 for all three. I'll tell you how I made them in
another post.
Step 4: Canopy
 |
| Canopy |
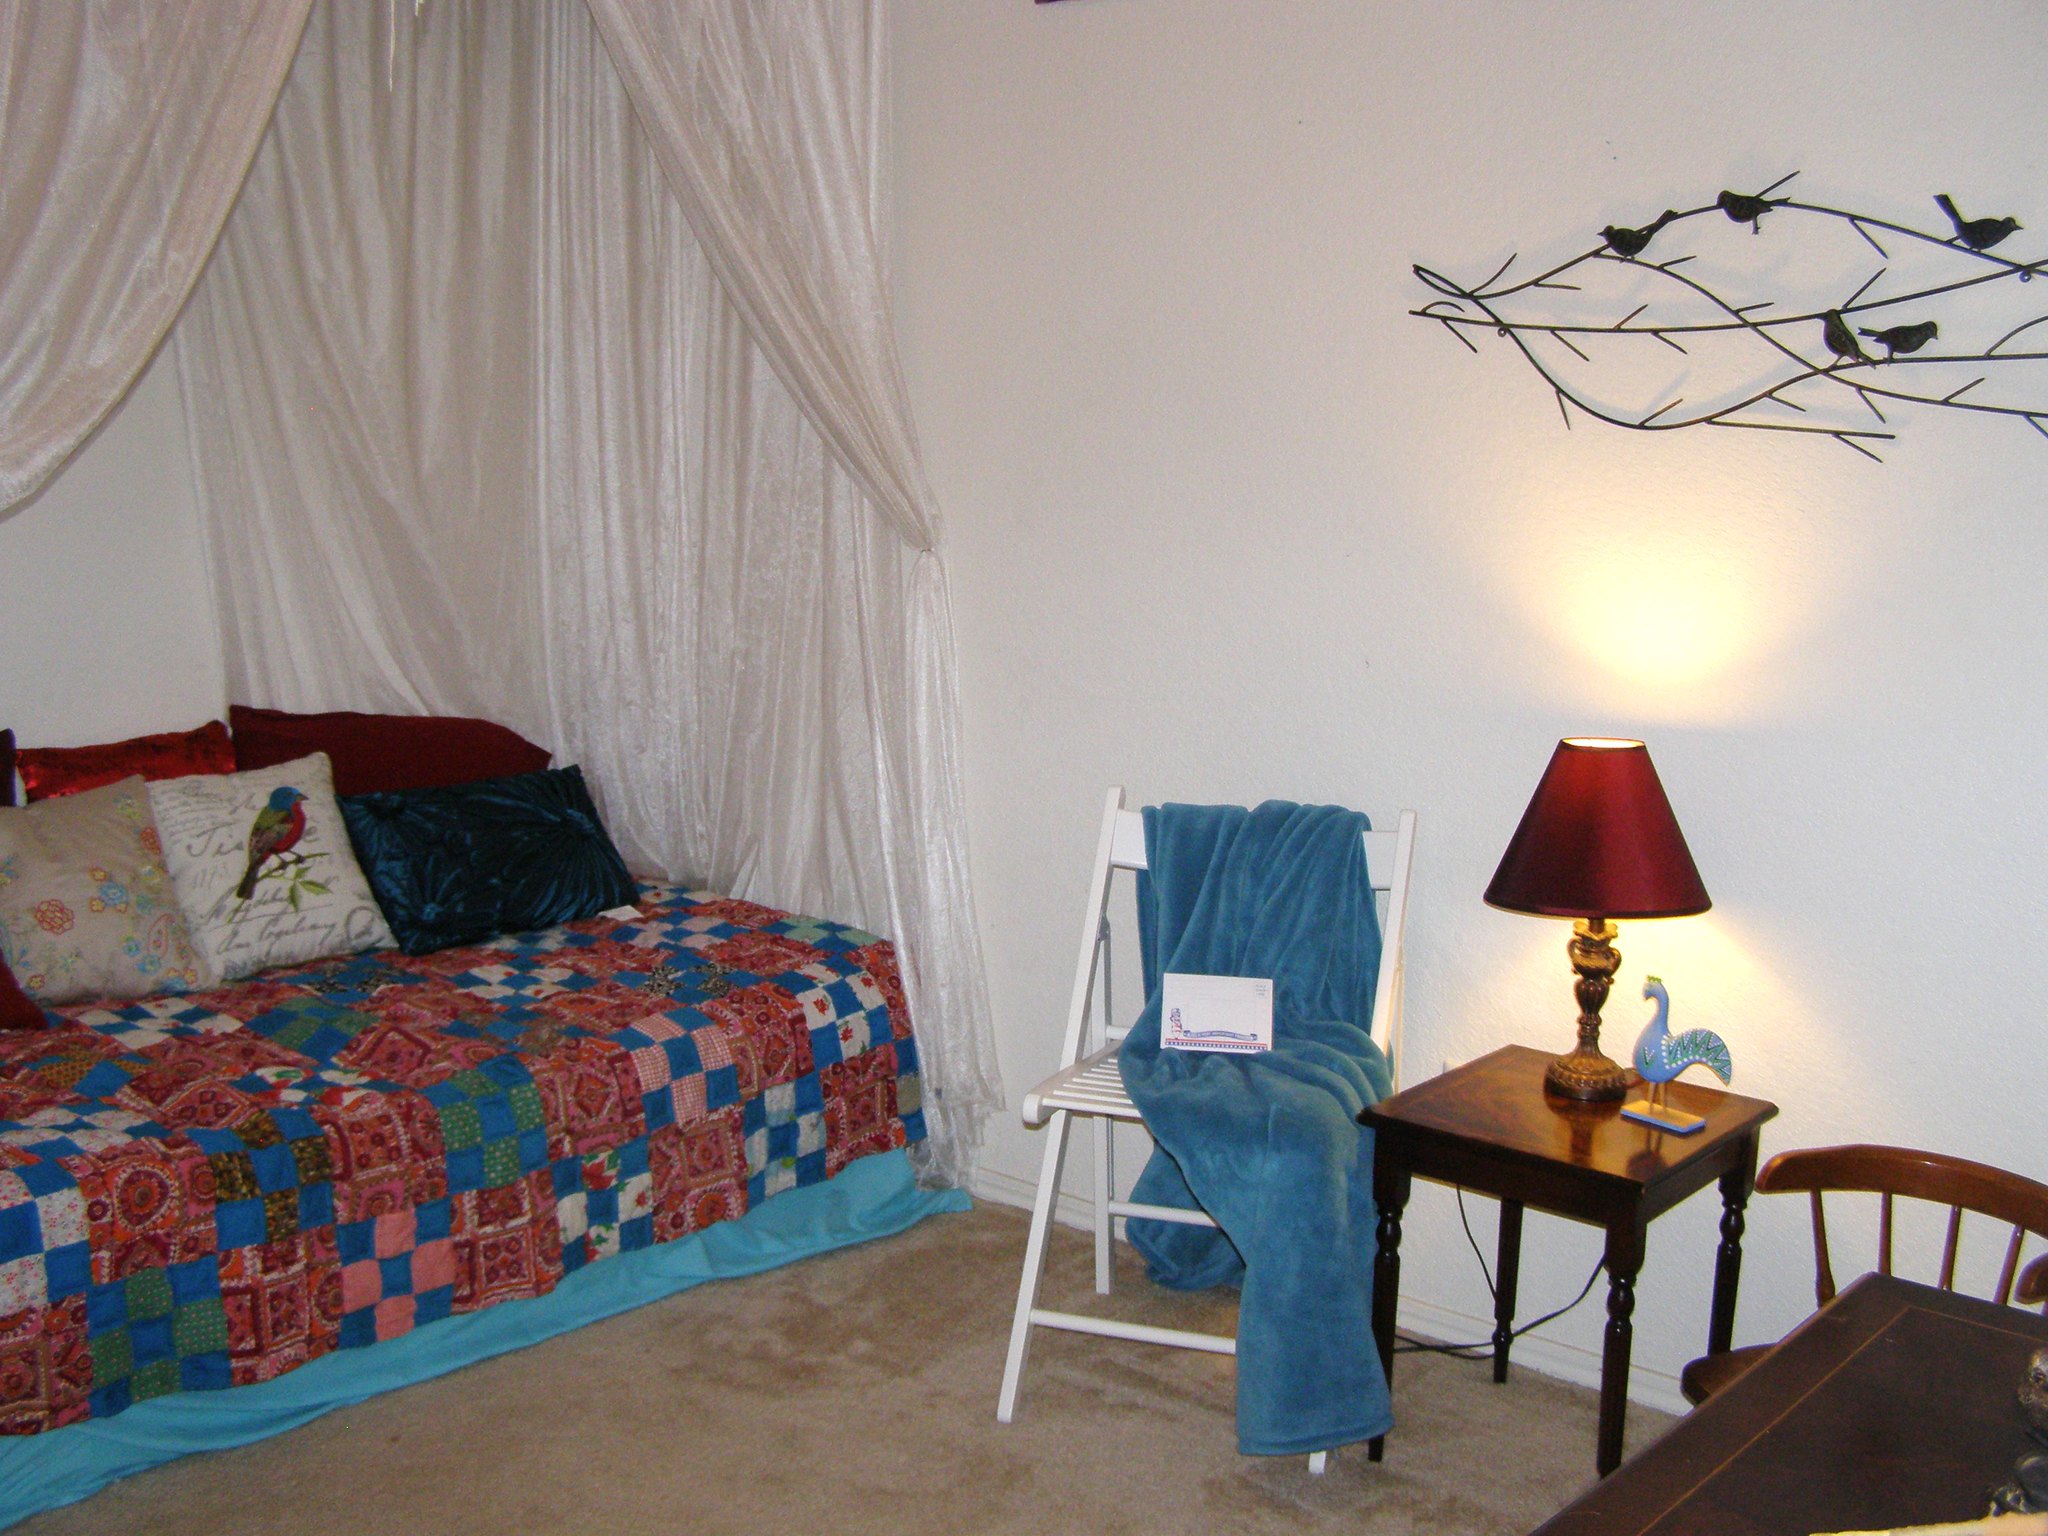
We've had a mosquito net canopy in that room since we moved in. Over time, we have adapted it to a toddler bed, a queen size bed, and now a twin bed. I wanted to change the look of the canopy, but that will have to wait until we actually have the bed in the room. For now, I made a new rod with a decorative flower to hold up the middle of the canopy and make it look a little cleaner. A new canopy would be $65, plus another $21 for a wrought iron curtain rod. Mine was free, with $5 in supplies for the new rod.
Step 5: Finishing Touches
I tend to obsess over the details, but sometimes that works out well. I raided the clearance section at Hobby Lobby and got some fantastic deals. First was the wrought iron bird rack on sale for $10 rather than $20.
 |
| Turquoise Mirror |
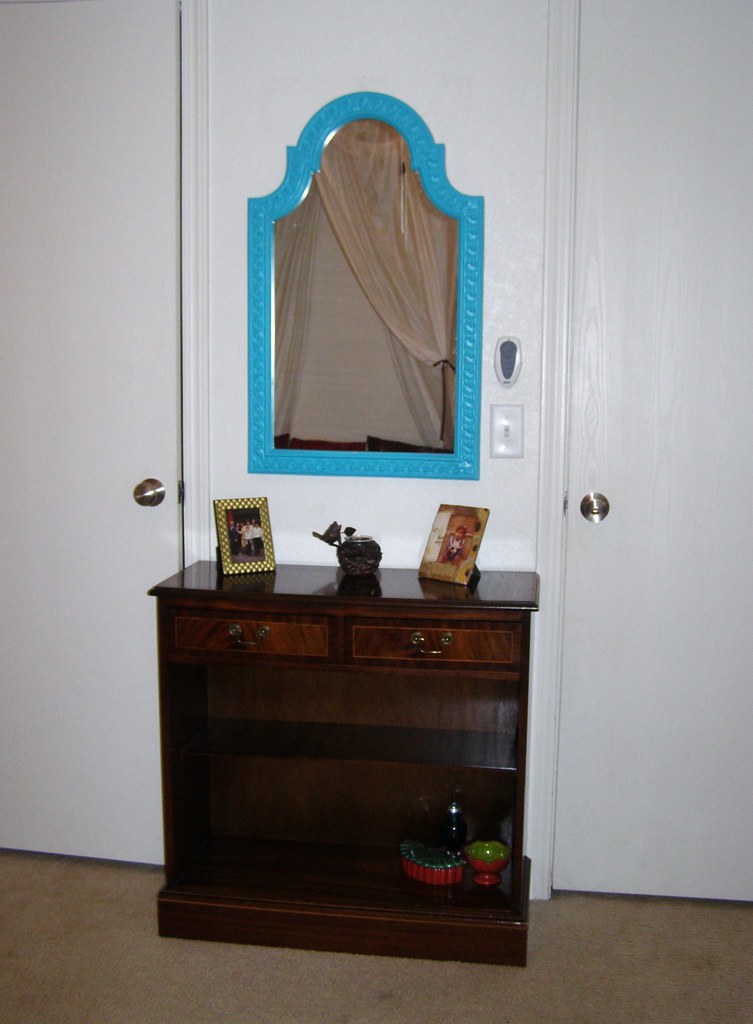
Then there was a large turquoise mirror originally $90, but I got it for $18. Not bad, considering this
inspiration piece from DENY Designs runs $299 and this
tiny mirror would be $32.25 with shipping.
On Etsy, a
white shabby chic chair will cost $60 with shipping. I found a white folding chair at IKEA for only $17. Toss in a comfy throw for only $18 from the base, and we are still way under budget.
 |
| Antique Swedish Bird |
I fell in love with this
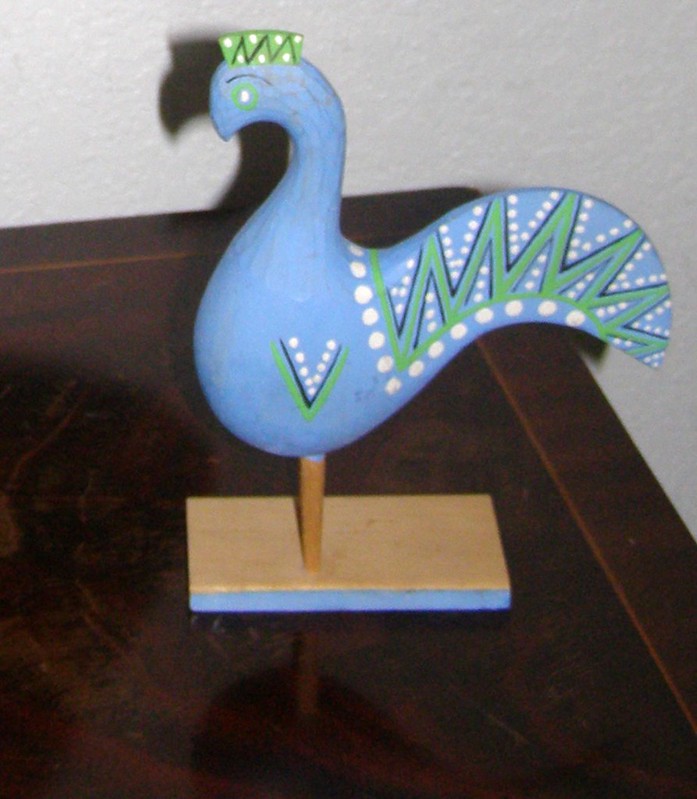
little bird from Colombia. Considering that it's only $19 with shipping, I may still snag it. However, I found an alternative from Sweden in a local antique store for only $4.
 |
| Turquoise Lamp |
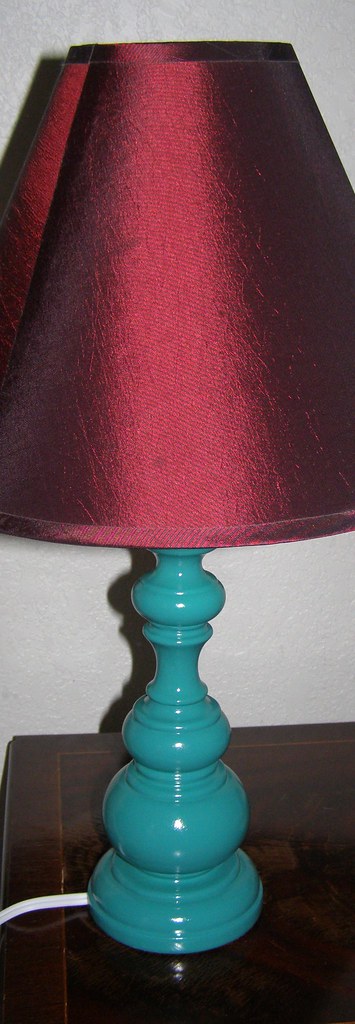
Finally, the lamp base we found at Dollar General for only $8. Compare that to this
vintage cutie that
runs $64 with shipping. I love vintage, but I love cheap, too. The
lampshade was taken from a different lamp in the house, but a new one
would be around $12.
Step 6: Work with What You Have
 |
| Cabaday |
All of the artwork in the room was either painted by my husband or myself. The bookshelf and end table are part of an antique suite we bought in England. We just keep moving the pieces around the house to suit our needs.
The little chair pictured is my dad's rocking chair from when he was a child. The girls can now have a visit with Abuela in her room.
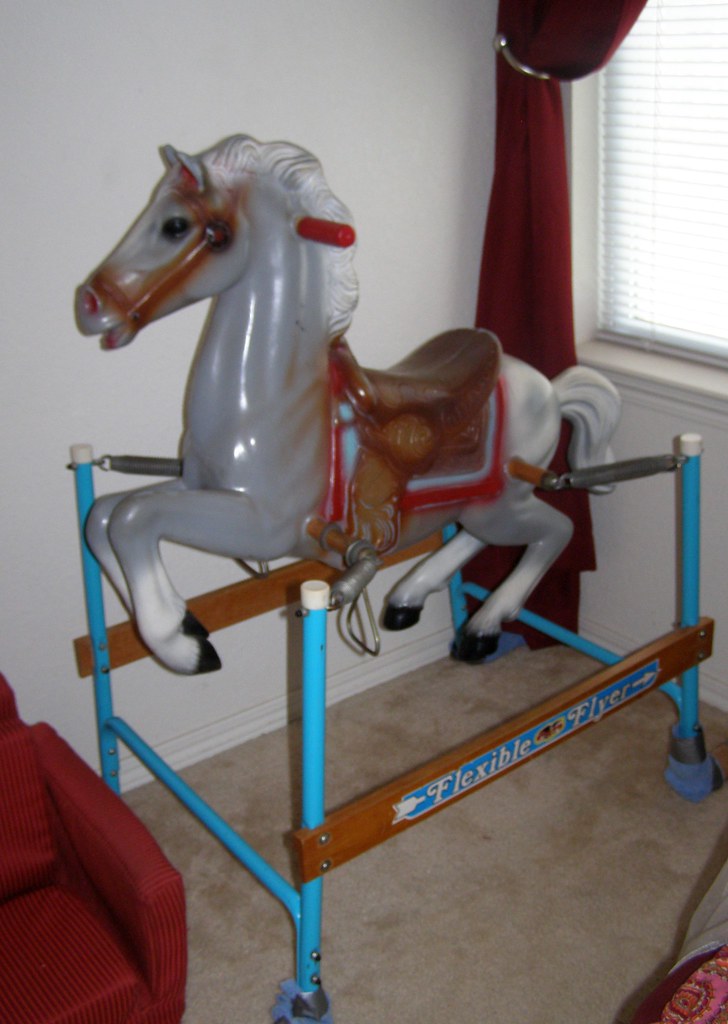
Now, a word about Cabaday. Cabaday is the vintage horse you see in the photo. I've been told she was mine at some
point, but she's been passed through all the cousins and brought back to me. There really isn't any other place for Cabaday in our home, but fortunately she happens to be red and turquoise! I've seen similar horses range in price from $80 to over $400 (when some artist attacked one and "improved" it). If I had to purchase a horse like Cabaday, the closest one I found to her condition, size, and age was $250.
And Put it All Together
Sorry to send you all link diving today. Soon I'll be detailing some of the projects I did.
For now, here's the grand total. I'm not adding in the bed, dresser, bookshelf, or end table (which were all repurposed from another room or given to me).
Curtains
Inspiration: $41
Mine: $8
Savings: $33
Bedding:
Inspiration: $374
Mine: $60.50
Savings: $313.50
Pillows:
Inspiration: $325.50
Mine: $36
Savings: $289.50
Canopy:
Inspiration: $86
Mine: $5
Savings: $81
Details:
Inspiration: $474
Mine: $75
Savings: $399
Grand Total:
Inspiration: $1300.50
Mine: $184.50
Savings: $1116.00
Next Steps
I'd really love to get Abuela an actual bed and some under bed storage. I'd also like to paint in there. But for now I think I'll let her get settled in and enjoy her new room.


 Materials: