
 Over the past couple of weeks, I have been blogging about some projects for my mother-in-law's room. Today I'm going to share with you how I made three square throw pillows for about $8.00. So here we go!
1. Gather materials.
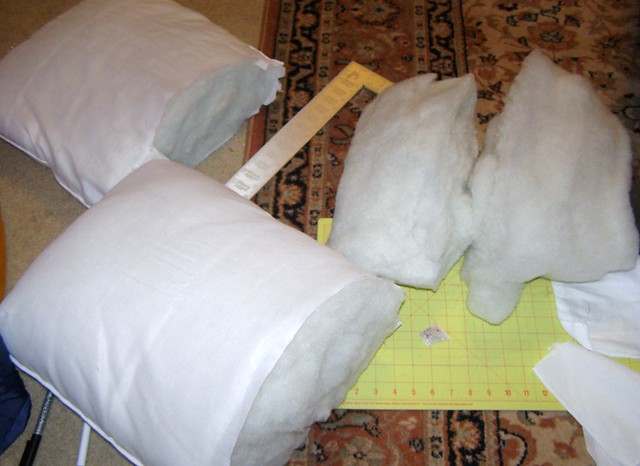
Pillow forms are expensive. Way too expensive for my tastes. So for this project I bought two $3.00 el cheapo standard bed pillows. Stuffing problem solved.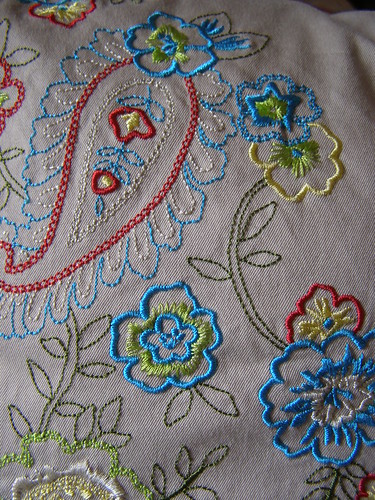 |
| Embroidery on the Tan Skirt |
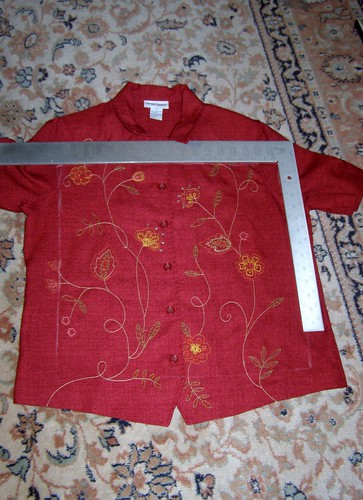
Sorry, got on a tangent there. Point being, think outside the box when looking for fabric. I found two red button-up shirts and tan skirt with gorgeous embroidery for this project. The ones I used were size 12, 14, and large, which seemed just big enough. I wouldn't recommend buying anything smaller for this particular project or you might have to do some piecework (which takes the easy and quick out of it). I recommend washing and ironing your pieces before working with them.
2. Measure and cut.
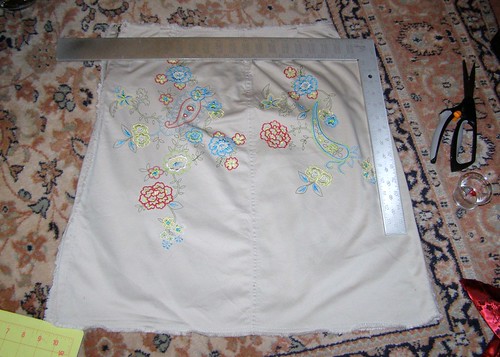
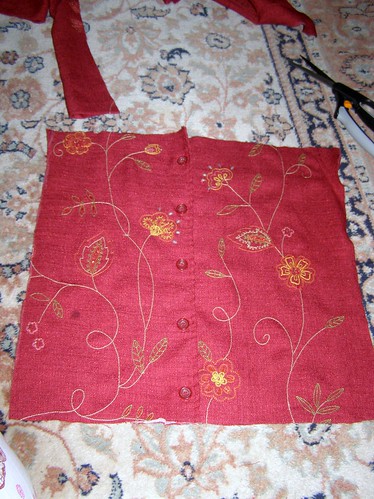
The cheapo pillows I bought were about 16" wide. I think they were technically the standard 20" x 26" size, but with the stuffing factored in, they measured more like 16". So 16" was the magic number. Factoring in a generous 1/2" seam allowance on each side, I then measured my shirts and skirt to make sure I had enough fabric for a 17" x 17" square. On the shirts, I did have go up onto the arm a little, but I had enough. The skirt, thankfully, was large enough as well. I marked the 17" square and carefully cut it out.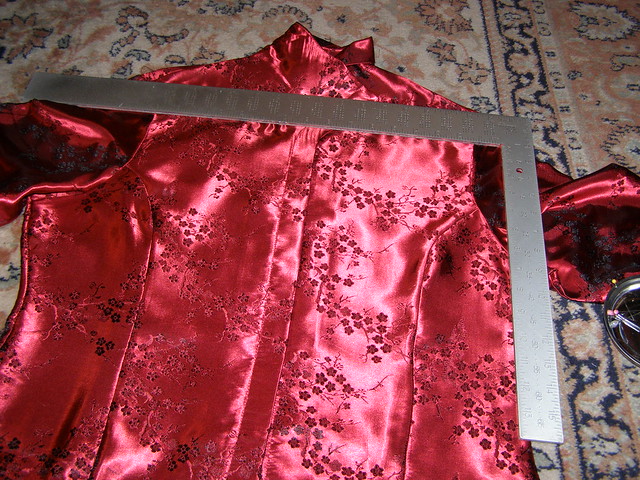
Then I measured 16" on the long side of the pillow. As I had hoped, 16" was just about 2/3 of the length. I carefully marked a line across and started cutting. Cutting through a pillow isn't really pretty, but it works. I repeated the process with the other pillow, which gave me two roughly 16" x 16" pillow squares that were sewn on three sides and two smaller rectangular pieces. (I kept the pillow casing on the larger pieces and tossed the pillow casing from the smaller pieces into the rag box).

3. Sew.
I must confess I was in a bit of a hurry. My mother-in-law was due to arrive the next day and I still had a significant amount of cleaning and setting up to do. So instead of making a gorgeous hidden stitch to seal up my square pillow pieces, I did a pretty crude stitch (also, don't judge my pajama pants, as I said, it was getting late). What does it matter? You might be wondering. Well, here's the genius of my plan. The two shirts have buttons, which makes them ideal for removable and washable slipcovers. The odd little thirds I planned to stuff into the skirt without worrying about making it removable. Since I'm planning to be the one removing the slipcovers and washing them, it doesn't really matter. But if you were planning to make these pillows to give as a gift, you might pay more attention to the quality of your stitching on the inside.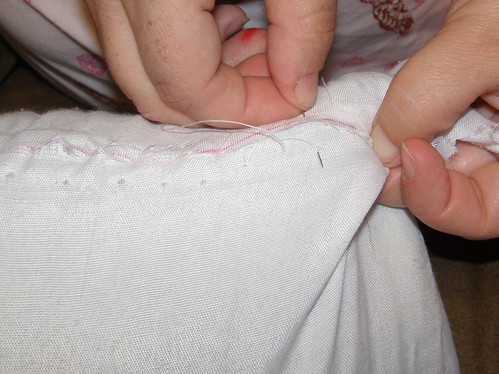

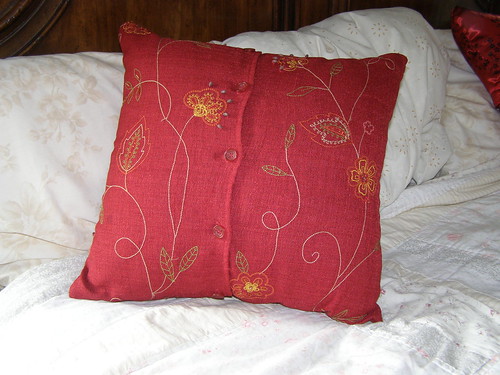
Back to the covers now. After cutting them to 17" square, I turned the right sides together and pinned them. After running a test stitch on a piece of scrap fabric, I sewed the two red pillows on all four sides (knowing I could turn them right-side-out through the buttons). I added a row of zig-zag stitching around the outside to prevent fraying.

I then turned the red pillows the right way and stuffed them with my cheapo pillow forms.

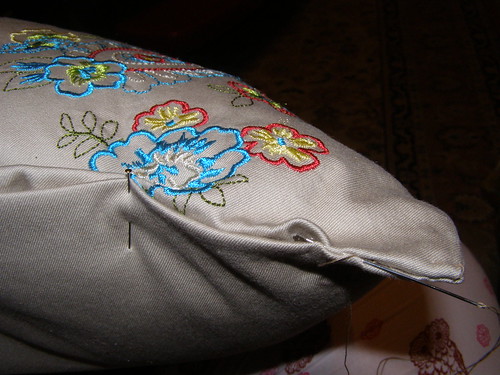
After a quick thread change, I sewed the tan pillow on three sides.

I stuffed the odd thirds into the tan pillow and pinned it shut. Then I did a hidden stitch to close up the third side.
4. Enjoy!
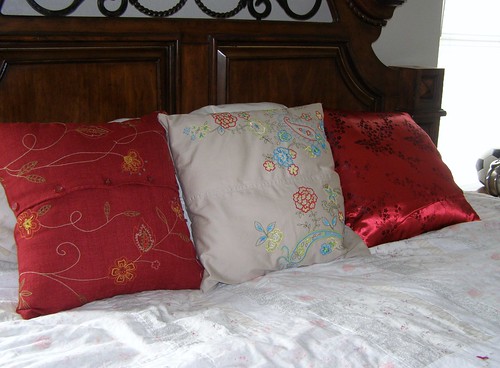
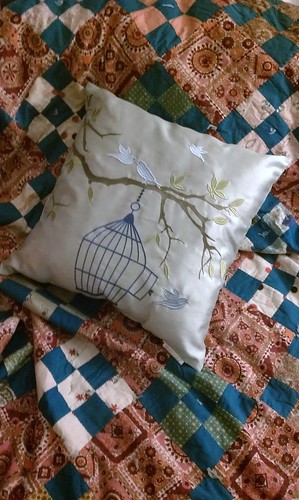
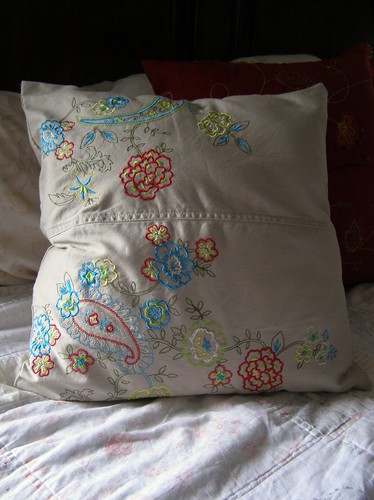
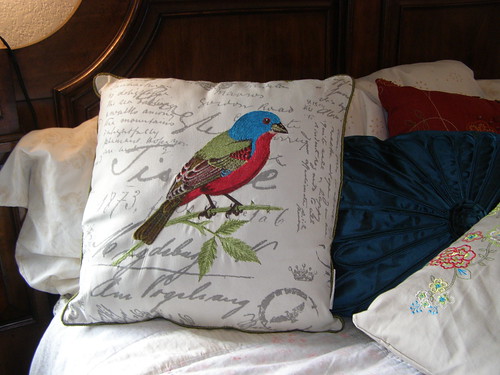
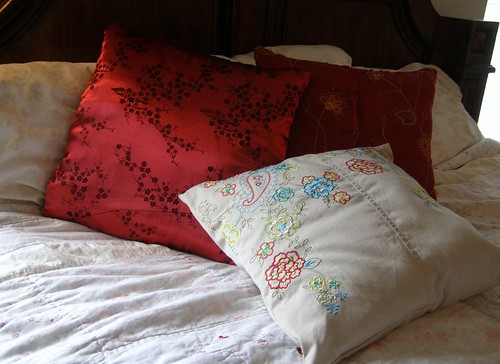
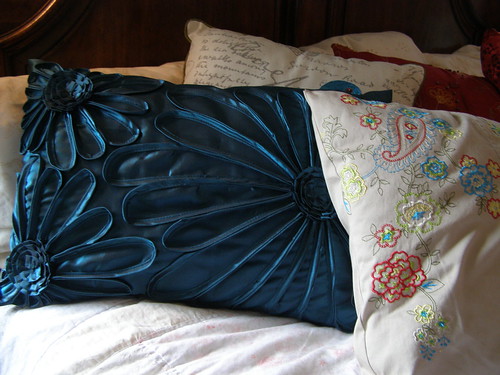
If you haven't guessed already, I love the process of making beautiful things. So before I show you the finished product, here are a couple pillows that did not pass their audition. The birdcage one, though lovely, was entirely the wrong shade of pillow. The red one was okay, but the blue accents clashed with the turquoise of the room.
And here are the final versions of my pillows alongside the pillows I bought to accent them. (In case you are wondering, this isn't in their final location as the light in that room isn't very good for pictures).
No comments:
Post a Comment