
Dolphin Painting- Step by Step
Here's What You'll Need:
- 8 x 10" pre-stretched canvas
- pencil
- 1" wide brush
- detail brushes
- toothbrush
- water cup
- acrylic paint
- White
- Orange (or Orange Yellow, which is technically what mine was)
- Cadmium Yellow
- Bahama Blue (or some light turquoise)
- Desert Turquoise (dark turquoise)
- Phthalocyanine Blue (dark blue)
- Black (a tiny bit, or use a permanent marker)
- Easel
- Apron
- Palette
- Hair Dryer
1. Sketch your dolphin and horizon line.
I made my horizon just below the middle of the canvas. To sketch a dolphin, make the large banana shape first. Then add a longer nose, the flippers, and the tail. Don't worry about the tail too much, we'll be covering it up later.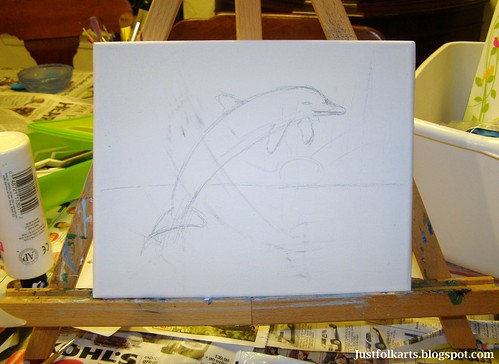
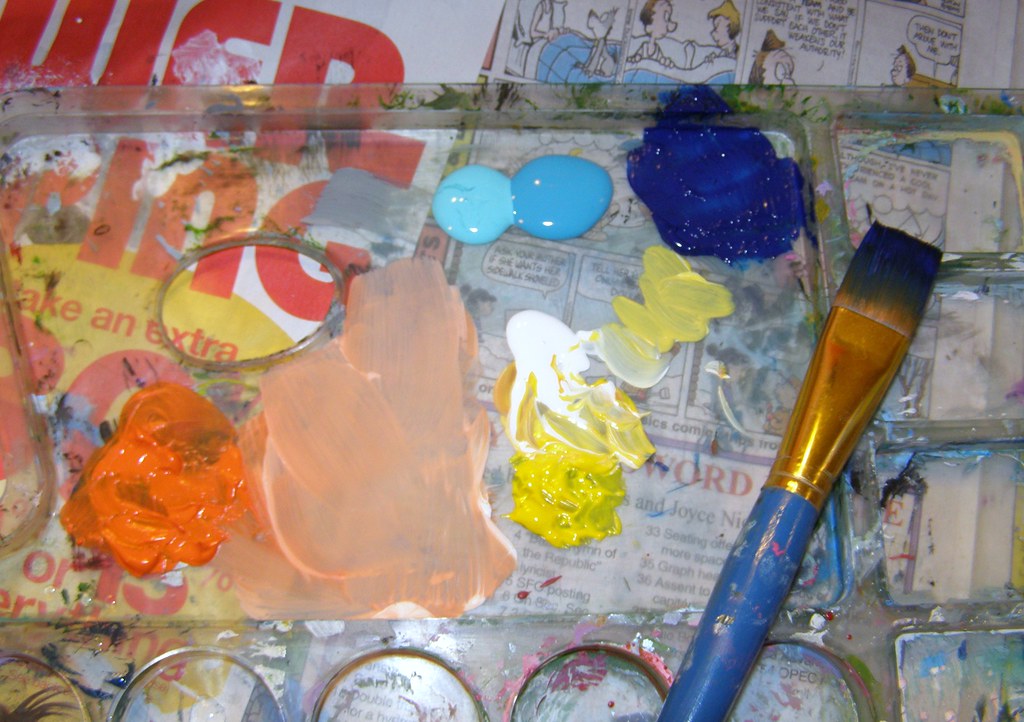
2. Lay out your paint.
Acrylic is know for its fast-drying qualities. While there are palettes available that keep your paint moist, I don't happen to have one yet. So to keep my paints from drying out, I only place what I need on the palette. Start out with white, orange, and cadmium yellow.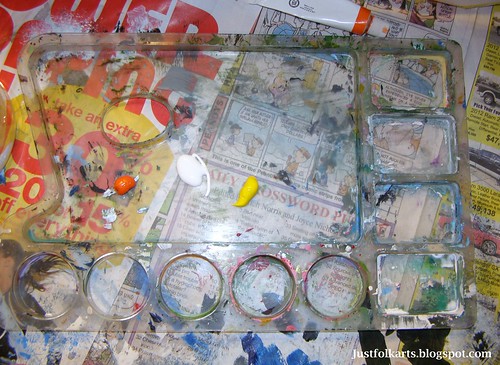
3. Sky- layer one.
For the first layer of sky, blend the white and orange to make a pale orange color. Using a wide brush, paint the entire sky. Try to avoid covering the dolphin completely.
4. Sky- layer two.
While the first layer is still wet, apply a thin layer of orange (unmixed) to the edges of the sky. Don't paint the area where your sun will be. Rinse and dry the large brush.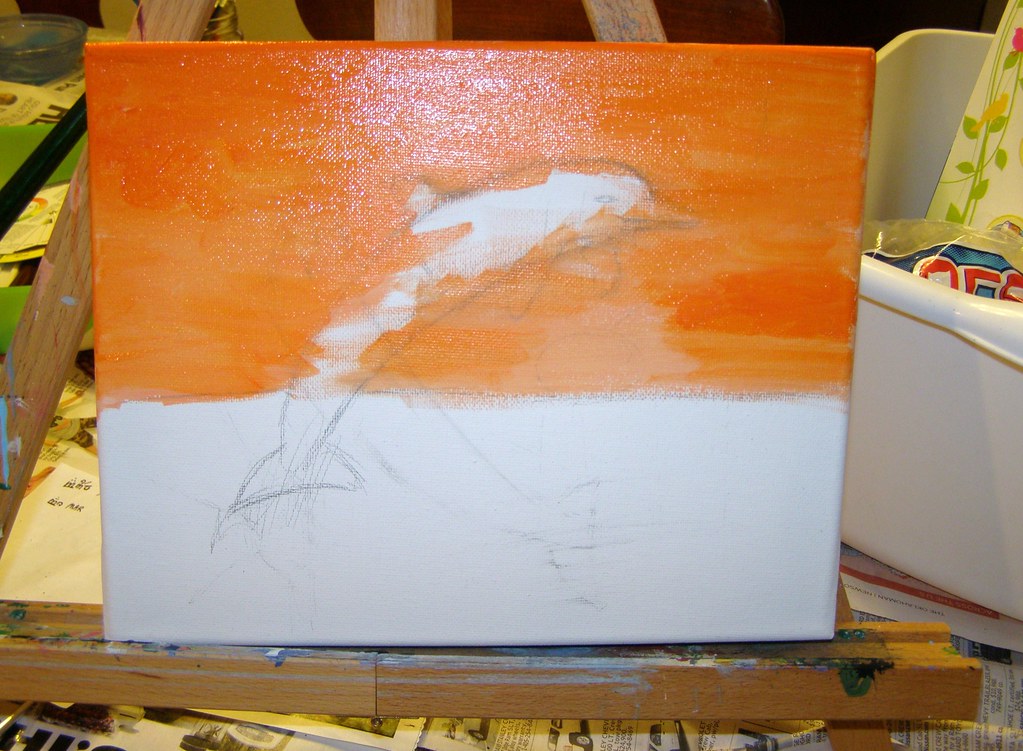
5. Clouds.
Use a medium-sized brush to put in some clouds with more orange.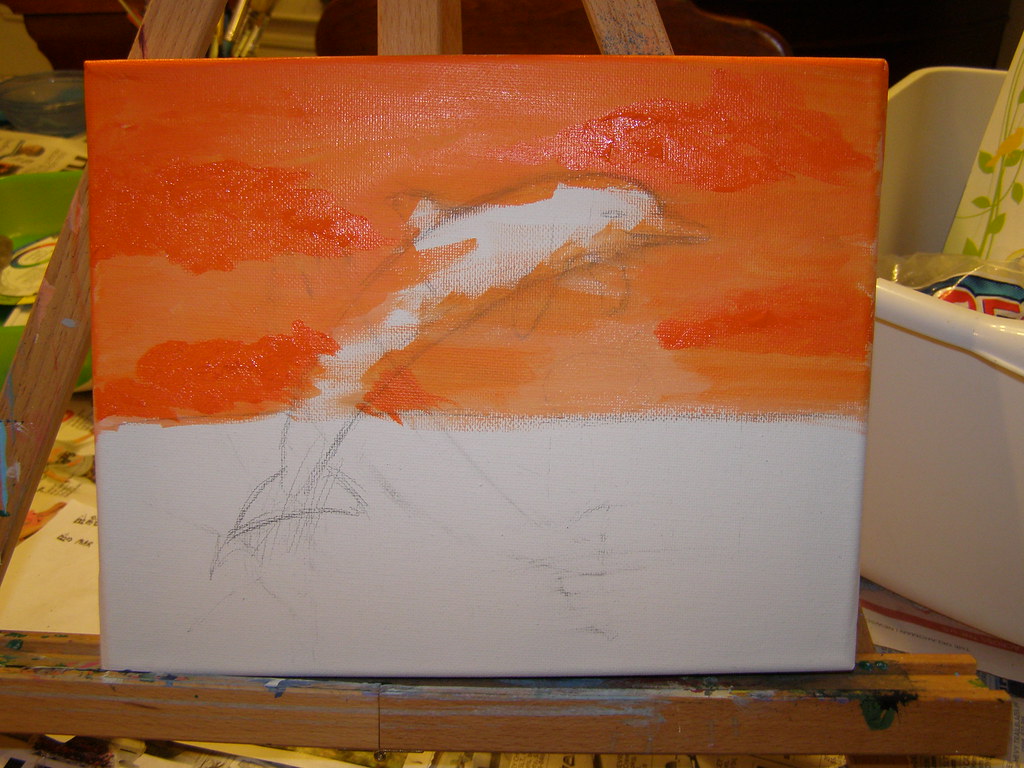
6. Sun and highlights.
Using a fine-tip brush, apply a mix of white and yellow to the edges of the clouds. The areas closest to the sun should have more white, the areas farthest away should have more yellow or no highlights at all. Make the sun using a blend of yellow and white. Then paint yellow and white radiating from the sun. Use your large, dry brush to blend the sun rays (and the edges of the clouds, if you wish). Ignore the blue streak in the picture, I got a little ahead of myself!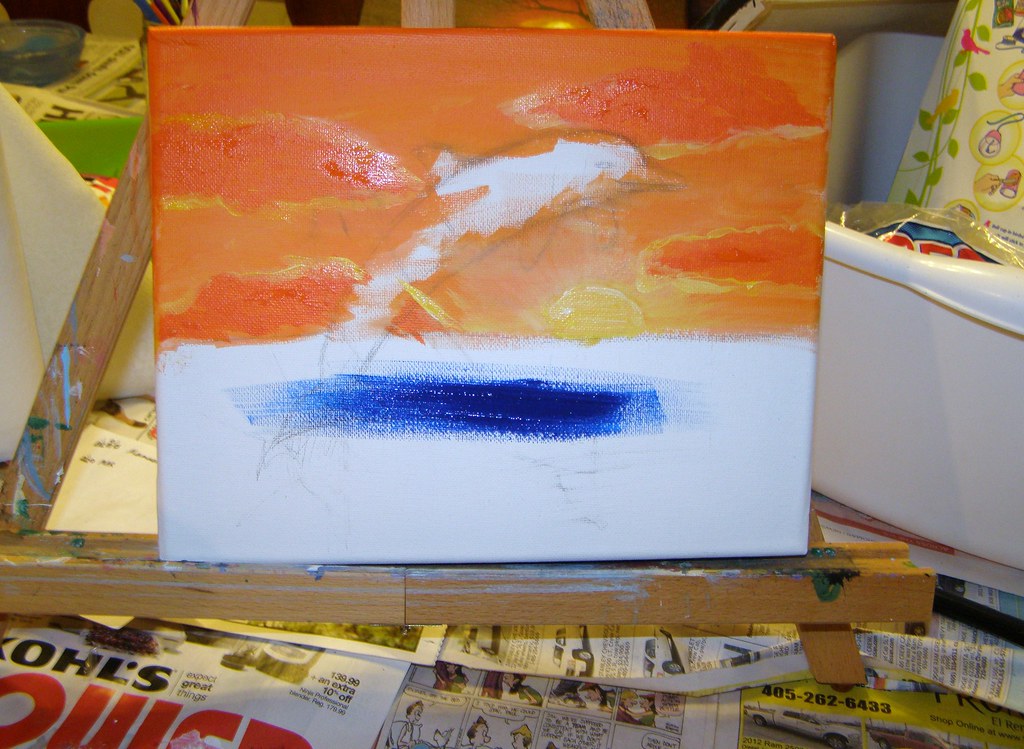
7. Add blue paint to your palette.
8. Paint the water- layer one.
Using your large brush, paint the entire water with a layer of phthalocyanine blue. Mine is upside down so I could paint the bottom edge of the canvas. If you are not planning on framing your piece, you might want to paint the edges as well.
9. Paint the water- layer two.
While the first layer is still wet, load your large brush with both turquoise. Turn the brush so the wide part is parallel to the long edges. Paint from side to side to simulate gentle waves.
10. Dry it!
Now is a good time to get out that hair dryer, if you have one. Otherwise, wait for the blue and orange to be somewhat dry before proceeding.11. Dolphin- layer one and sun reflection.
Using your fine tip brush, make horizontal lines below the sun to look like sunlight reflecting off the water. If your lines get too wide, you can cover them back up with some of the turquoise colors.For the dolphin, use the fine tip brush to fill in the top fin, the tail, and the lower fin on the right. Paint a thin line along the bottom of the dolphin's belly. Paint a thick line along the dolphin's back.
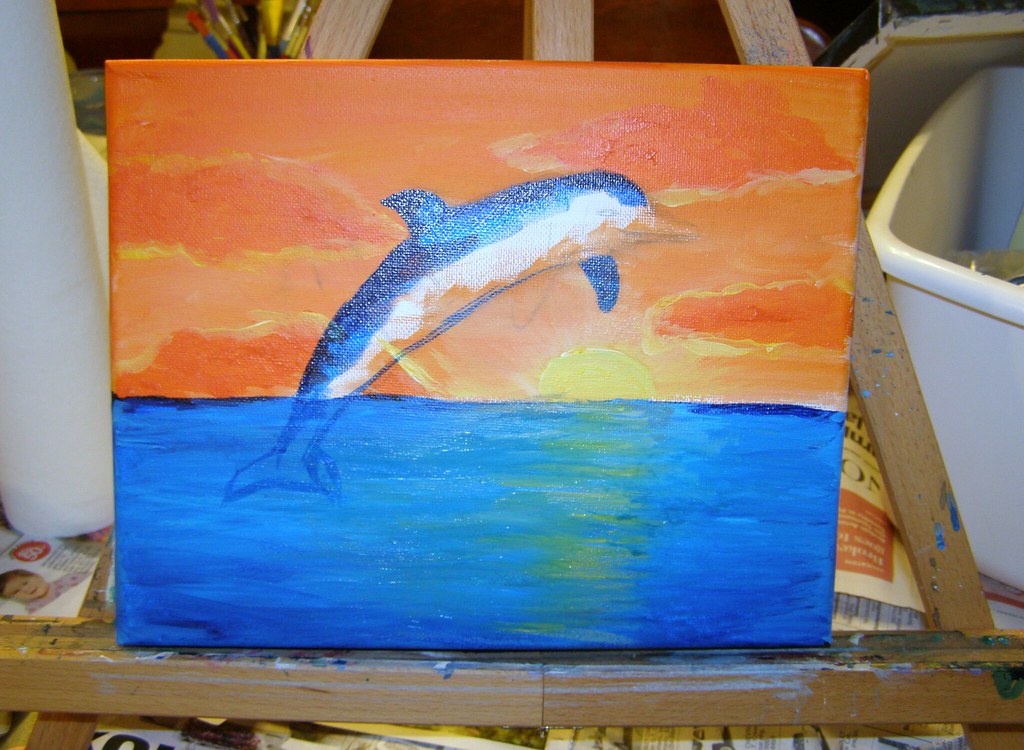
12. Dolphin- layer two.
Use the darker turquoise and lay in a wide stripe along the dolphin's body just below the thick dark blue. Then layer in the lighter turquoise. Finally, use white to make the lighter parts. For the nose, use the light turquoise to fill in. Then make a line for the mouth and the forehead shadow with the dark turquoise. Fill in the lower left fin and most of the lower right fin with dark turquoise. Use your black paint or marker to add the eye.13. Sea spray.
I think this is the most fun part. Load up your toothbrush with white paint. Carefully run your thumbnail along the brush to make a controlled splatter. You might want to practice on paper before putting your spray on the canvas. You can retouch the sky or ocean with more paint or blend in the extra spray with a large dry brush if necessary.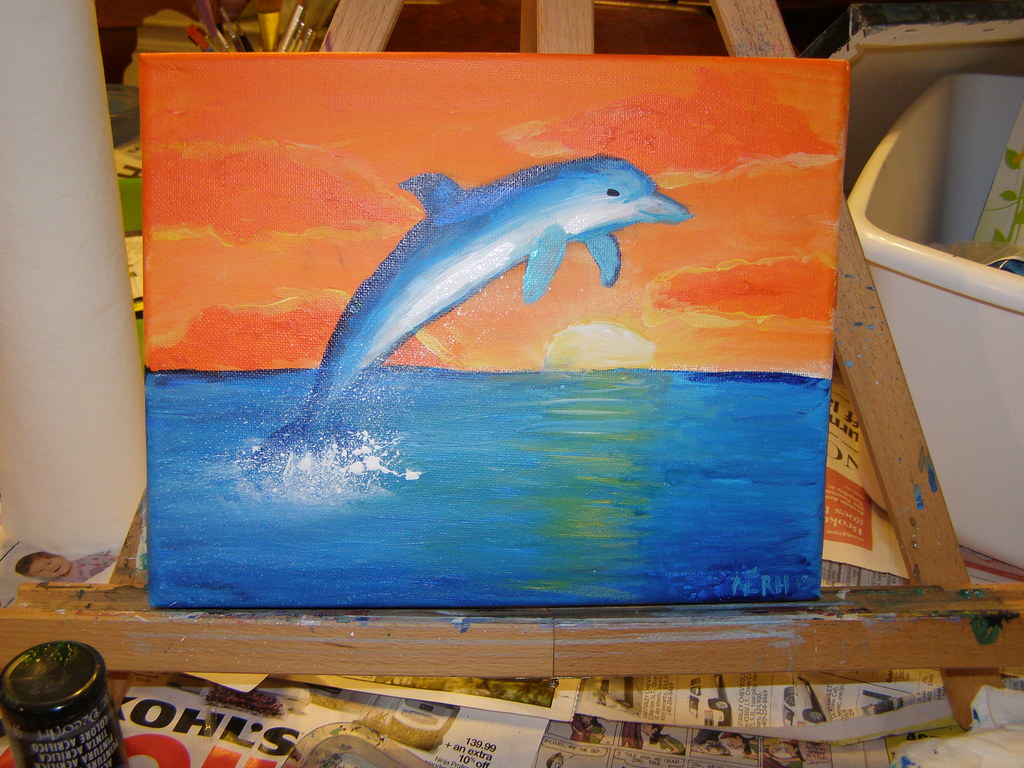
No comments:
Post a Comment