
1. A theme, kinda keeps things together. This year was Cake and Canvas, a clever parody of the Coffee and Canvas classes I teach at our church.
2. Something homemade. This year, it was these cool canvases. For the younger daughter's birthday a couple years ago, I made owl treat bags out of fabric.
3. Save a year, splurge a year. The older daughter (I seriously need clever nicknames for these two kids) got to have a ceramics-painting party at a studio last year followed up by a tea party with the cups the girls painted. This year, an inexpensive home party.
4. Buy as little licensed merchandise as possible. For our Hello Kitty party, we bought Hello Kitty plates, cups, and a tablecloth. We made a Hello Kitty pinata. Everything else was purchased in coordinating colors.
5. Try to have something cool as a party favor. For this party, we bought plastic cups that look like crayons. We filled each cup with two paintbrushes and enough candy for the brushes to stand up. The kids got to use their new brushes to paint and took them (and their painting) home after. Did I get a picture? No, sorry.
6. I'm sure this won't count as any sort of tip, but if you have a friend who is an aspiring baker and offers you a cake instead of a gift, take her up on it! I am so blessed to have an amazing friend who bakes the girls' cakes for me. They always turn out so well. Again, no picture. But this year's cake was a palette with different colored icing globs of "paint" on it.
Prepping Paint Boards for a "Canvas" Party
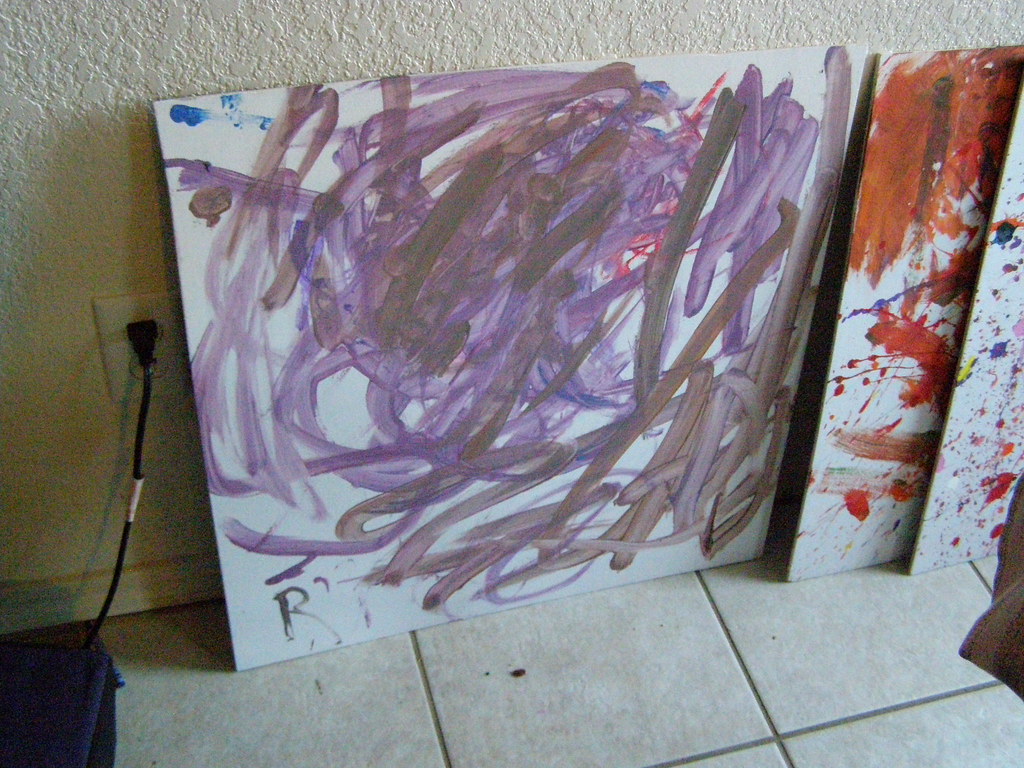
The irony of this "Cake and Canvas" party is that we didn't actually use canvas at all. The kids painted on thin plywood panels that we tacked to our fence. Here's what we did ( and by we, I mean my amazing man. I helped a little and took pictures).Here's What You'll Need:
- 1- 4' x 8' plywood underlay board, approx. 1/4" thick. I believe ours was around $10.
- Saw
- Kilz 2 Latex primer
- Paint Roller
- Hammer
- Nails
1. Cut the boards.
Cutting the board in half lengthwise, then cutting the halves into 18" wide segments will yield 10 18" x 24" boards. Or, you can leave the last two segments longer and have 8 18" x 24" boards and 2 24" x 24" boards.

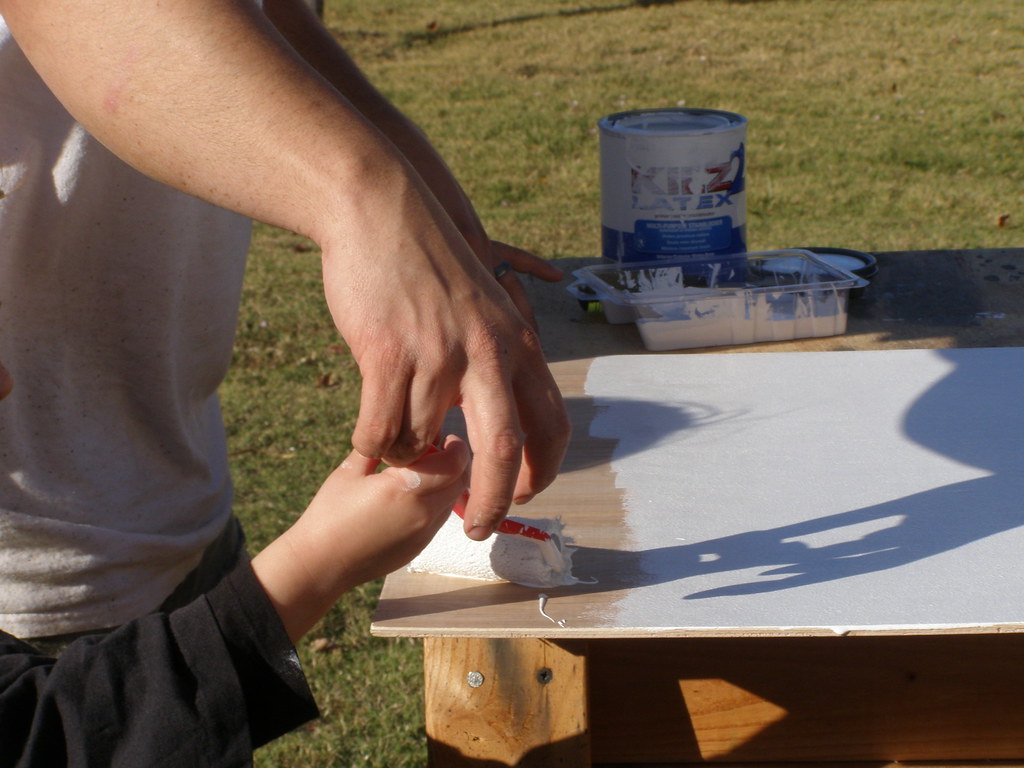
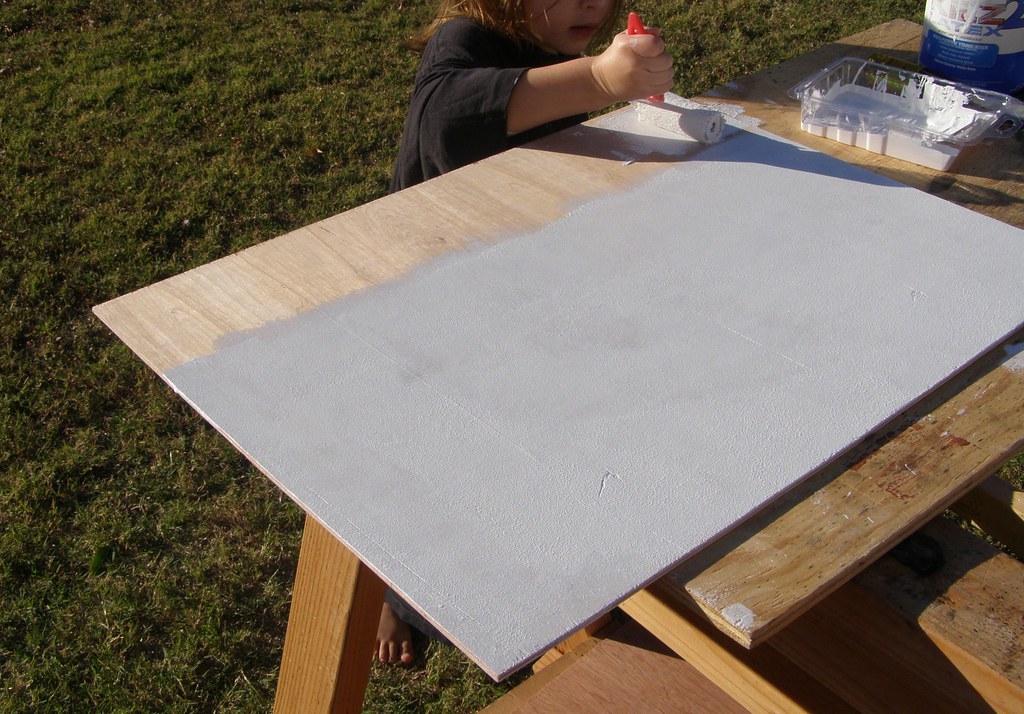
2. Sand and Primer the Boards.
If you're feeling like an over-achiever, you can even use some wood putty to fill in any imperfections. Use a paint roller and apply 1-2 coats of latex primer. Even the birthday girl stepped in to help on this one.Note: your boards may begin to warp. If so, after they are dry, stack them and place a weight on top to counteract the warp.
3. Tack the Boards to Your Fence.
We used small nails, but you could use a staple gun (in theory, that is, haven't tried it).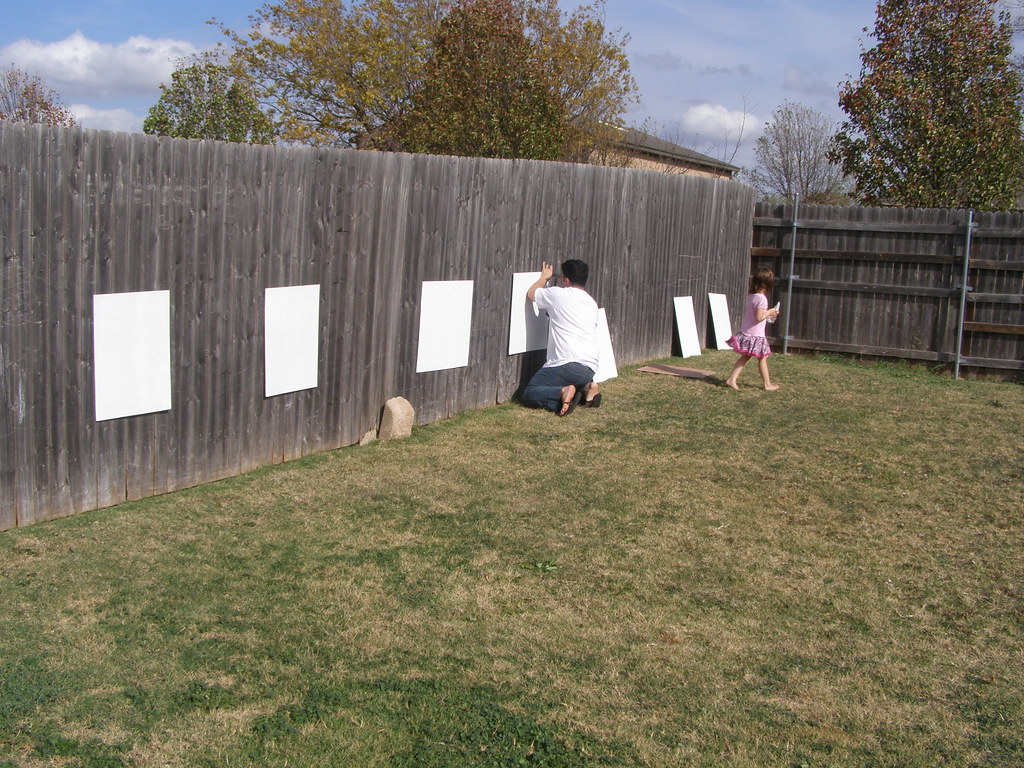
4. Set up the Paint Refill/Handwashing Station.
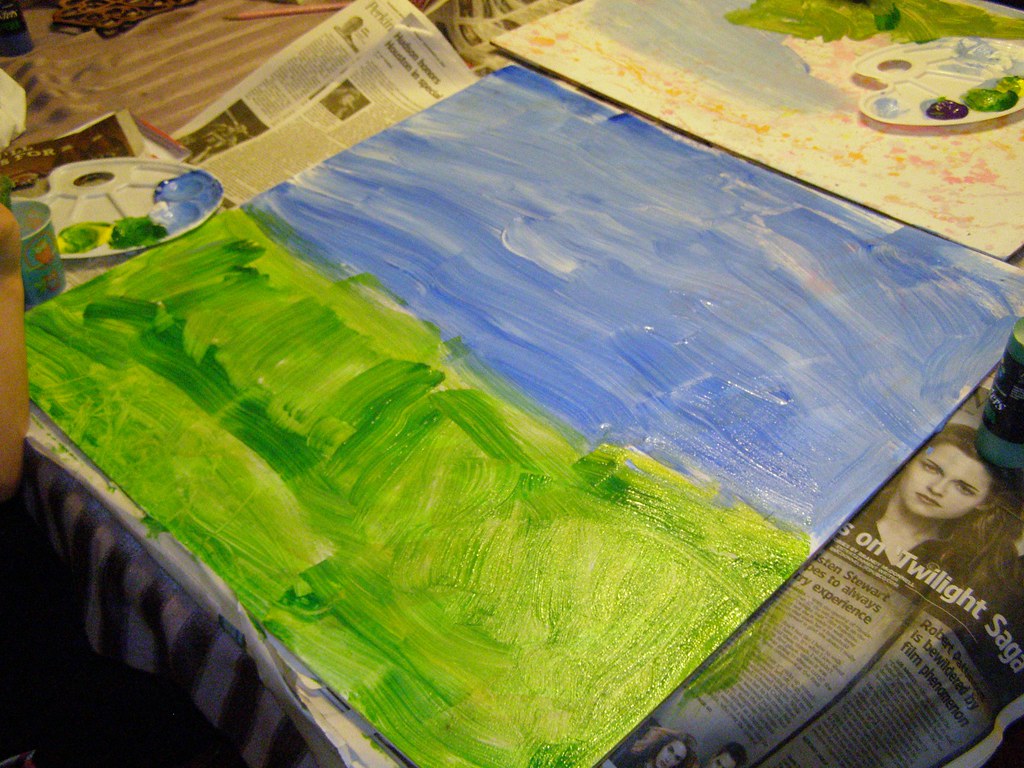
As they arrived, each kid was given two paintbrushes in his/her treat cup. We also provided palettes by cutting thumb holes in foam plates. (I had wanted to make berets, too, but ran out of time). Then we loaded up the palettes with 3-4 colors of tempera paint for each kid. We have a plastic picnic table that served well for our paint refill station. The hand-washing station consisted of a large plastic tub filled with warm soapy water. It came in handy since each child finished his/her painting at a different time. Those who were finished could wash their hands and go play. Here's the birthday girl herself playing in the bubbles. Look closely and you might be able to spot a couple of the party favors.
5. Enjoy Your Guests' Creativity.
The kids had a blast decorating their paintings. We had a couple canvas left over, so my sister and I tried our hand at splatter painting. So fun. After the painting was finished, we went inside for cake, ice cream, and presents. By then, the paintings were pretty much dry. As the guests left, we pulled their art off the fence, removed any tacks, and sent it home.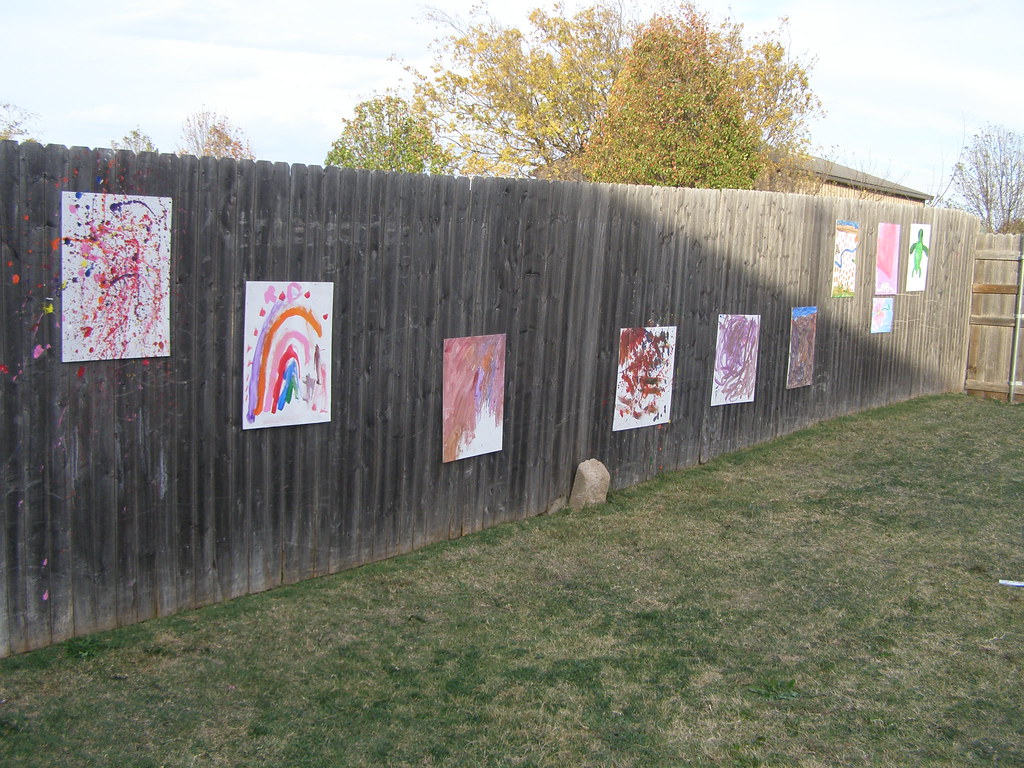
6. Rinse/Scrub/Rinse for a Clean Canvas.
Since we used non-toxic tempera paint, we were able to rinse it off outside. Then we took a scrub brush to get off most of the paint. Another rinse, and the globs of paint were gone. Yes, I did feel like a painting executioner. Some of the color remained, but it was much lighter than before.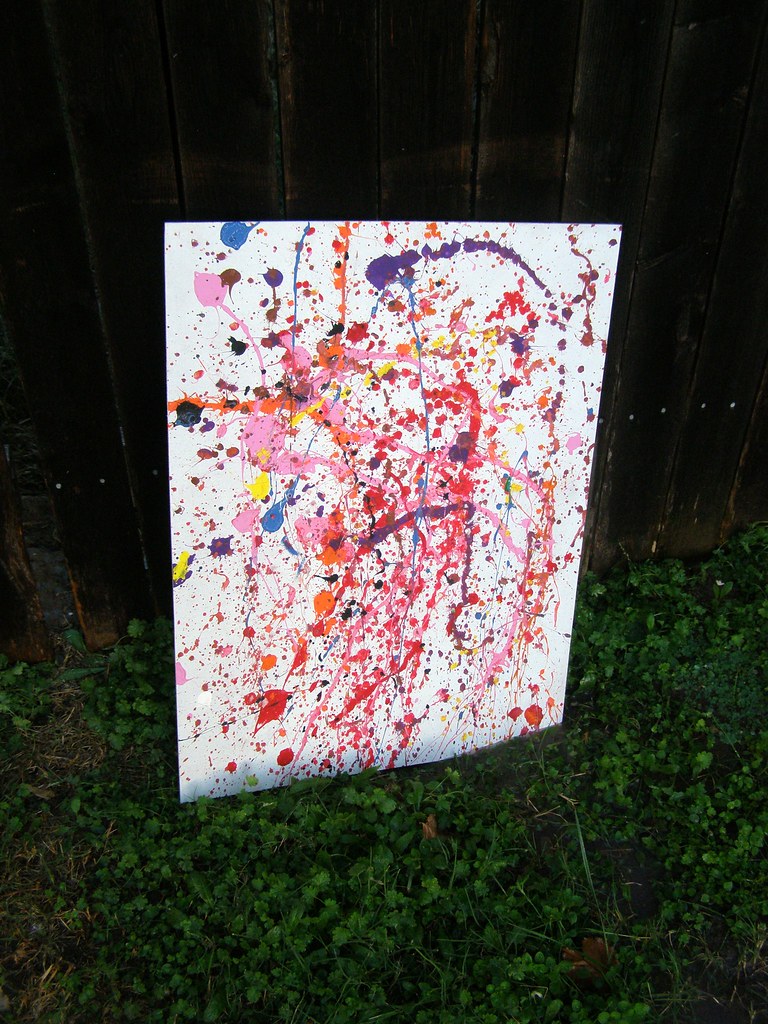 |
| Before |
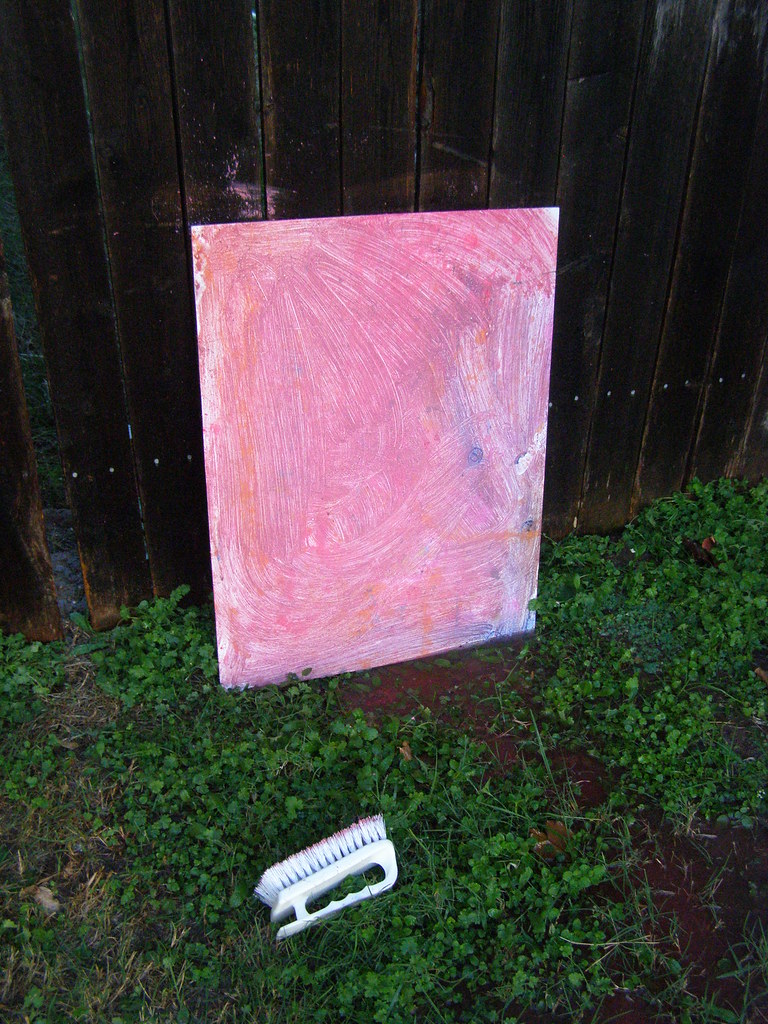 |
| During |
 | |||
| After |
7. And Paint Again!
I'm sure you would be able to repeat the process a few times before the canvas was too stained to paint over. Even then, you could switch to acrylic for the last round and make the painting permanent.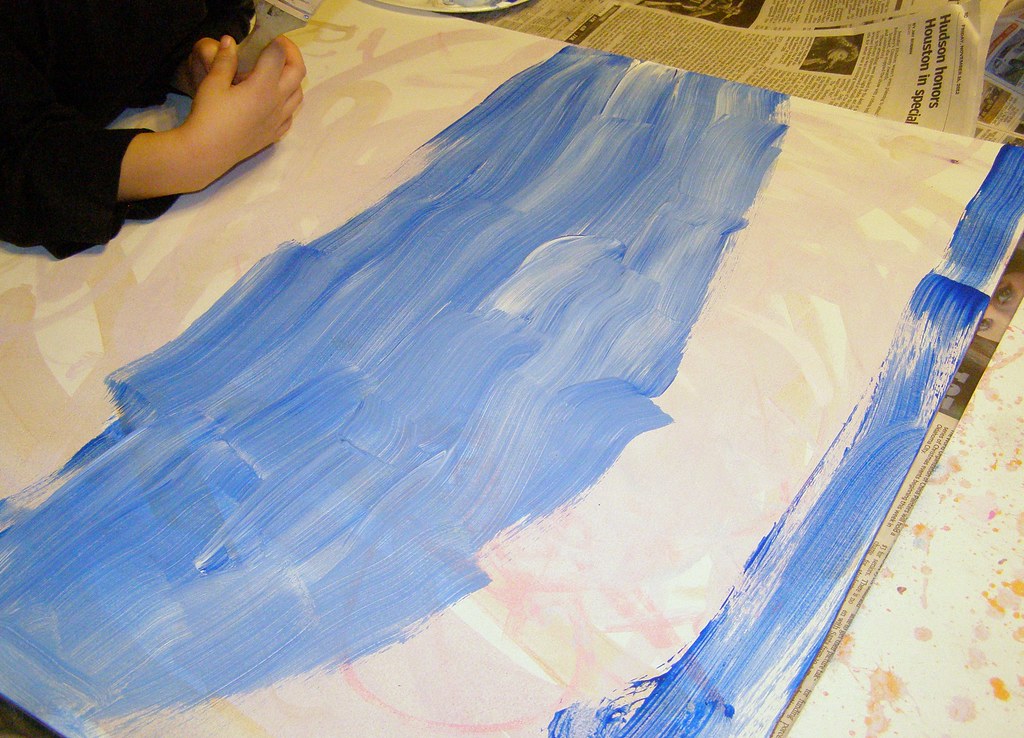
No comments:
Post a Comment