Sunday, December 9, 2012

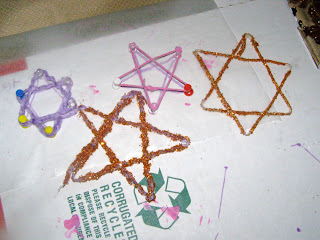
String or Yarn Star Christmas Ornaments

Allow me to begin by saying that my mom is a fantastic teacher. When I was younger, I would visit her classroom as often as I could to help out. Later, she became a librarian and I would read stories for the kids (in very badly done accents, but the kids were impressed). One of my favorite activities was, of course, when we did crafts with the kids. Today I'm going to share with you one of the crafts that we did.

This craft has MANY variations, so if the first set of instructions don't include what you might have on hand, keep scrolling to the other versions.

Yarn Star Ornaments

What You'll Need:

  • Cardboard (we used a pizza box)
  • Wax Paper (recommended, but optional)
  • Yarn
  • Craft or School Glue
  • Thumbtacks

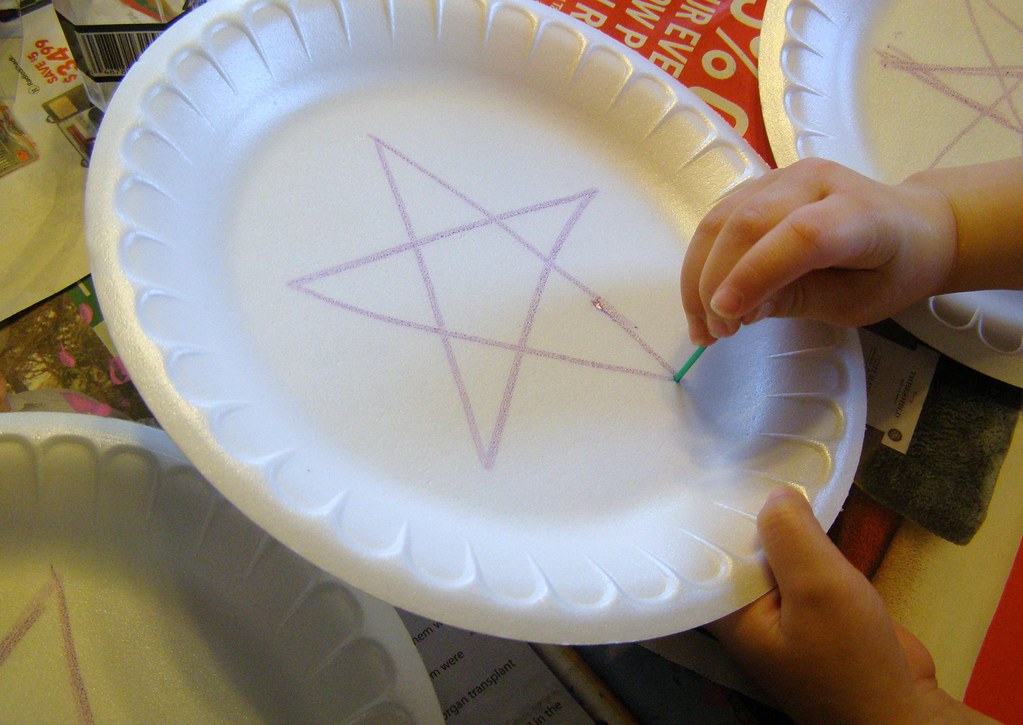
1. Draw a star shape on your cardboard. 

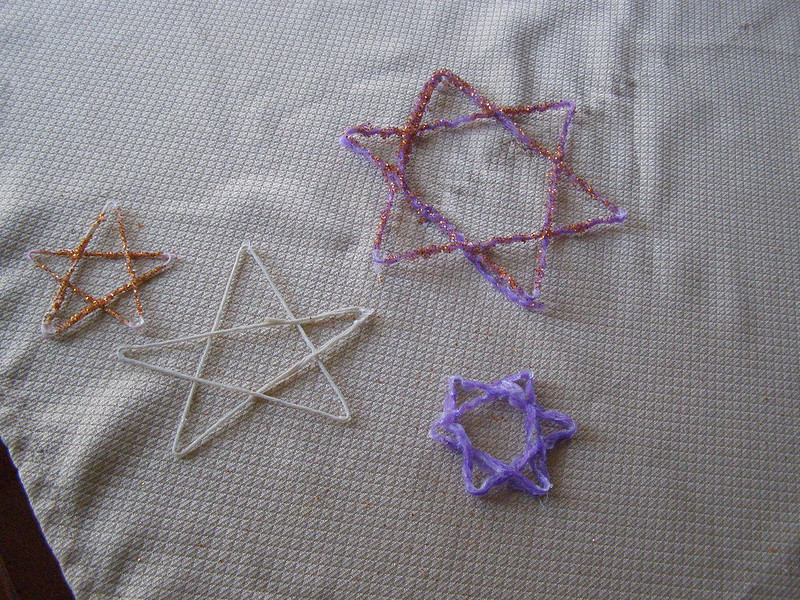
I've found a simple 5-point star or Star of David (2 triangles) somewhere in the range of 3-6" across work best. You can try a 7- or 8-point star, but they are more complex. Or if you have a cool hexagon-shaped trivet, you can trace that as well to make a Star of David.

2.  Lay a piece of wax paper over the design. 

The wax paper will prevent the star from sticking to the cardboard and can be used to catch glitter if you decide to go that route.

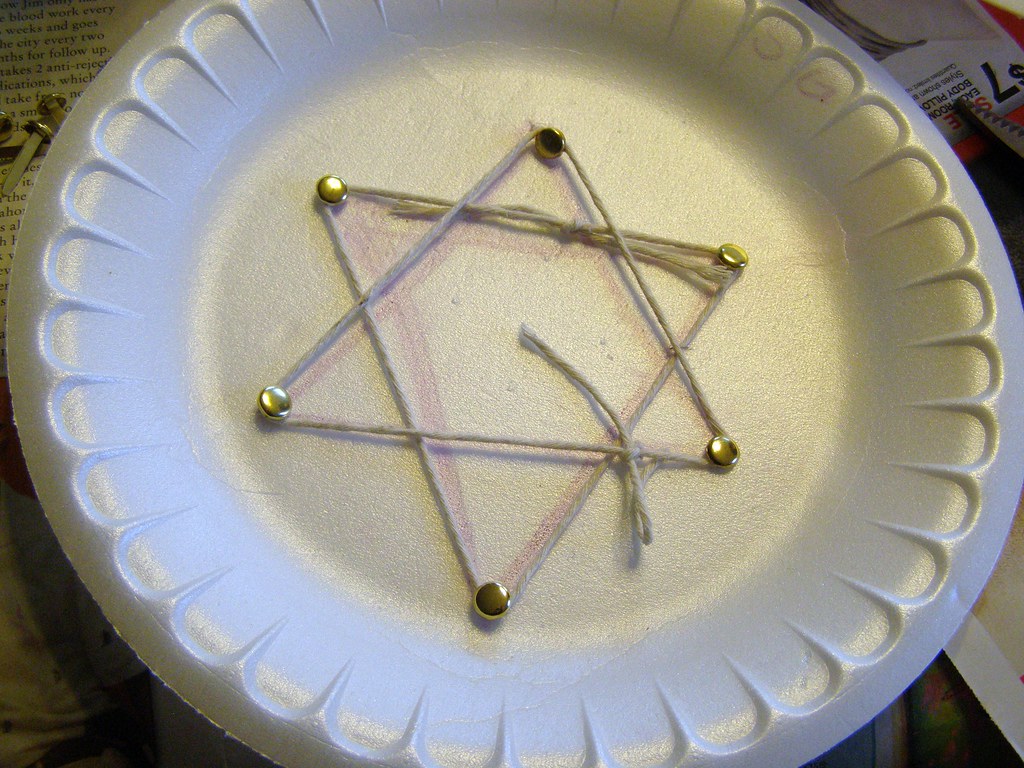
3. Stick a thumbtack in each corner of your design. 

My 6-year-old thought this step was pretty cool. She felt rather grown up. 


4. Loosely measure your yarn to the correct size. 

To do this, place the yarn over the design and cut long enough so there is a couple inches excess. (Weird camera angle, I promise she didn't cut herself!).

5. Soak the yarn in glue. 

For this project, we used Aleene's Craft Glue. We tried watering it down, but it made the ornaments too flexible. Our second attempt, with undiluted glue, turned out much better.


6. Once the yarn is saturated, stretch it around your star shape. 

Stretch the yarn so it is taut, but not so tight that your thumbtacks are pulled out of place. For added strength, weave the yarn in an over-under pattern as you string it along. You may tie the yarn or simply twist it into place. This part is messy!

7. Allow to dry at least overnight.


Variation 1 

No cardboard or pushpins? Not to worry, you can use foam plates and toothpicks instead!


Variation 2

Brads also work instead of toothpicks and pushpins.


Variation 3 

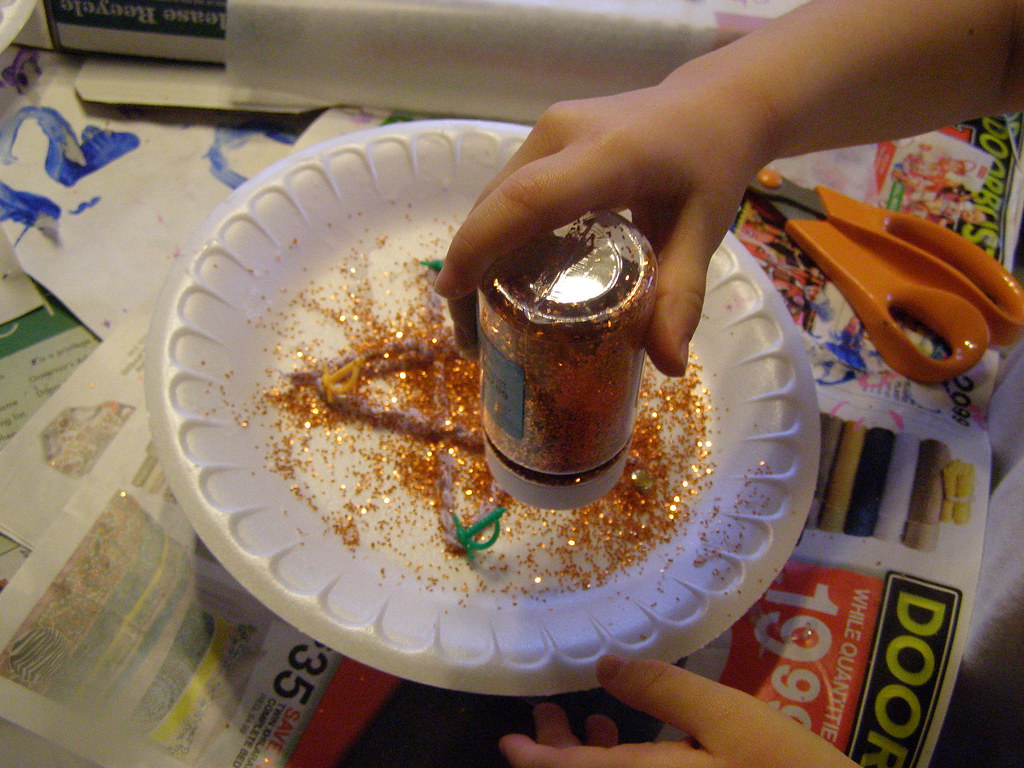
Add glitter just before step 7.


Variation 4 

Want stars of different colors and textures? Either use different colors and weights of yarn or use plain cotton string and add tempera paint to your glue in step 5.


Variation 5

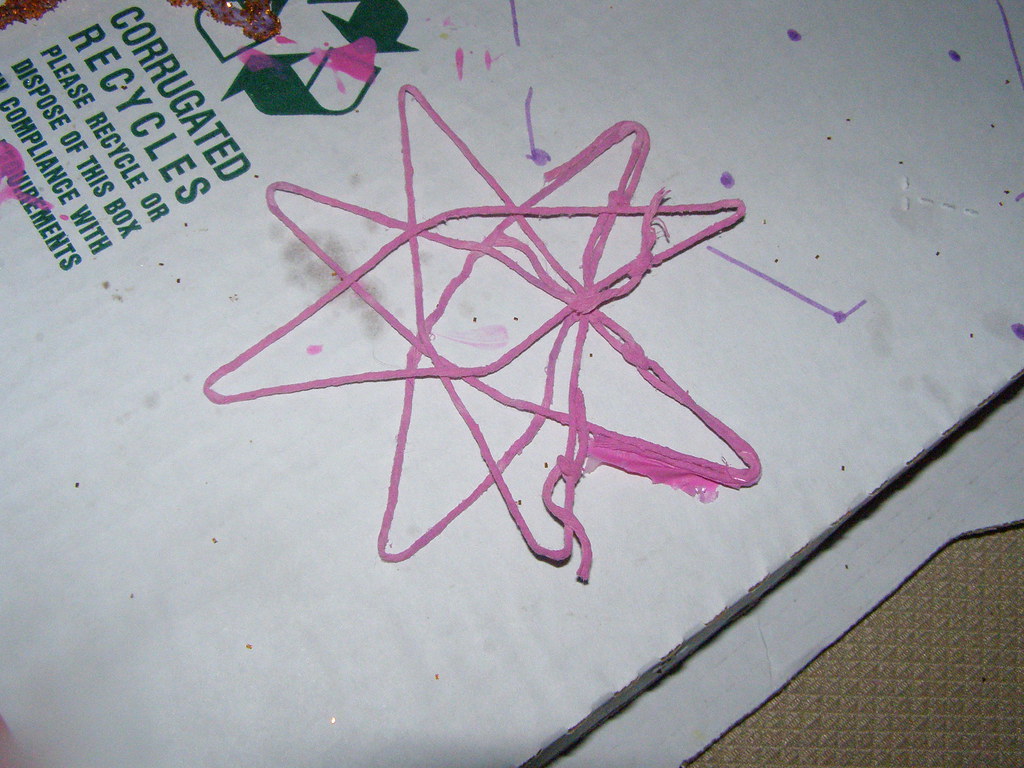
Try an 8-point star or more! I will probably try to make another one at some point, but I made mine with diluted glue and it failed-miserably. I'm not too proud to show you, either! May you have better success with it!


If I remember correctly, the project my mom's class did used bluing and liquid starch. If anyone knows that variation, please let me know!


Photo Limits

Well, here's another weird post. I suppose since a lot of my posts are about trial and error, I thought I'd share with you my trial and error experience on posting. You won't have to read my blog very long to find out how much I love pictures, especially big, colorful, megabyte-crunching ones. When trying to post my latest entry on Christmas ornaments I ran into a little problem- I've filled up my photo storage allotment!

Faced with the choices of paying for storage (which is all well and fine, but I'm not quite ready to go that route yet), deleting old photos (which means they get removed from my posts), posting without photos (not really an option, is it?), or signing up for a free online photo service, I chose the online service. We'll see how it goes and hopefully bring you my String Star Ornaments very soon!

Friday, December 7, 2012

Doctor Who Snowflakes

Christmas is finally looking like it might be welcome at my house. The school duties are slowing as the semester draws to a close (not a moment too soon!), which is giving me a little time to decorate. Please don't misunderstand, I don't NEED the decorations for Christmas to be considered a success. However, I love to decorate for Christmas and the fact that this year I was too overworked to care was an indicator that I needed to take a couple days off, relax, and do a craft project to unwind. So while the kindergartener was working on something for her school, I sat down and dug out the Doctor Who Snowflake patterns I've been saving for a long time now.

If you're interested in making a set of your own, here's where I got them: Oodly Crafting
You might need to fold them a bit off-center since I believe these were made for A4, which is similar to, but not quite, letter size.


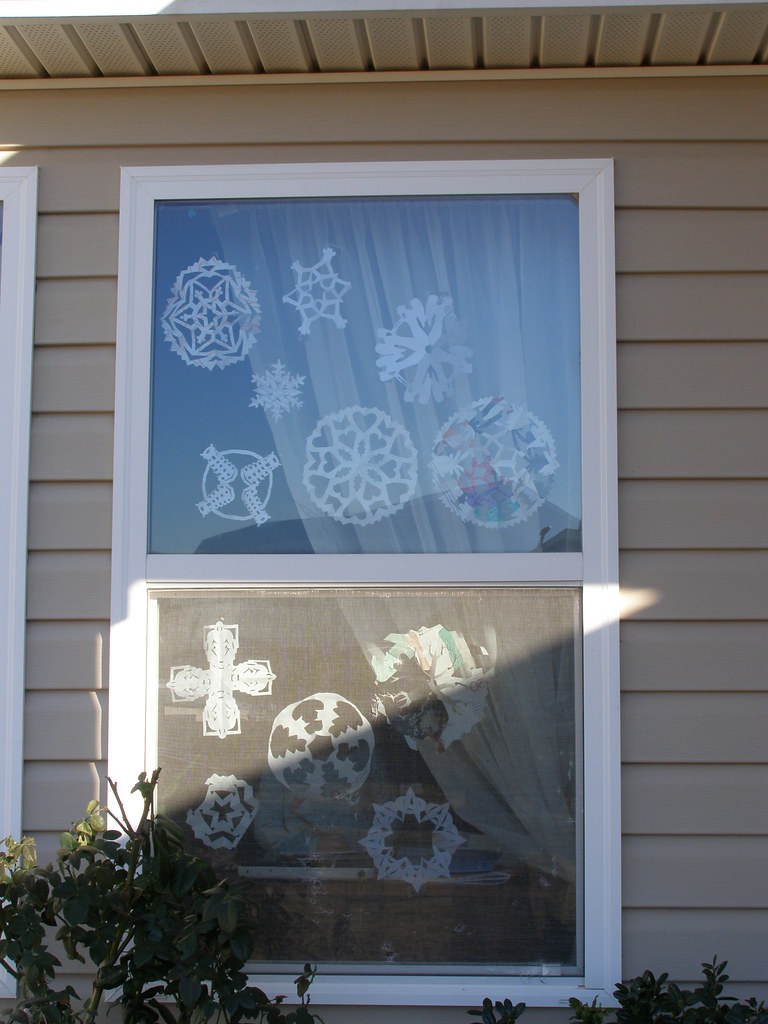
Just for fun, we made some other snowflakes as well. I made up a couple Batman patterns, but I'm not too happy with them just now. I'll keep working at them and post a template eventually, if I get another spare moment.

And finally, my word of the day (yesterday was grumbletonian) is nerdflakes. Here are some nerdflake sites I found and hopefully will be adding to my snowflake collection soon:

Doctor Who, Star Wars, Galactica Snowflakes
TARDIS and Weeping Angels Flake
Sonic Screwdriver Flake

Let me know if you try any of these and how they turned out! I wasn't pleased with my Oods, so they didn't get a close-up. By the way, you will probably need some very sharp scissors, an X-acto knife, and a cutting board. Also lots of patience! Enjoy!


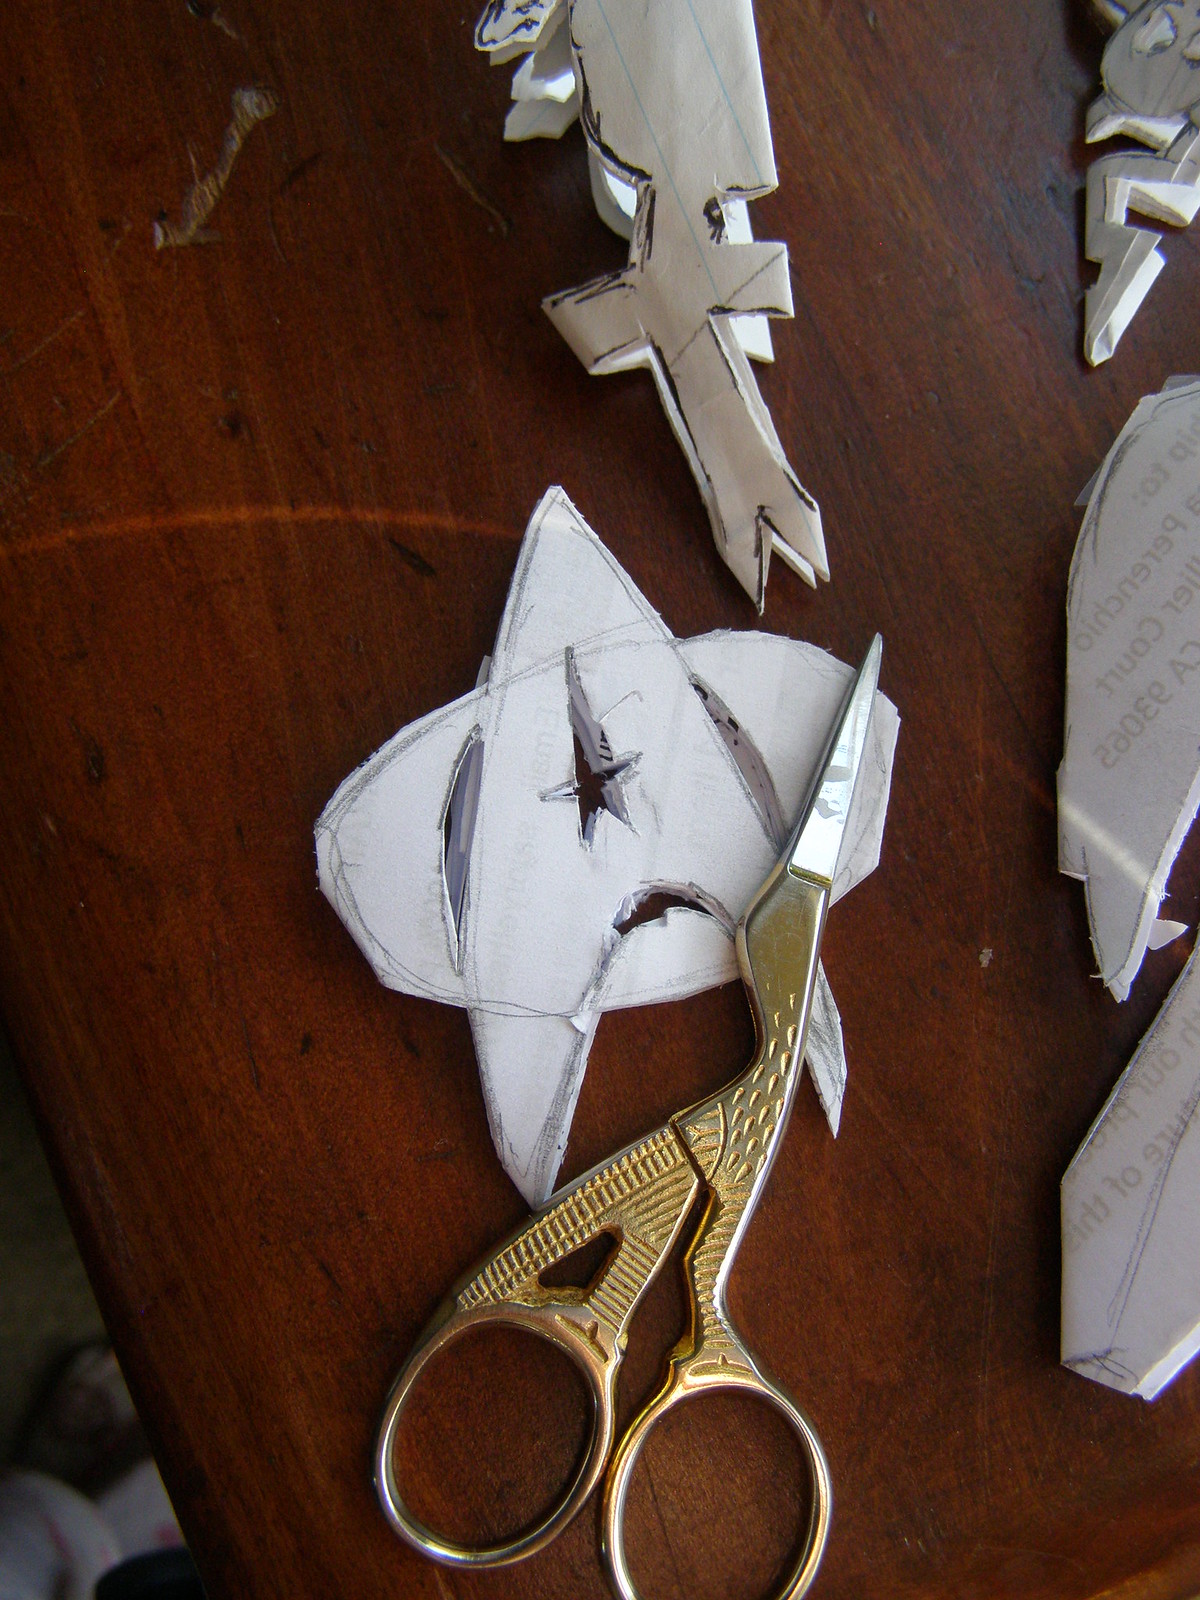
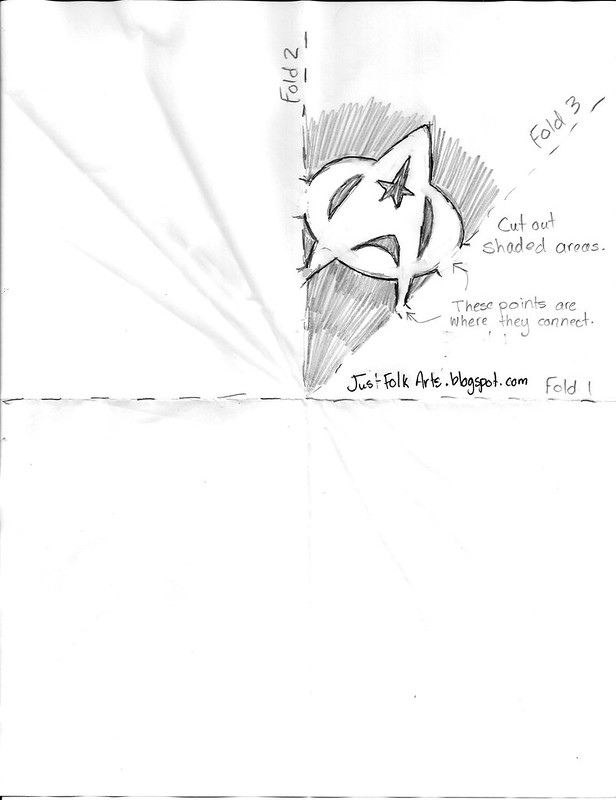
UPDATE: We've added a few more flakes and I've done some nerdflakes of my own now.  I can add a template upon request, but I don't have one yet. And without further ado: NERDFLAKES!!


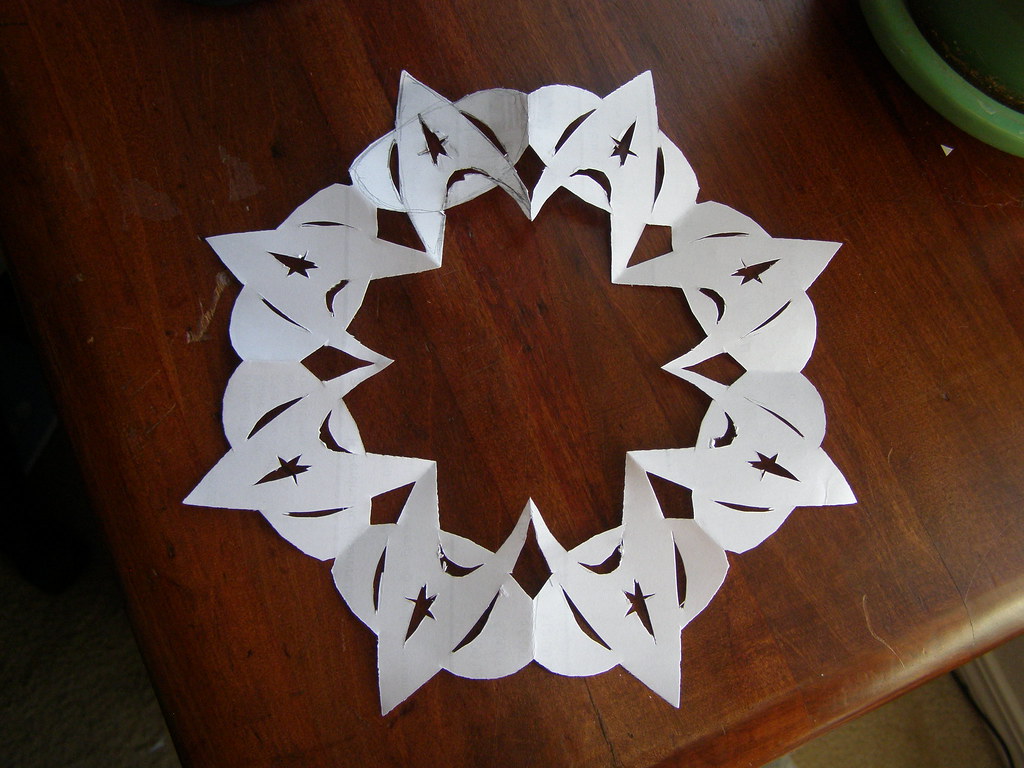
Star Trek


 Rebel Alliance

(By the way, I did a Rebel Alliance logo in cross-stitch last year for a stocking topper. I might be persuaded to post the pattern.)

Adipose

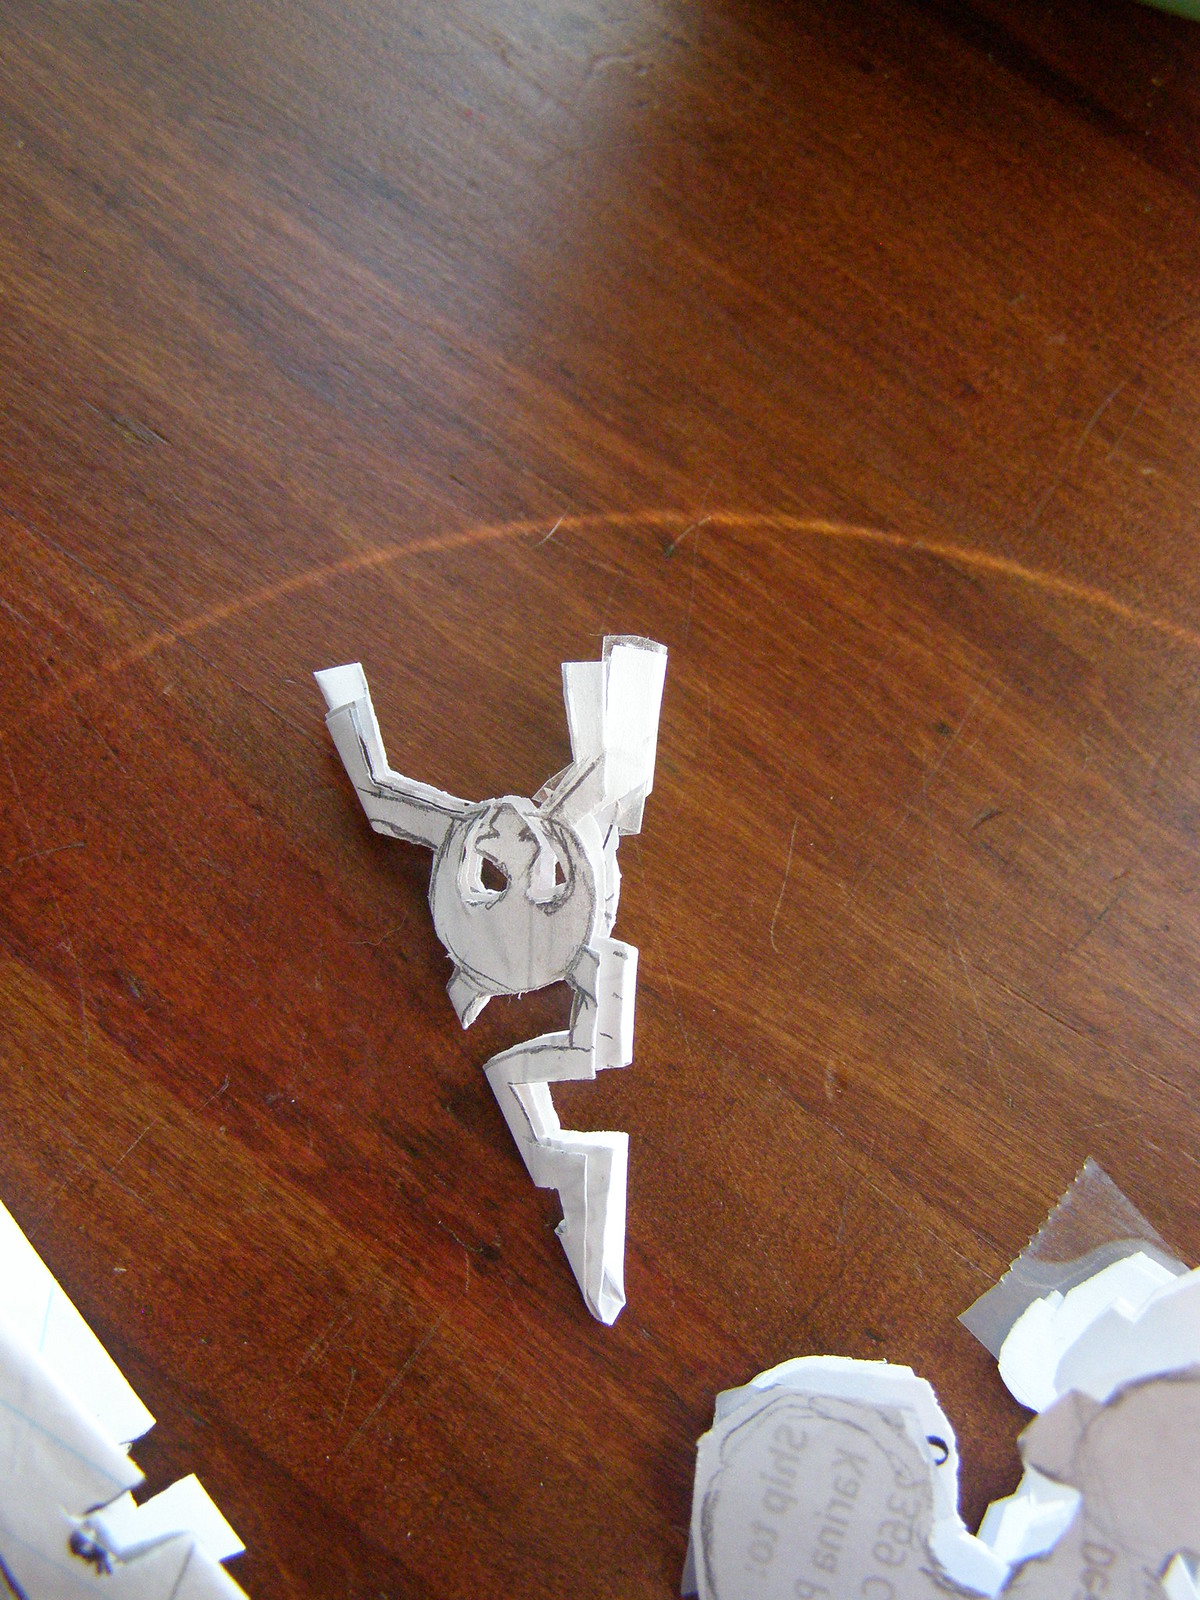
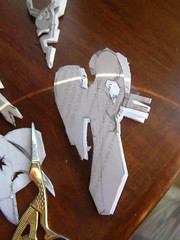
Weeping Angels

Wednesday, December 5, 2012

Making a Rustic Wisteria Trellis

Our latest project has been a rustic trellis for the wisteria in the front yard. After researching various sources and drawing inspiration from Pinterest, we collaborated to make this project.

Collaborated is such a neat and simple word, but it really doesn't capture the amount of combined thinking we did on this. First, my husband is a fan of clean lines and simple modern looks, with a farm-like rustic quality. I like ornate antiques and dark woods. Combine that with the style of our house (think suburbs with siding, white trim, shingle roof), our modest budget, and the poor trellis that has been already taken over by the vines, and you have quite the task. So, without further ado (if you want more "ado" check out my wisteria post here.)

Making a Rustic Wisteria Trellis

What You'll Need:

  • 2 - 4"x4"x8' pressure-treated wooden posts
  • 1 qt. dark walnut stain (optional)
  • 1 25' roll rabbit fence (ours is wire, the widest holes are 2" x 4")
  • staples
  • u-nails
  • 1 bag concrete

1. Check and Measure. 

The first step is always to check with your local digging hotline to make sure you aren't going to burst a pipe or hit a power line.

Second, measure where you want your posts to be. Ours are about 12 feet apart, I wouldn't recommend any wider than that because it will be difficult to tighten the fence.

2. Stain the Posts (Optional). 

We had originally intended to leave the posts as-is, but they looked very green against our tan siding. We decided to go for a dark walnut stain and I'm quite pleased with the results.


3. Dig the Holes

We  My husband dug the holes about 2 feet deep. Word of advice if you get into some tough clay: fill the hole with water and allow to soak overnight. My husband actually bent our post-hole digger on this project.

Also, you might look into buying a digging bar, but that requires quite a bit of muscle. If all else fails, you can rent an auger, just be careful if you're in close proximity to your house. (Our project was way too close to the house to consider this option.)


4. Mix the Concrete and Install the First Post. 

Being rather old-fashioned and cheap in terms of construction methods, my husband mixed our concrete by hand.  The concrete adds stability to the posts.

When thoroughly mixed, pour a little concrete into the first hole. Set the first post in the hole and use a level to ensure it is straight. If necessary, use a sledgehammer to drive the post into the concrete. Add a layer of rocks and gravel, then fill the hole with concrete.

5. Attach the Fence to the Second Post and Install It.

Stretch out your fence material. For our project, we used two lengths of fence. Be sure to measure and allow an amount for wrapping around the edges, so that the majority of your staples and nails will be on the back of the posts. Before installing the second post, wrap the rabbit fence around the outside of it and secure the fence to the back of the post the back using u-nails. Then install the second post using the same method as the first.


 Now allow the concrete to set. We waited a week before proceeding. You might need to put up a brace to support your post.

 6. Finish Installing Fence.

When your concrete has set, wrap the fence around the other post and secure using staples and/or u-nails.


7. Attach Wisteria Using String.

The string also helped anchor my existing trellis to the new fence trellis. I'm sure the fence will be completely covered next spring. 

And that's it! I hope this gives you some ideas for taming your climbing plants and filling up a long vacant wall.