Saturday, July 13, 2013

How to Make a Canopy Rod and the Saga of the Canopy

By the end of this post, I'll show you how to make some neat-looking canopy rods from dowels and wood flowers. But first I'll clue you in on the process of budget and reality meeting design and expectation.

As you might know by now, I've been working on a room for my mother-in-law. The room was originally one of the girls' bedrooms, but they have graciously agreed to share in order to have almost unlimited grandmother time while she's here. We've had a canopy that has remained in the room through all of its many transformations (from toddler bed to queen size to twin). Now I wanted to change it up a bit.

It's better if I show you this part in drawings. Below you will see the original plan for the room. The canopy would be hung from a single rod in the middle and draped gracefully across the edges of a wooden bed we planned to make.
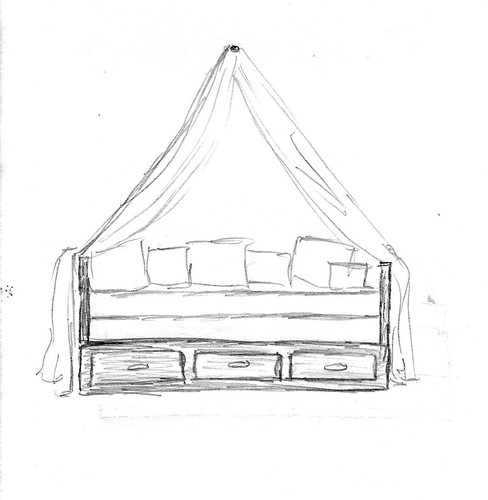
Canopy Plan
The wooden bed got put on hold. Neither my husband nor I seemed to have the time available to build it and it would require both of us and more tools. So I considered buying an iron daybed frame with some baskets for storage underneath.
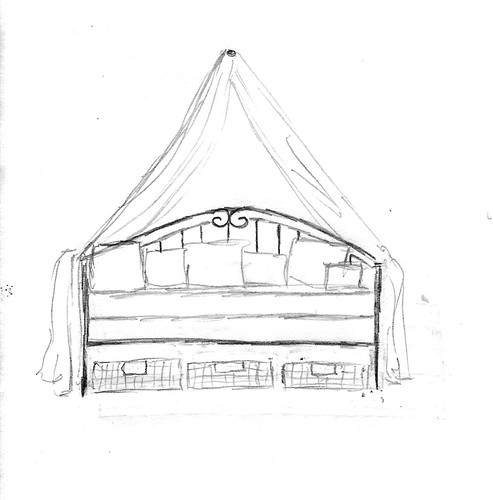
Canopy Plan
The budget did not allow for an iron daybed, so for the time being, the mattresses would remain on the floor. The drawing below is how the canopy was arranged above the bed when I started my final preparations just hours before Abuela was to arrive (although I forgot to draw the back part of the canopy that is against the wall.)

Canopy Plan


So my new plan was to install metal hooks where the corners were attached (currently the corners were hung on large command hooks). From the outer corners I would suspend the rods I had made (coming up in a bit, bear with me or just scroll down) on safety wire. I would suspend the middle rod on shorter pieces of safety wire from two more metal hooks.
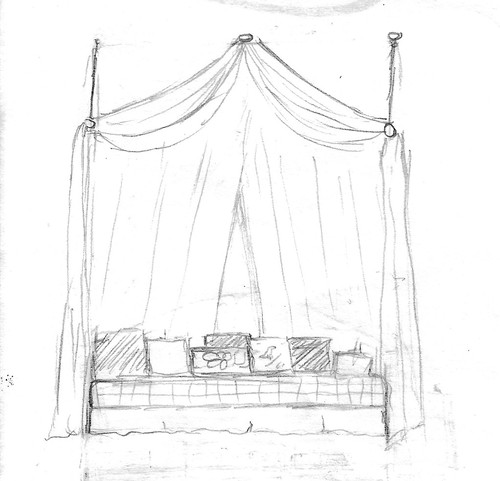
Canopy Plan

The hooks I bought? Not the right kind at all. The first one I installed pulled out of the ceiling way too easily. I had no time to run to the store, so I thought of running the safety wire from the command hooks and trying to suspend my wires from there.
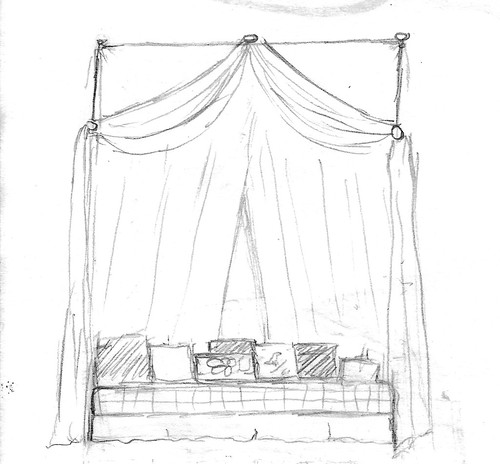
Canopy Plan

You guessed it. Too much wire. It looked atrocious. Also, procrastination is a killer. Thirty minutes before time to leave the house, I settled on the following arrangement.
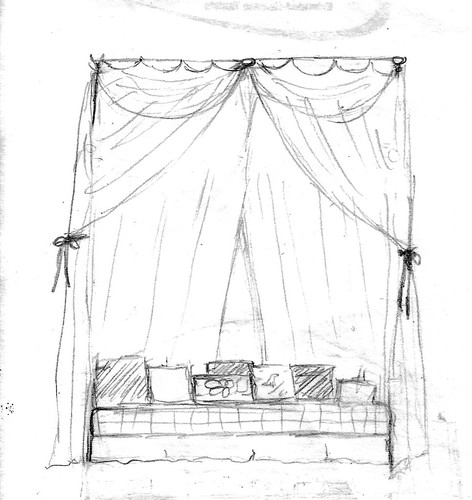
Canopy Plan

Safety wire suspended between the command hooks, but hidden by the front part of the canopy. I won't tell you how many safety pins are holding up that canopy, but you probably wouldn't know unless I pointed it out. I used only one rod in the center that raised the middle of the canopy significantly.
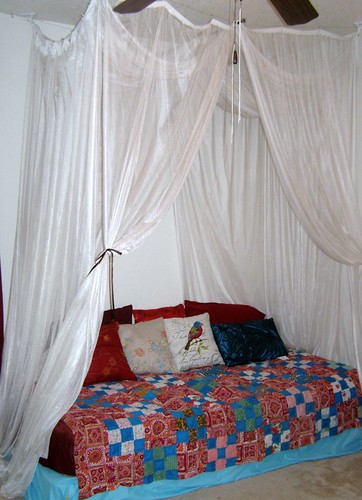

Abuela's Room

So it's not quite what I had intended, but the canopy turned out well. Maybe by the time we get around to placing the bed in there we'll have the right anchors to redo the canopy.


Even though I only used one rod in the final design, I had made three. Without further ado, here's how I made them:


 How to Make a Decorative Canopy Rod

Or a pretty support for a tomato plant or a walking stick for a child ...you get the idea.
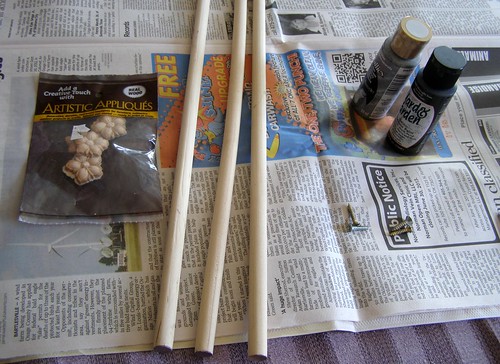
Canopy RodMaterials:

  • 3 dowel rods, 3/8" diameter, 3' length
  • 3 small wooden applique flowers
  • 3 small nails
  • black paint
  • silver paint

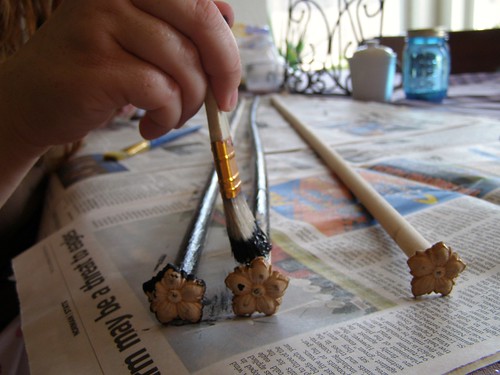
 1. Attach flowers to ends of dowel rods. 

Easier said than done, I think. The dowel rods were quite difficult to hold while hammering a nail. I ended up driving them into the ground and letting the dirt do the holding.
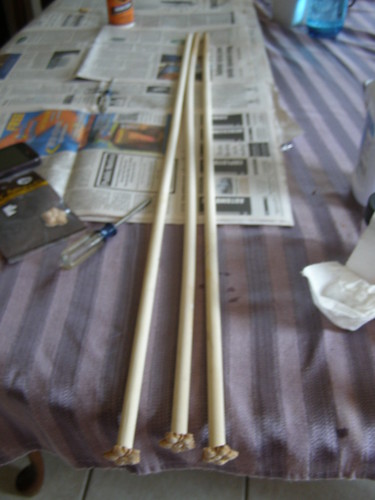
Canopy Rod 

Canopy Rod

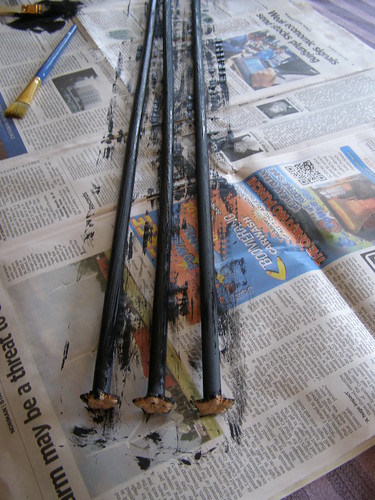
2. Paint the dowel rod black. 

Don't worry about painting the flower parts just yet.
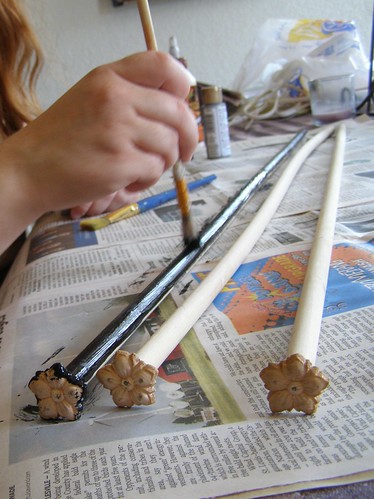
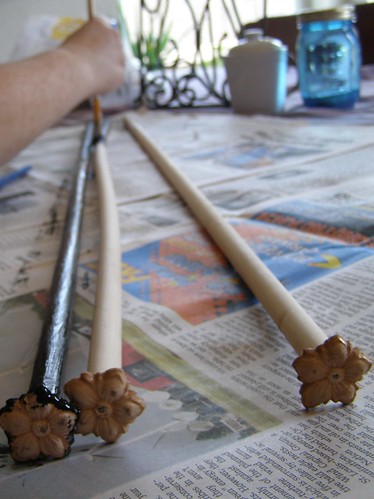
Canopy RodCanopy Rod


Canopy Rod

Canopy Rod

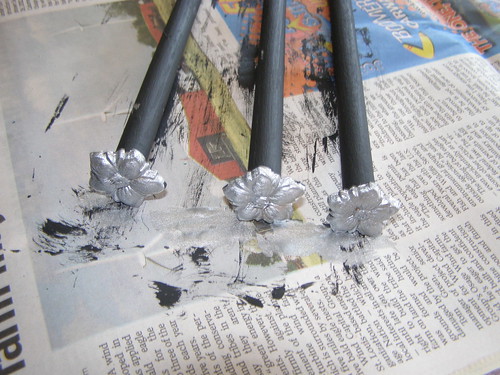
3. Paint the flowers silver. 

Canopy Rod

4. Allow to dry thoroughly. 

Or use a hairdryer if you're impatient or in a hurry.
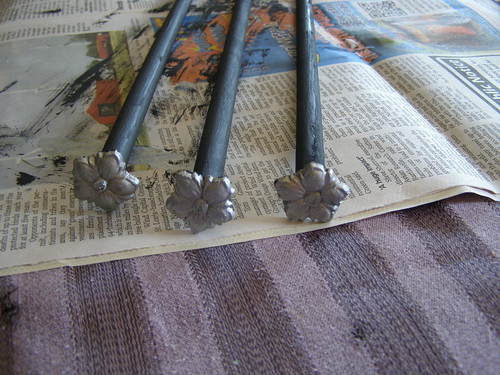
Canopy Rod

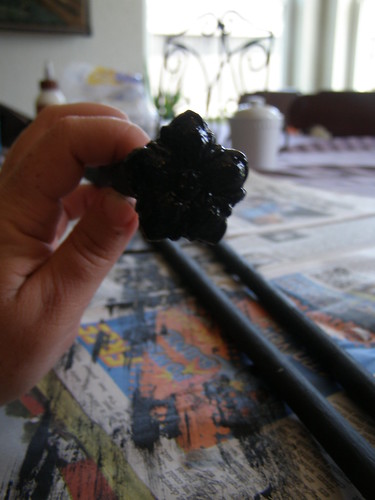
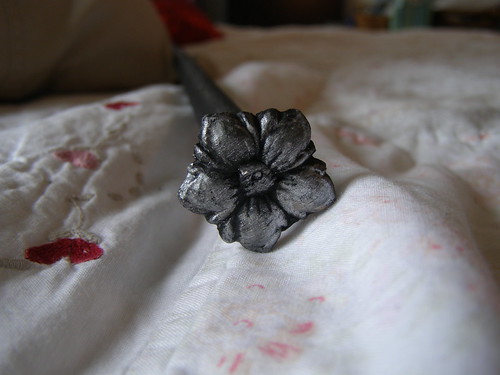
5. Add black to silver flowers.

Have a damp rag or paper towel at the ready. Paint the entire flower black, making sure the paint is pushed into the crevices. Then use your damp rag to rub off as much black as is desired.
Canopy Rod

Canopy Rod

And that detail is what is at the center of our canopy.

The Cheap Way to Make Throw Pillows

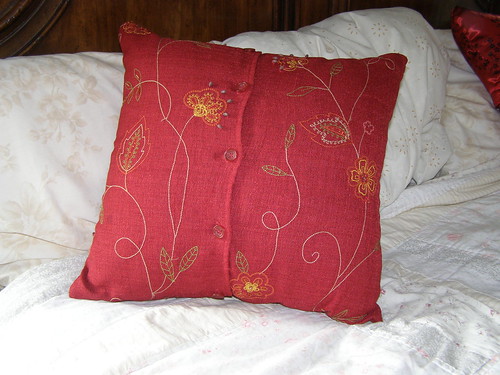
Abuela's PillowsOver the past couple of weeks, I have been blogging about some projects for my mother-in-law's room. Today I'm going to share with you how I made three square throw pillows for about $8.00. So here we go!

1. Gather materials. 

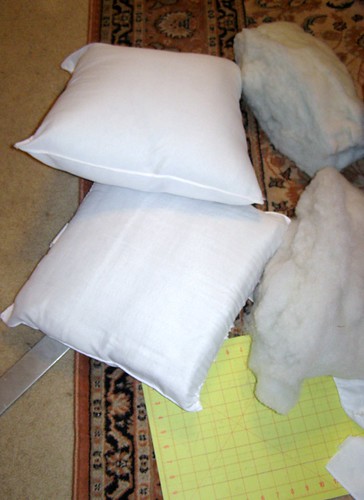
Pillow forms are expensive. Way too expensive for my tastes. So for this project I bought two $3.00 el cheapo standard bed pillows. Stuffing problem solved.

Abuela's Pillows
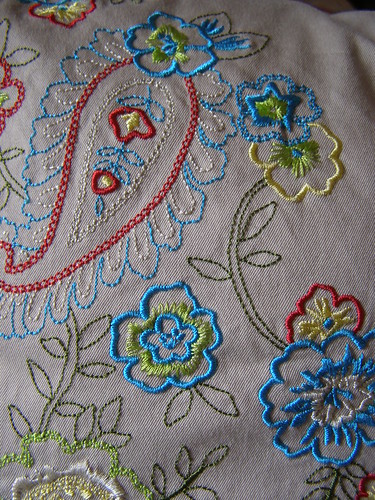
Embroidery on the Tan Skirt
For the pillow covers, I went to my local thrift store that was having a $2 bag sale. $2.00 buys all the clothing items you can stuff into a paper grocery bag. Totally worth the money. Other thrift stores have specials where a certain tag may be 10 for a dollar and so on. Recently one of our favorite kids' resale stores had a clearance sale where you could get 10 clearance items for $10. A little pricier, but I stocked up on colorful corduroy for a later project.

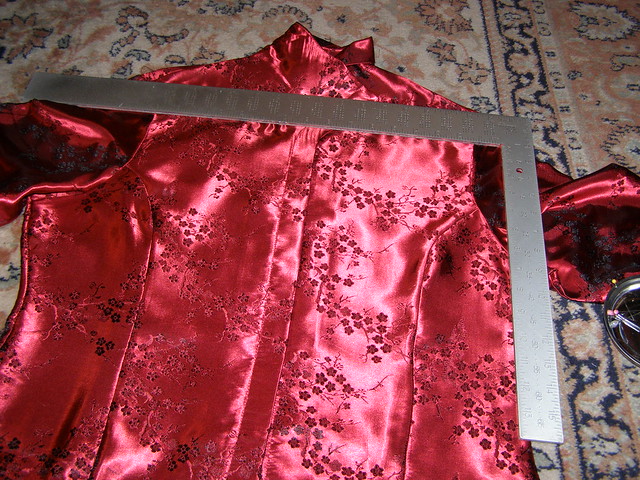
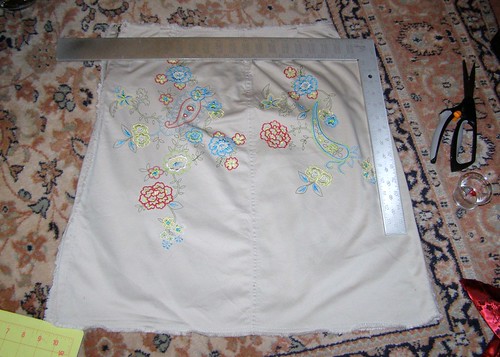
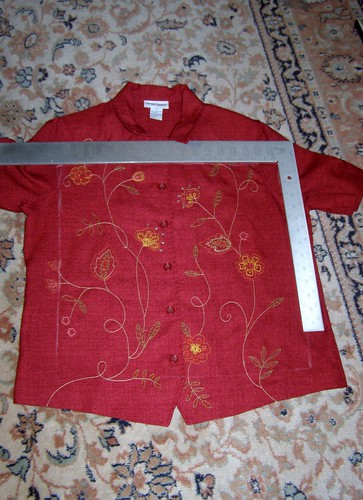
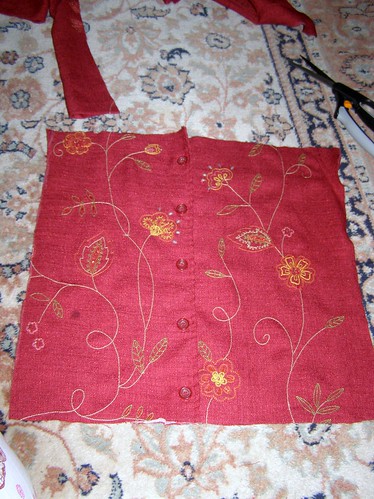
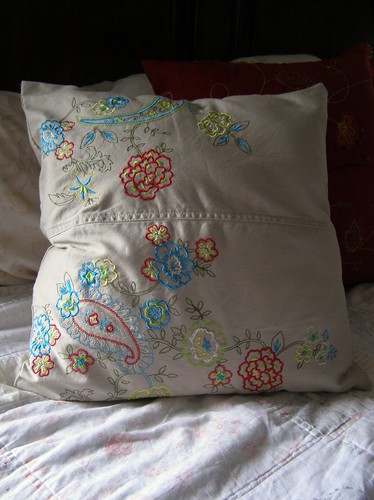
Sorry, got on a tangent there. Point being, think outside the box when looking for fabric. I found two red button-up shirts and tan skirt with gorgeous embroidery for this project. The ones I used were size 12, 14, and large, which seemed just big enough. I wouldn't recommend buying anything smaller for this particular project or you might have to do some piecework (which takes the easy and quick out of it).  I recommend washing and ironing your pieces before working with them.

2. Measure and cut.

The cheapo pillows I bought were about 16" wide. I think they were technically the standard 20" x 26" size, but with the stuffing factored in, they measured more like 16". So 16" was the magic number. Factoring in a generous 1/2" seam allowance on each side, I then measured my shirts and skirt to make sure I had enough fabric for a 17" x 17" square. On the shirts, I did have go up onto the arm a little, but I had enough. The skirt, thankfully, was large enough as well. I marked the 17" square and carefully cut it out. 

Abuela's Pillows

 Abuela's Pillows

 Abuela's Pillows

 Abuela's Pillows
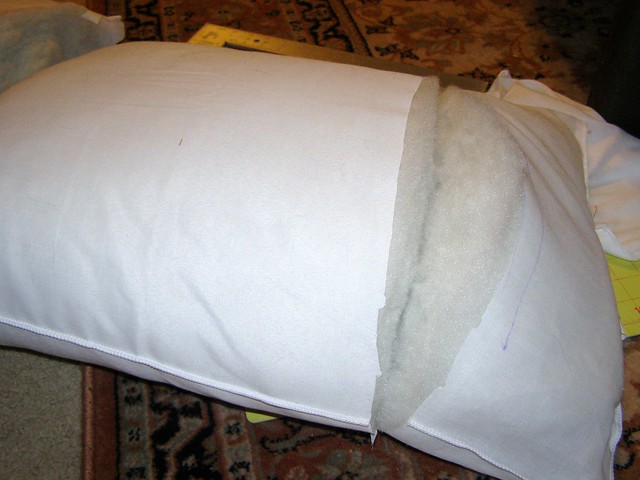
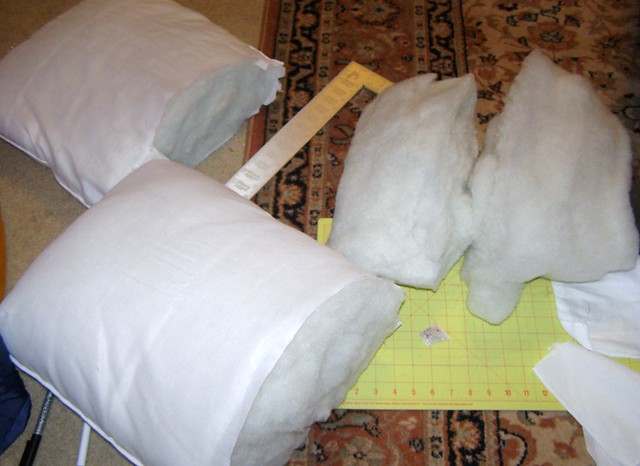
Then I measured 16" on the long side of the pillow. As I had hoped, 16" was just about 2/3 of the length. I carefully marked a line across and started cutting. Cutting through a pillow isn't really pretty, but it works. I repeated the process with the other pillow, which gave me two roughly 16" x 16" pillow squares that were sewn on three sides and two smaller rectangular pieces. (I kept the pillow casing on the larger pieces and tossed the pillow casing from the smaller pieces into the rag box).
 Abuela's Pillows

 Abuela's Pillows


3. Sew. 

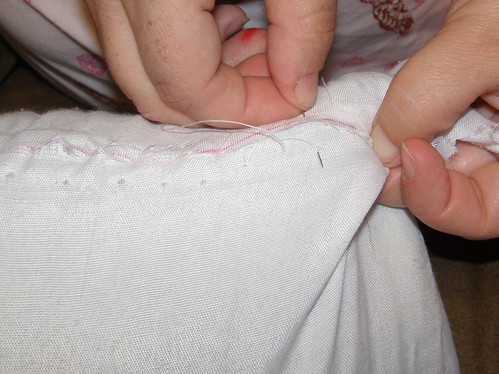
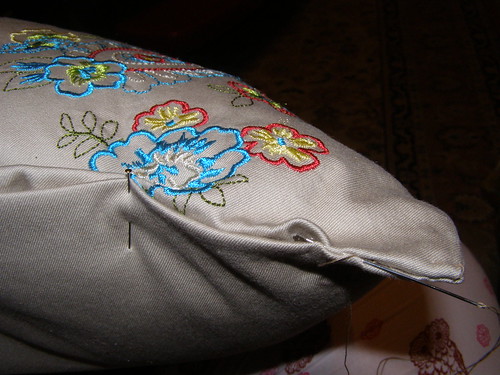
I must confess I was in a bit of a hurry. My mother-in-law was due to arrive the next day and I still had a significant amount of cleaning and setting up to do. So instead of making a gorgeous hidden stitch to seal up my square pillow pieces, I did a pretty crude stitch (also, don't judge my pajama pants, as I said, it was getting late). What does it matter? You might be wondering. Well, here's the genius of my plan. The two shirts have buttons, which makes them ideal for removable and washable slipcovers. The odd little thirds I planned to stuff into the skirt without worrying about making it removable. Since I'm planning to be the one removing the slipcovers and washing them, it doesn't really matter. But if you were planning to make these pillows to give as a gift, you might pay more attention to the quality of your stitching on the inside.

Abuela's PillowsAbuela's Pillows
Back to the covers now. After cutting them to 17" square, I turned the right sides together and pinned them. After running a test stitch on a piece of scrap fabric, I sewed the two red pillows on all four sides (knowing I could turn them right-side-out through the buttons). I added a row of zig-zag stitching around the outside to prevent fraying.
Abuela's Pillows
I then turned the red pillows the right way and stuffed them with my cheapo pillow forms.
Abuela's Pillows
After a quick thread change, I sewed the tan pillow on three sides.Abuela's Pillows
I stuffed the odd thirds into the tan pillow and pinned it shut. Then I did a hidden stitch to close up the third side.
Abuela's Pillows

4. Enjoy!

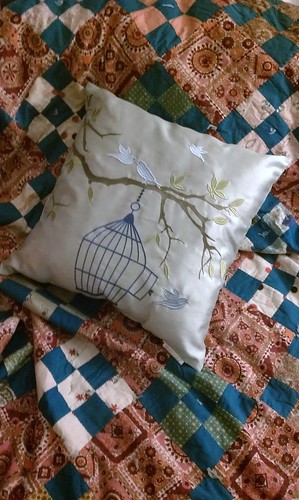
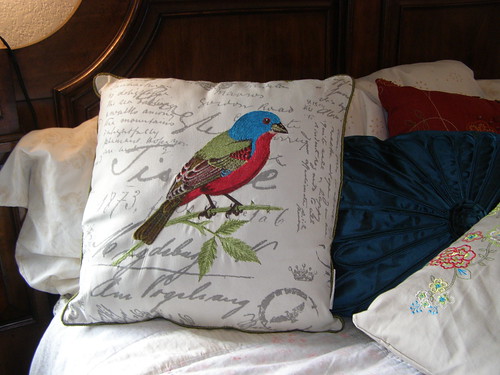
If you haven't guessed already, I love the process of making beautiful things. So before I show you the finished product, here are a couple pillows that did not pass their audition. The birdcage one, though lovely, was entirely the wrong shade of pillow. The red one was okay, but the blue accents clashed with the turquoise of the room.

Abuela's Pillows

 Abuela's Pillows
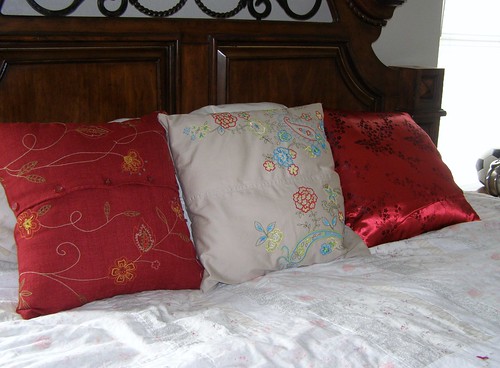
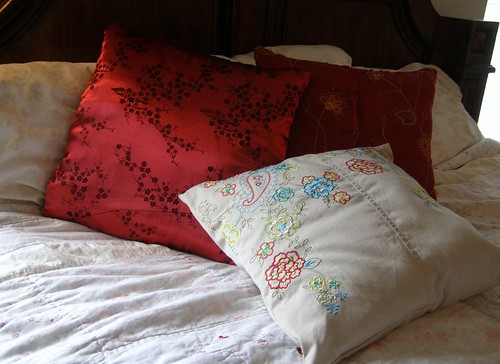
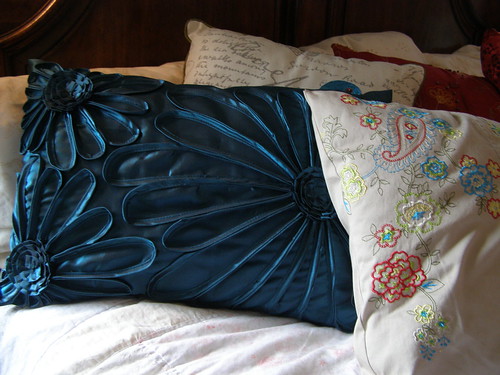
And here are the final versions of my pillows alongside the pillows I bought to accent them. (In case you are wondering, this isn't in their final location as the light in that room isn't very good for pictures).

Abuela's Pillows

 Abuela's Pillows
 
Abuela's PillowsAbuela's Pillows

Abuela's Pillows

Monday, July 1, 2013

Bowl of Cherries Painting

You may file this under the category of lesser posts, I suppose. I have a few random little projects here and there I'll try to post as I get a few minutes over the summer. Today's short inspiration: cherries painting class.

Even a short post requires a little back story (that's the novelist in me, I suppose). We have a dear family friend who was planning to move away. She's been like an aunt to the girls and opened her home to us for every Easter. In honor of her, my husband and I decided to do some paintings for her kitchen.

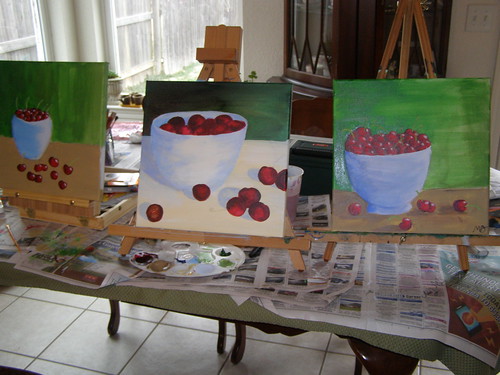
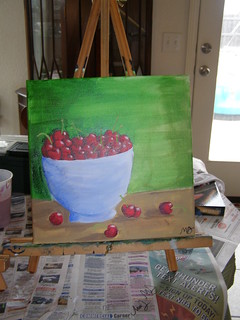
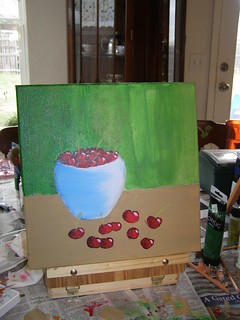
I picked out a fairly simple painting of a bowl of cherries. Then I decided to invite over a couple of our teenage friends who babysit the girls for a freebie art lesson. They sat on one side of the table and I sat on the other. Can you tell which is mine and which are theirs?
 Bowl of Cherries Class
I think they did a fantastic job. We were able to share some techniques and figure out ways to help each other.
 Bowl of Cherries ClassBowl of Cherries Class
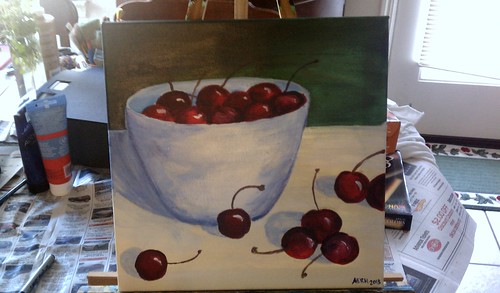
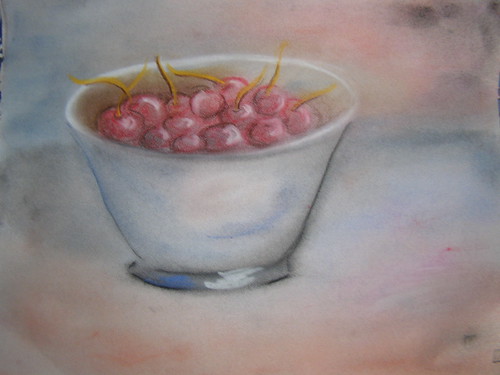
By the way, here is my finished painting.
 Bowl of Cherries Class
And my husband's pastel drawing.
 Bowl of Cherries Class
Although I am normally an introvert, I'm finding that painting with small group of artists is very helpful. And that's my pearl of wisdom for today. 

We presented our painting and drawing to our friend. Thankfully, they fit beautifully in her decor. We hope she is settling in to her new life well, but we sure do miss her here still.

Friday, June 28, 2013

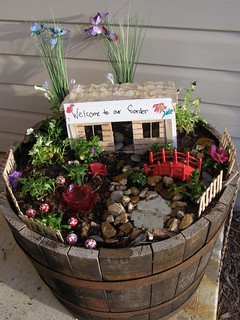
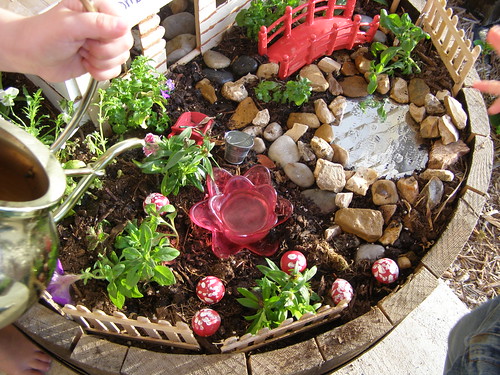
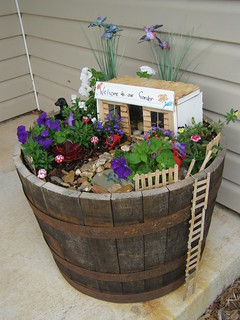
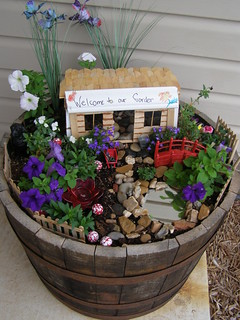
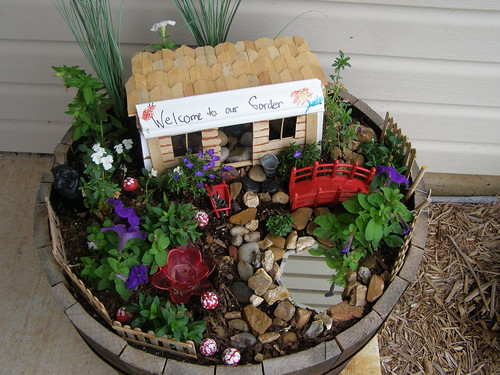
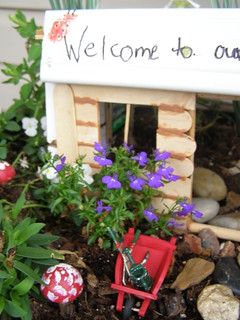
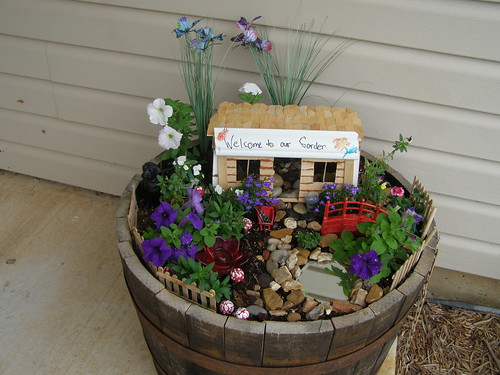
Fairy Garden 2013

Fairy Garden 2013
Fairy Garden 2013
Some of you may remember our fairy garden from last year. If not, see our "Making Our Very Own Fairy Garden" Part 1 and Part 2 for setting up the barrel planter and our cute little mushrooms.

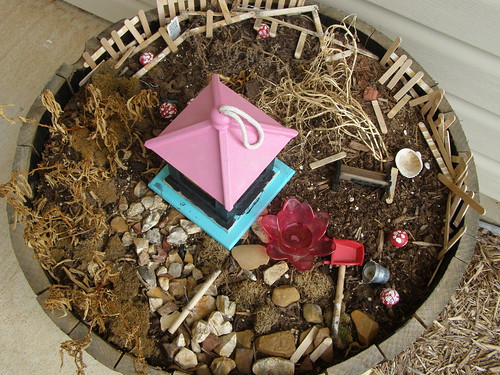
I'm not sure if our fairies migrated to the evergreen Holly bushes, left for warmer climates, or hibernated, but at the end of winter, our little garden looked like this:
Fairy Garden 2013
We knew we had our work cut out for us. 

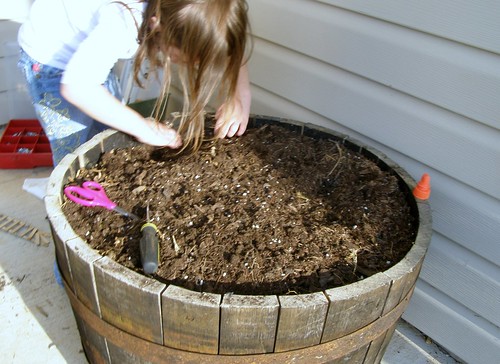
1. Clear the Debris. 

We wanted a clean start for our garden. We carefully removed all the river rocks, washed them, and set them aside. We got rid of all the plant debris. The fence and ladder pieces we set aside to be repaired. 
Fairy Garden 2013

2. Repair.

Our fence and ladder pieces needed a lot of work, but nothing was a match for a new bottle of wood glue and a little patience. Sadly, the bench could not be saved. We're looking to buy another or perhaps might make one. 

3. Build the House. 

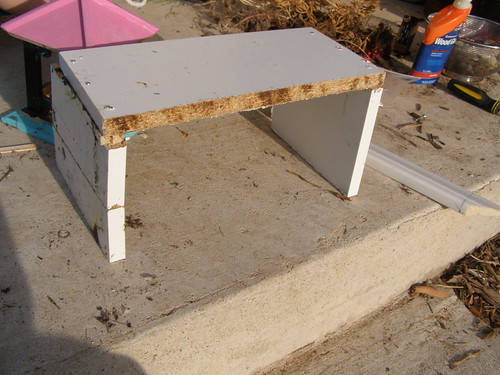
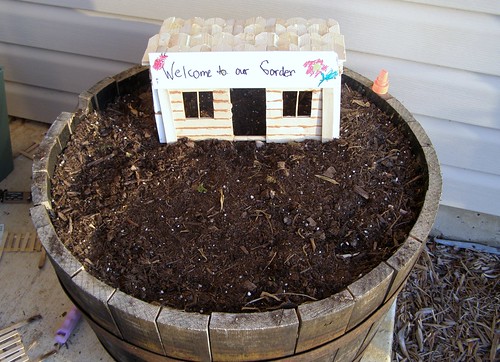
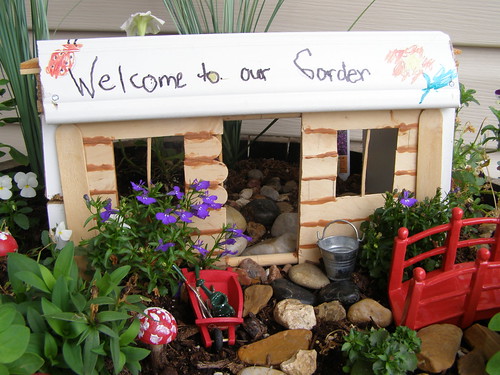
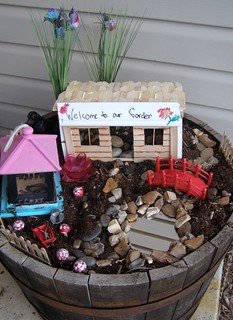
This year we decided to build a house for our fairies to live in. My husband had built the front panel for a different project quite some time ago. I found some shelf scraps and built a little three-sided structure. 
 Fairy Garden 2013
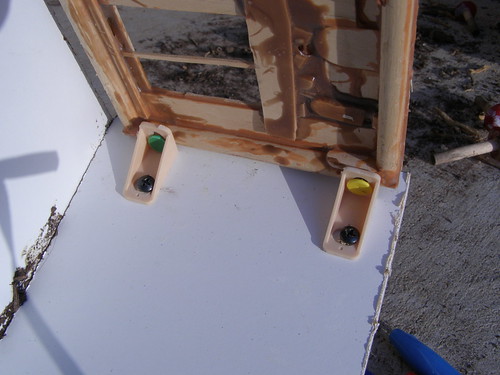
We then attached the front using some leftover hardware. 
 Fairy Garden 2013Fairy Garden 2013
 Fairy Garden 2013
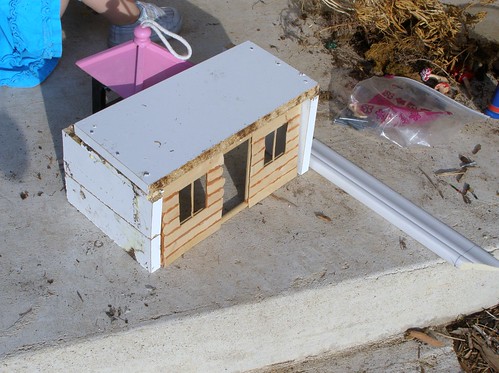
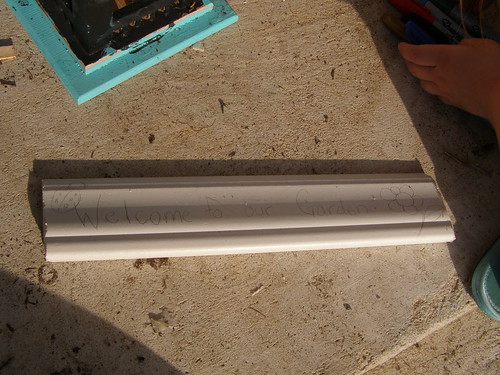
We cut down a scrap piece of moulding and added it above the front. 
 Fairy Garden 2013
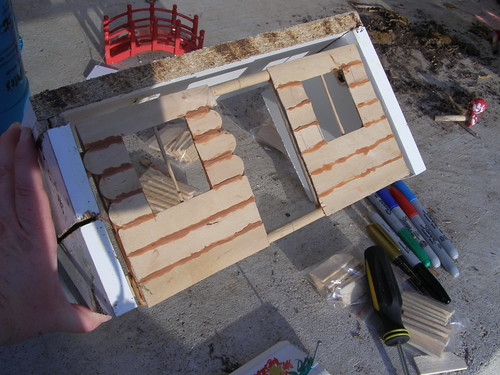
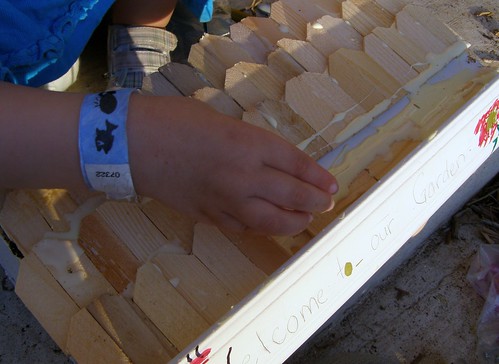
Finally, we applied our shingles with wood glue. We used canvas stretchers that came with the canvases for my painting projects. 
Fairy Garden 2013

 Fairy Garden 2013

4. Shop! 

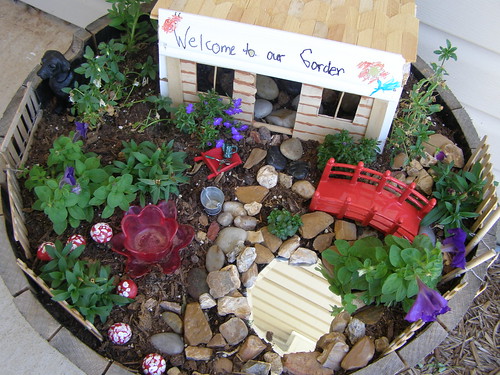
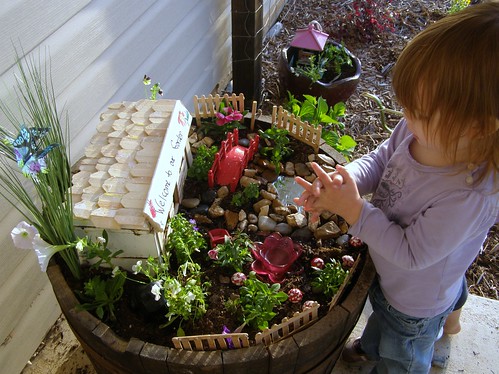
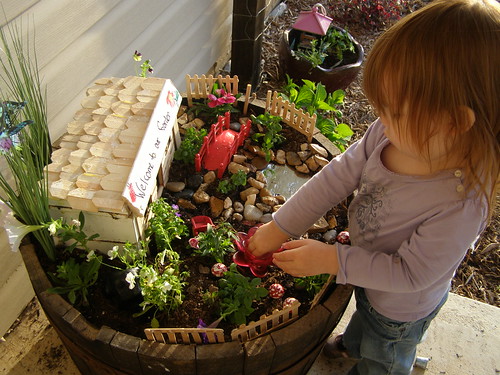
We love adding accessories to our garden. This year's purchases included a beautiful bridge from Petsmart, which is probably my favorite addition. It's made for an aquarium and has held up to the outdoor conditions pretty well. From the dollar store we bought a resin dog, artificial grass with butterflies, more river rocks, and a mirror to use as a reflecting pool. All of these were installed using river rocks as pathways and a riverbed leading to the reflecting pool.
Fairy Garden 2013Fairy Garden 2013

5. Plants.

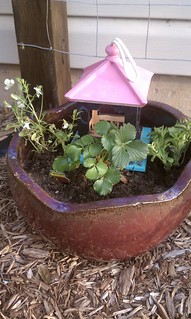
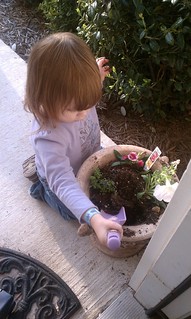
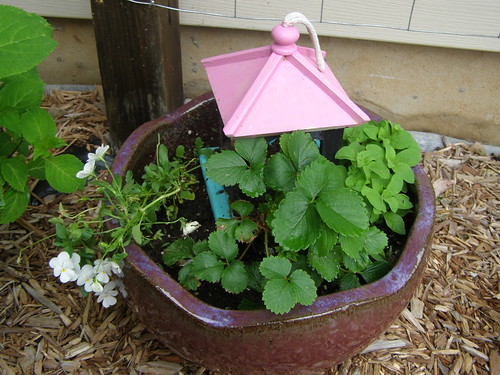
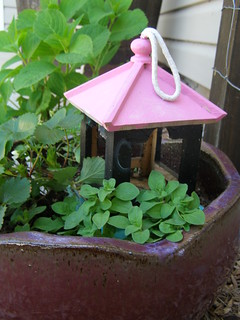
Last year we didn't have much luck with the moss, so we decided to skip it. Instead we planted several flowers including violas, petunias, and lobelias. We bought a few extra plants, so we had two secondary containers other than the main fairy garden. 

 Fairy Garden 2013Fairy Garden 2013Fairy Garden 2013Fairy Garden 2013Fairy Garden 2013Fairy Garden 2013Fairy Garden 2013

Pretty simple this year. Other than the house, we didn't do much. After a few weeks, our garden looked even better. This year was a pretty rough tornado season. A couple of days, we weren't sure what we would find when we returned from taking shelter. On both days, the fairy garden (and our house) survived. The ladder blew off once, but other than that, everything was still in its proper place (despite trees and fences being blown down in our neighborhood). We are very blessed and thankful.

Fairy Garden 2013Fairy Garden 2013

Fairy Garden 2013

Fairy Garden 2013

Fairy Garden 2013

Fairy Garden 2013

Fairy Garden 2013

Fairy Garden 2013

Fairy Garden 2013

Fairy Garden 2013


This Fairy Garden has been entered into the 2013 Fairy Garden Contest on the Magic Onions. Check out all the fairy gardens here and maybe be inspired to make your own!