
Collaborated is such a neat and simple word, but it really doesn't capture the amount of combined thinking we did on this. First, my husband is a fan of clean lines and simple modern looks, with a farm-like rustic quality. I like ornate antiques and dark woods. Combine that with the style of our house (think suburbs with siding, white trim, shingle roof), our modest budget, and the poor trellis that has been already taken over by the vines, and you have quite the task. So, without further ado (if you want more "ado" check out my wisteria post here.)
Making a Rustic Wisteria Trellis
What You'll Need:
- 2 - 4"x4"x8' pressure-treated wooden posts
- 1 qt. dark walnut stain (optional)
- 1 25' roll rabbit fence (ours is wire, the widest holes are 2" x 4")
- staples
- u-nails
- 1 bag concrete
1. Check and Measure.
The first step is always to check with your local digging hotline to make sure you aren't going to burst a pipe or hit a power line.Second, measure where you want your posts to be. Ours are about 12 feet apart, I wouldn't recommend any wider than that because it will be difficult to tighten the fence.
 2. Stain the Posts (Optional).
We had originally intended to leave the posts as-is, but they looked very green against our tan siding. We decided to go for a dark walnut stain and I'm quite pleased with the results.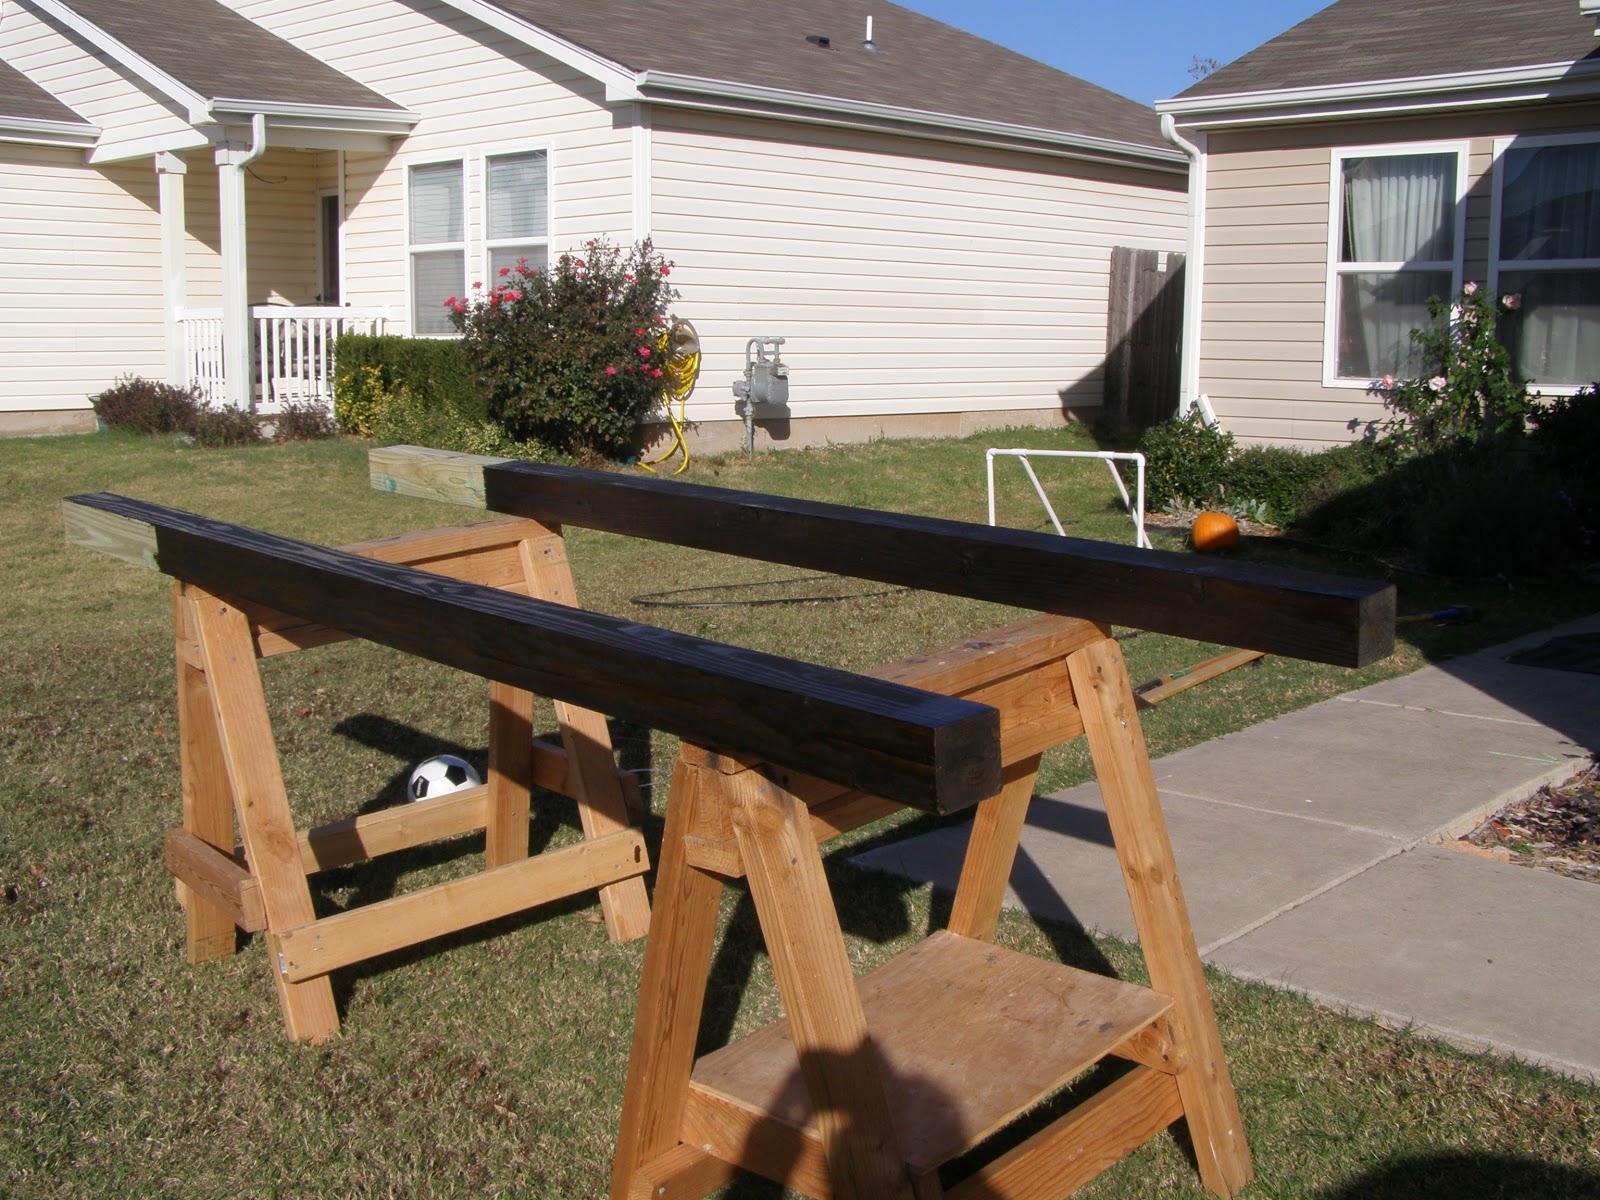
3. Dig the Holes

Also, you might look into buying a digging bar, but that requires quite a bit of muscle. If all else fails, you can rent an auger, just be careful if you're in close proximity to your house. (Our project was way too close to the house to consider this option.)

 4. Mix the Concrete and Install the First Post.
Being rather old-fashioned and cheap in terms of construction methods, my husband mixed our concrete by hand. The concrete adds stability to the posts.
When thoroughly mixed, pour a little concrete into the first hole. Set the first post in the hole and use a level to ensure it is straight. If necessary, use a sledgehammer to drive the post into the concrete. Add a layer of rocks and gravel, then fill the hole with concrete.
5. Attach the Fence to the Second Post and Install It.
Stretch out your fence material. For our project, we used two lengths of fence. Be sure to measure and allow an amount for wrapping around the edges, so that the majority of your staples and nails will be on the back of the posts. Before installing the second post, wrap the rabbit fence around the outside of it and secure the fence to the back of the post the back using u-nails. Then install the second post using the same method as the first.

Now allow the concrete to set. We waited a week before proceeding. You might need to put up a brace to support your post.
6. Finish Installing Fence.
When your concrete has set, wrap the fence around the other post and secure using staples and/or u-nails.
7. Attach Wisteria Using String.
The string also helped anchor my existing trellis to the new fence trellis. I'm sure the fence will be completely covered next spring. 
And that's it! I hope this gives you some ideas for taming your climbing plants and filling up a long vacant wall.

No comments:
Post a Comment