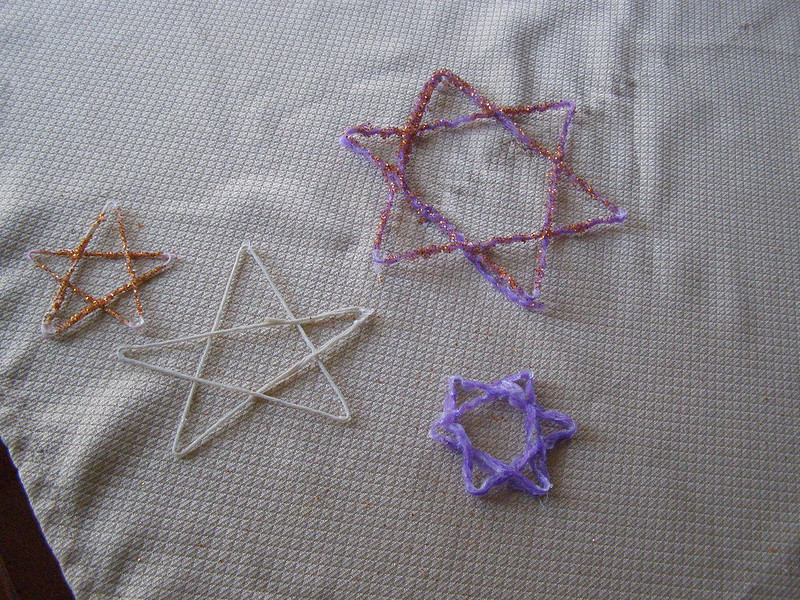
 Allow me to begin by saying that my mom is a fantastic teacher. When I was younger, I would visit her classroom as often as I could to help out. Later, she became a librarian and I would read stories for the kids (in very badly done accents, but the kids were impressed). One of my favorite activities was, of course, when we did crafts with the kids. Today I'm going to share with you one of the crafts that we did.
This craft has MANY variations, so if the first set of instructions don't include what you might have on hand, keep scrolling to the other versions.
Yarn Star Ornaments
 What You'll Need:

- Cardboard (we used a pizza box)
- Wax Paper (recommended, but optional)
- Yarn
- Craft or School Glue
- Thumbtacks
1. Draw a star shape on your cardboard.
 I've found a simple 5-point star or Star of David (2 triangles) somewhere in the range of 3-6" across work best. You can try a 7- or 8-point star, but they are more complex. Or if you have a cool hexagon-shaped trivet, you can trace that as well to make a Star of David.
 2. Lay a piece of wax paper over the design.
The wax paper will prevent the star from sticking to the cardboard and can be used to catch glitter if you decide to go that route. 
3. Stick a thumbtack in each corner of your design.
My 6-year-old thought this step was pretty cool. She felt rather grown up.


4. Loosely measure your yarn to the correct size.


5. Soak the yarn in glue.
For this project, we used Aleene's Craft Glue. We tried watering it down, but it made the ornaments too flexible. Our second attempt, with undiluted glue, turned out much better.
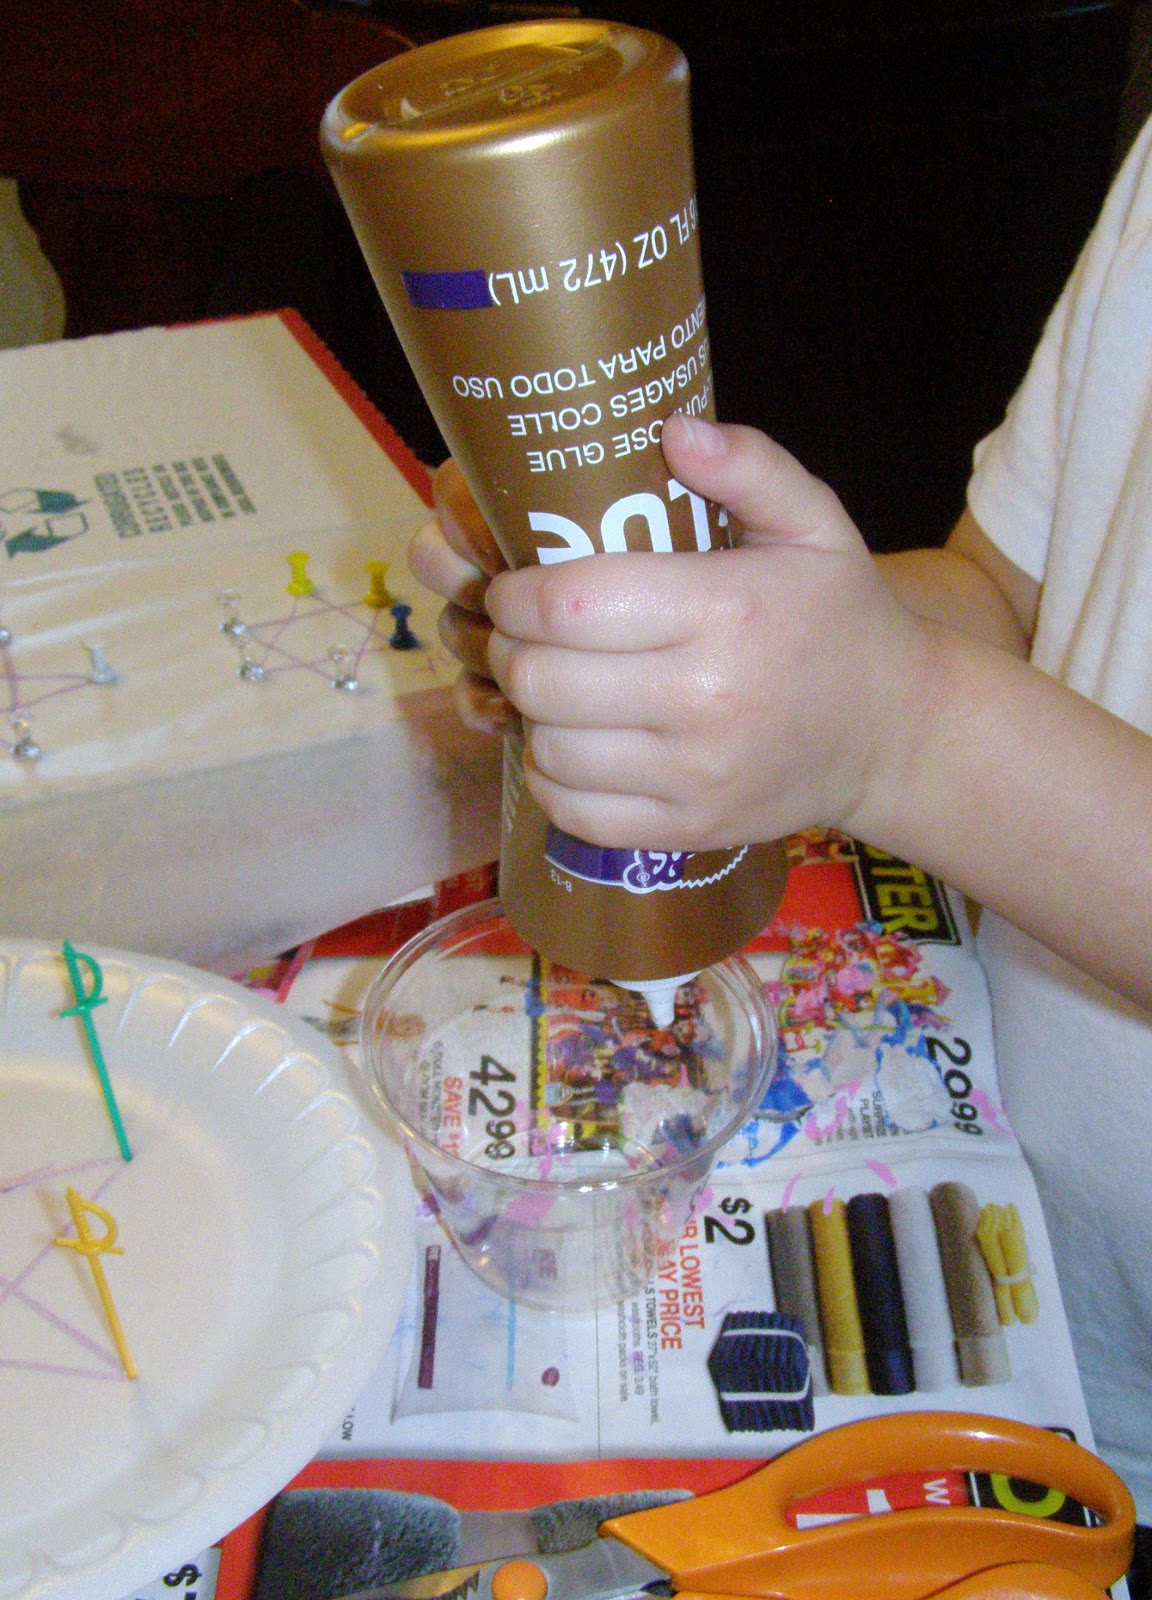

6. Once the yarn is saturated, stretch it around your star shape.
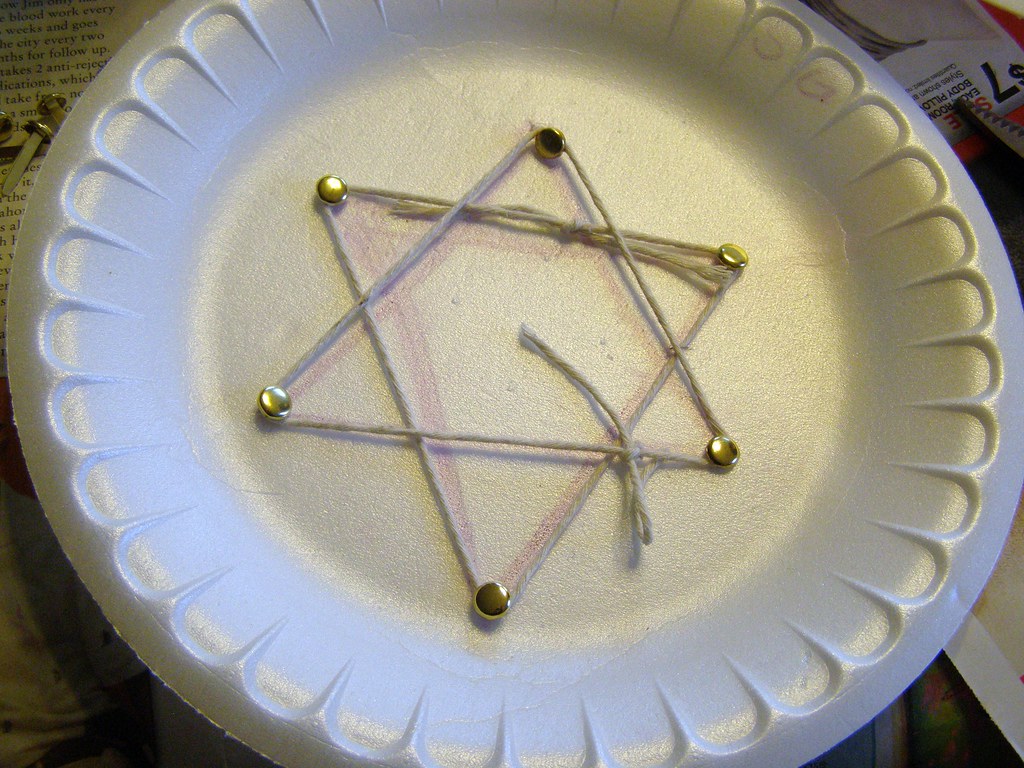
Stretch the yarn so it is taut, but not so tight that your thumbtacks are pulled out of place. For added strength, weave the yarn in an over-under pattern as you string it along. You may tie the yarn or simply twist it into place. This part is messy!

7. Allow to dry at least overnight.

Variation 1
No cardboard or pushpins? Not to worry, you can use foam plates and toothpicks instead!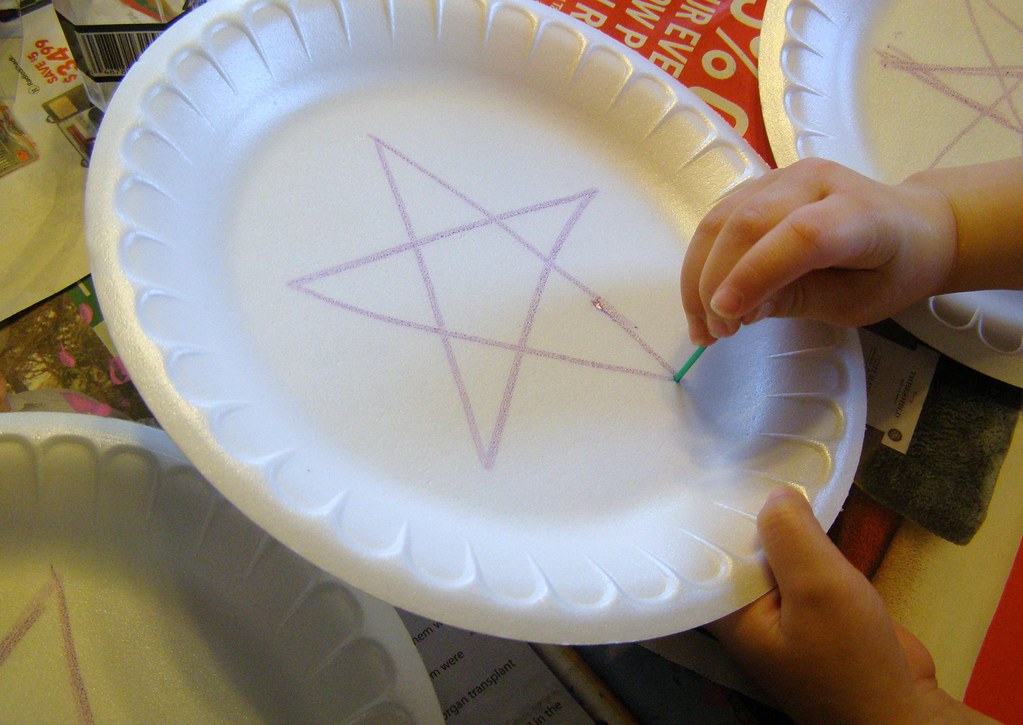

Variation 2
Brads also work instead of toothpicks and pushpins.
Variation 3
Add glitter just before step 7.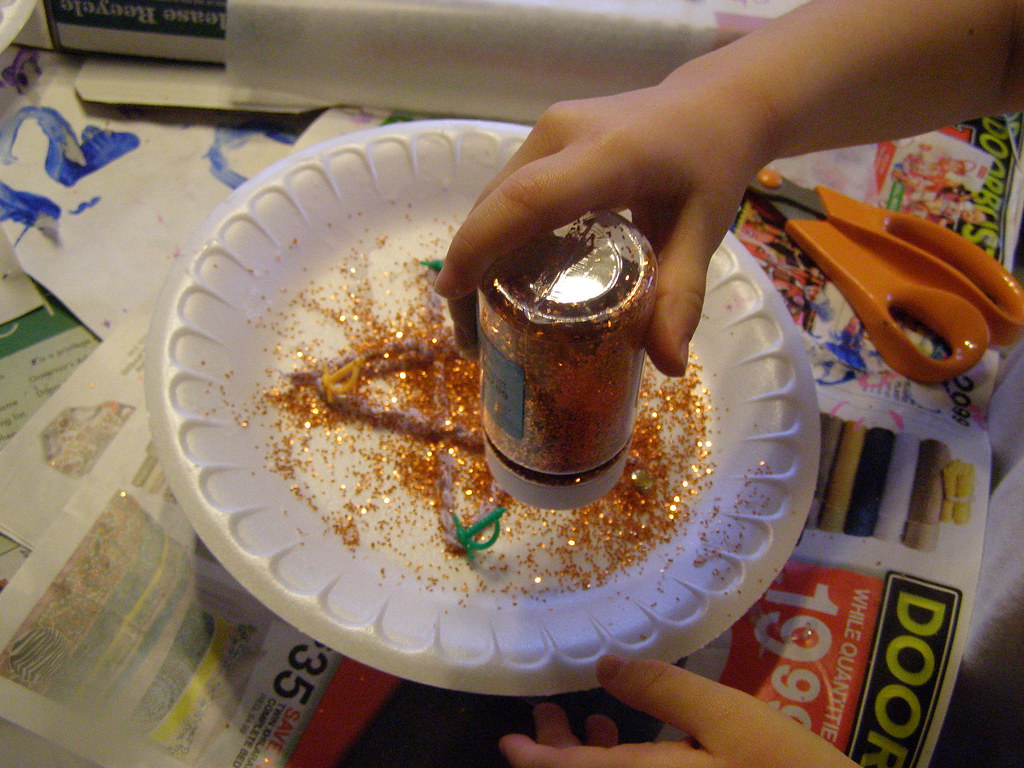

Variation 4
Want stars of different colors and textures? Either use different colors and weights of yarn or use plain cotton string and add tempera paint to your glue in step 5.Variation 5
Try an 8-point star or more! I will probably try to make another one at some point, but I made mine with diluted glue and it failed-miserably. I'm not too proud to show you, either! May you have better success with it!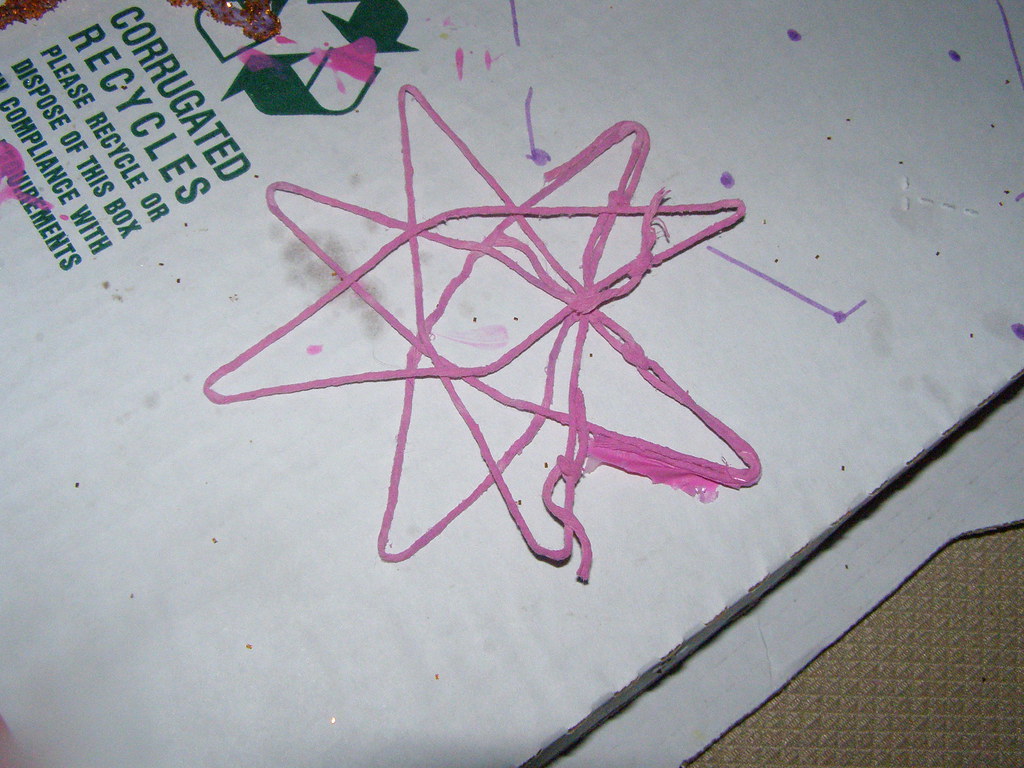
If I remember correctly, the project my mom's class did used bluing and liquid starch. If anyone knows that variation, please let me know!