 |
| Fairy Garden 2013 |
Some of you may remember our fairy garden from last year. If not, see our "Making Our Very Own Fairy Garden" Part 1 and Part 2 for setting up the barrel planter and our cute little mushrooms.
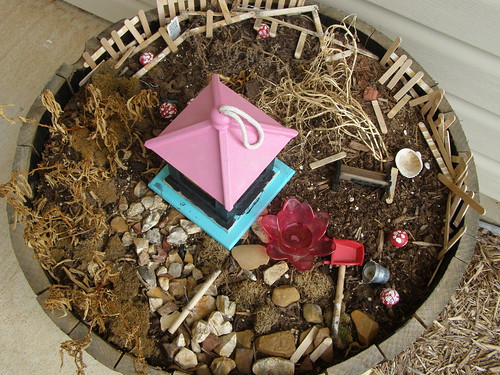
I'm not sure if our fairies migrated to the evergreen Holly bushes, left for warmer climates, or hibernated, but at the end of winter, our little garden looked like this:
We knew we had our work cut out for us.
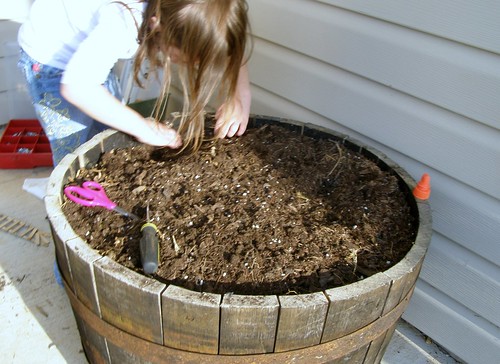
1. Clear the Debris.
We wanted a clean start for our garden. We carefully removed all the river rocks, washed them, and set them aside. We got rid of all the plant debris. The fence and ladder pieces we set aside to be repaired.
2. Repair.
Our fence and ladder pieces needed a lot of work, but nothing was a match for a new bottle of wood glue and a little patience. Sadly, the bench could not be saved. We're looking to buy another or perhaps might make one.
3. Build the House.
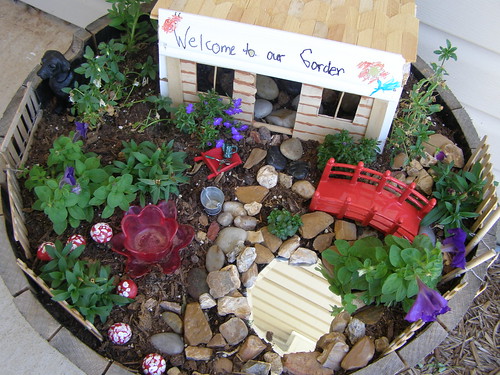
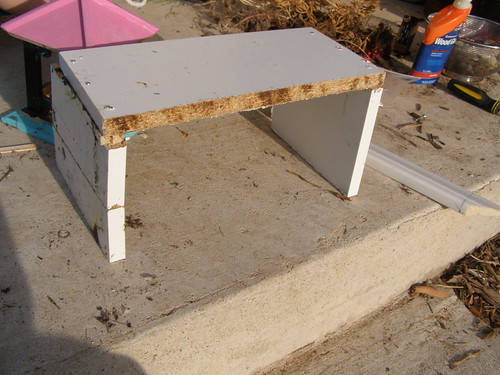
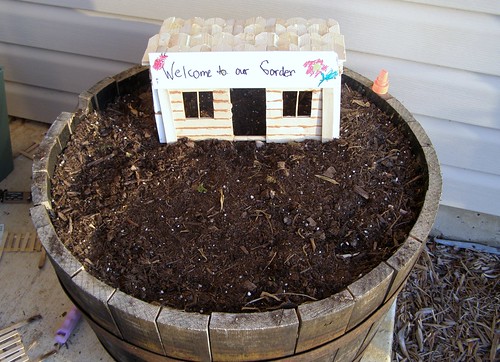
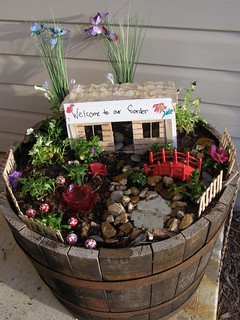
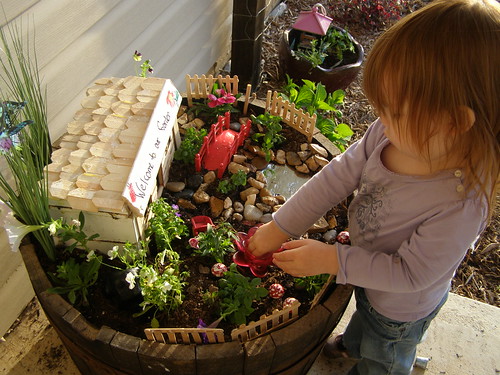
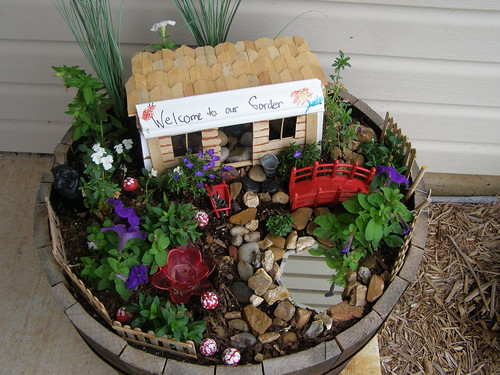
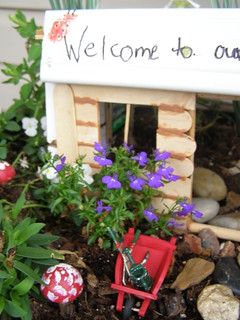
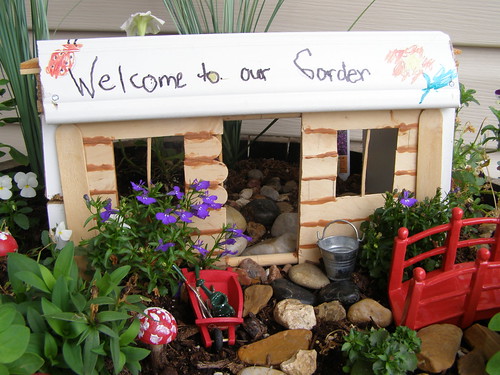
This year we decided to build a house for our fairies to live in. My husband had built the front panel for a different project quite some time ago. I found some shelf scraps and built a little three-sided structure.
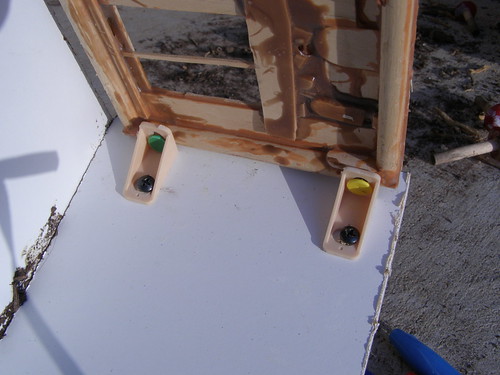
We then attached the front using some leftover hardware.
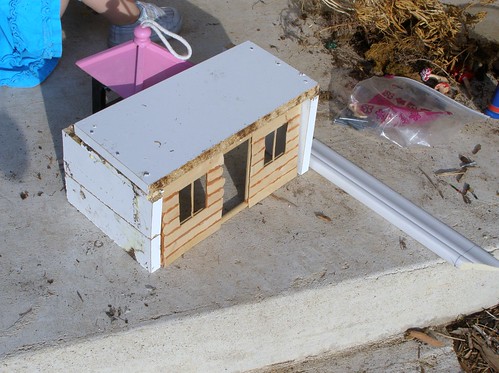
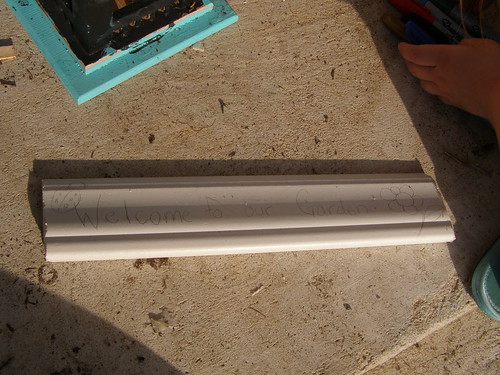
We cut down a scrap piece of moulding and added it above the front.
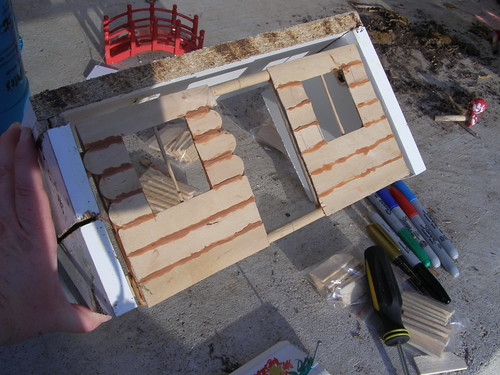
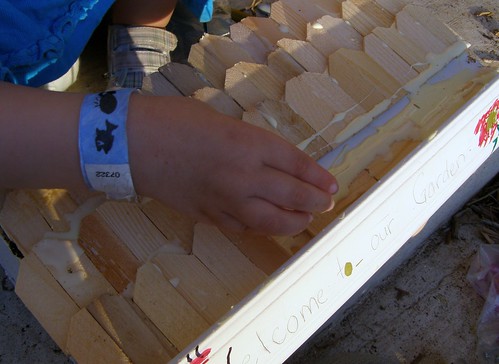
Finally, we applied our shingles with wood glue. We used canvas stretchers that came with the canvases for my painting projects.
4. Shop!
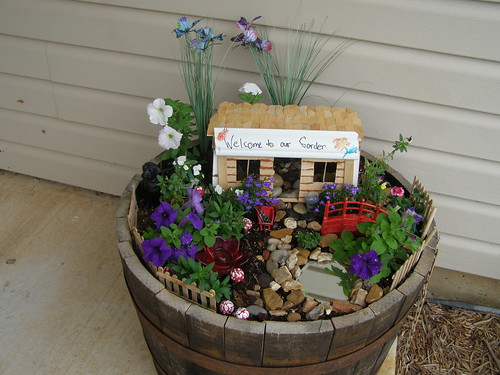
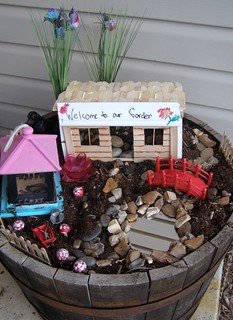
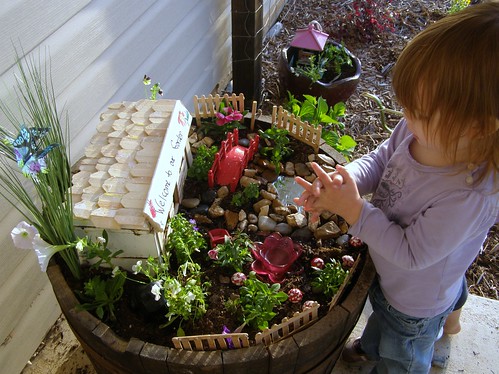
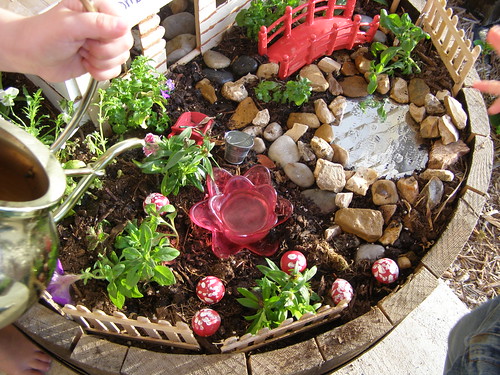
We love adding accessories to our garden. This year's purchases included a beautiful bridge from Petsmart, which is probably my favorite addition. It's made for an aquarium and has held up to the outdoor conditions pretty well. From the dollar store we bought a resin dog, artificial grass with butterflies, more river rocks, and a mirror to use as a reflecting pool. All of these were installed using river rocks as pathways and a riverbed leading to the reflecting pool.
5. Plants.
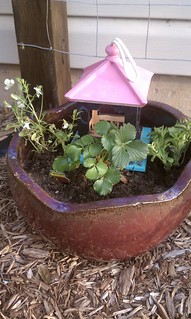
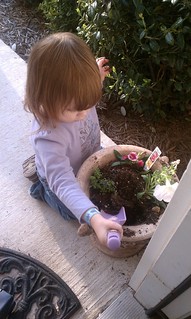
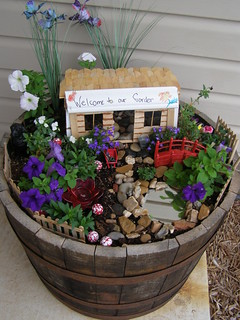
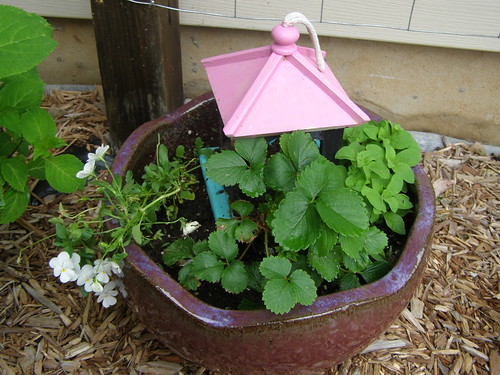
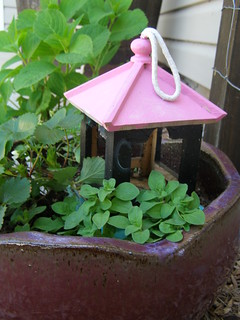
Last year we didn't have much luck with the moss, so we decided to skip it. Instead we planted several flowers including violas, petunias, and lobelias. We bought a few extra plants, so we had two secondary containers other than the main fairy garden.
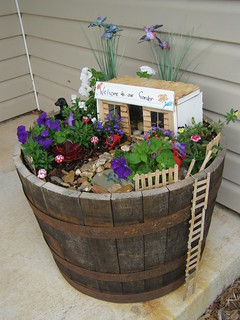
Pretty simple this year. Other than the house, we didn't do much. After a few weeks, our garden looked even better. This year was a pretty rough tornado season. A couple of days, we weren't sure what we would find when we returned from taking shelter. On both days, the fairy garden (and our house) survived. The ladder blew off once, but other than that, everything was still in its proper place (despite trees and fences being blown down in our neighborhood). We are very blessed and thankful.
 | |||||||||
This Fairy Garden has been entered into the 2013 Fairy Garden Contest on the Magic Onions. Check out all the fairy gardens here and maybe be inspired to make your own! |




No comments:
Post a Comment