
 |
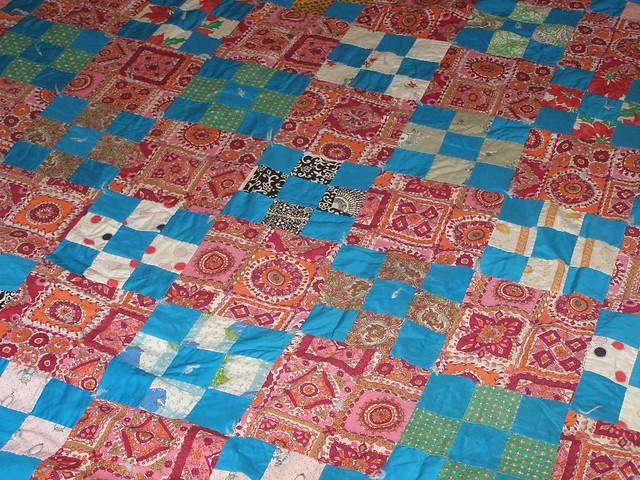
| Before |
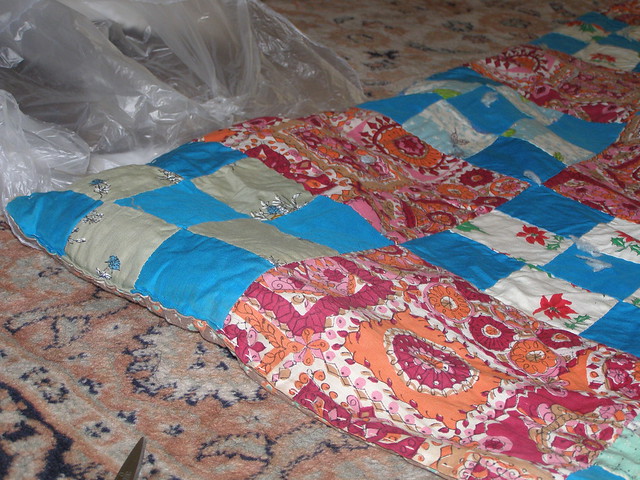
My new project arrived bundled in plastic via the mail. I was pretty excited to get started on it, but I took a few minutes to give it a checkup before launching in. Here are the problems I identified and the solutions.
 |
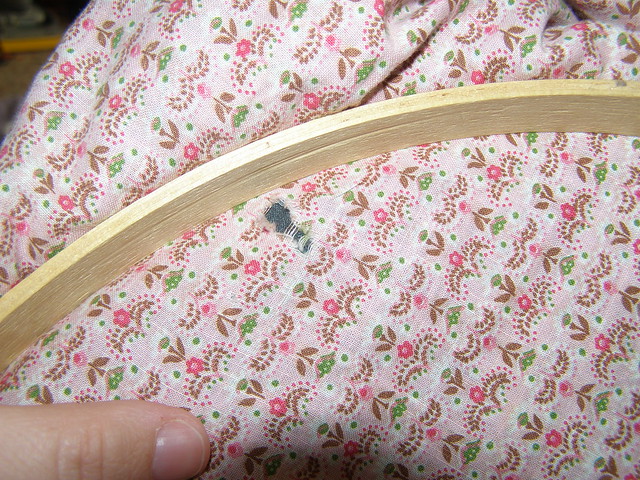
| Dirt on the Edge |
Problem #1: Dirt
The seller was hesitant to clean the quilt, and for good reason. One edge was very fragile, the batting was clumping badly, and the colors might bleed. One edge was visibly soiled.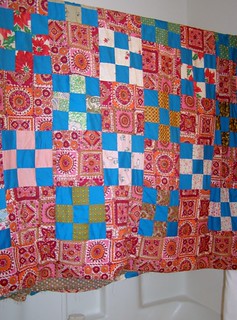 |
| Hanging to Dry |
Solution:
I carefully removed the batting first. I planned to soak the quilt top and back in the tub in Oxi-Clean, but as soon as I got the water running, the color started running as well. I yanked the quilt out of the tub and put in in the washing machine on the hand-wash cycle with cold water. Then I hung it to dry on the shower curtain rod. Not all of the stains were removed, but at least now the quilt was clean enough to work on.Problem #2: Yarn Ties
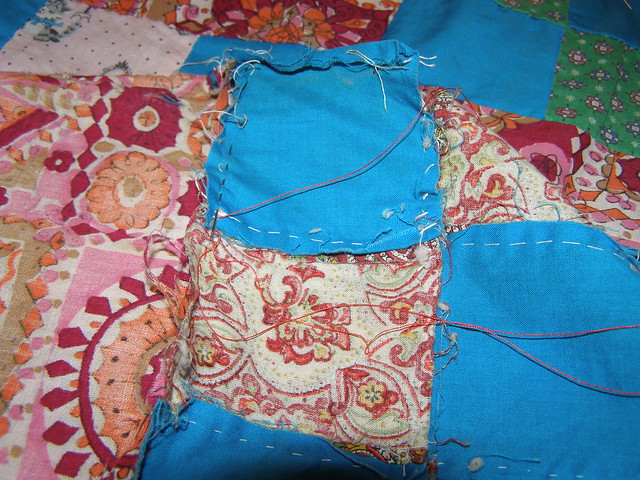
At one point, this quilt was held together with knotted pieces of yarn. Over time, the yarn had disintegrated in places, which led to other problems.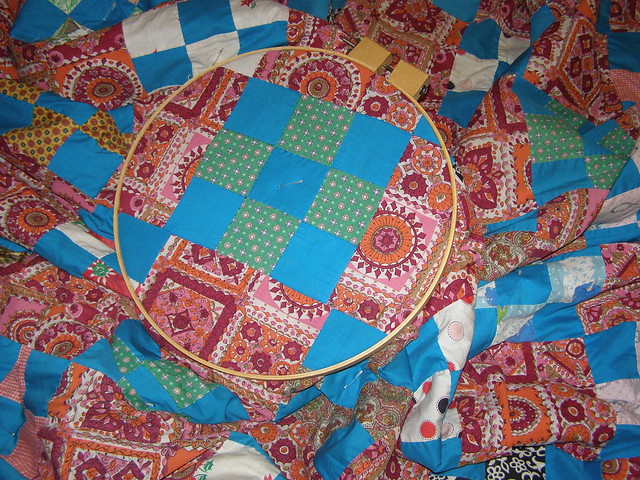
Solution:
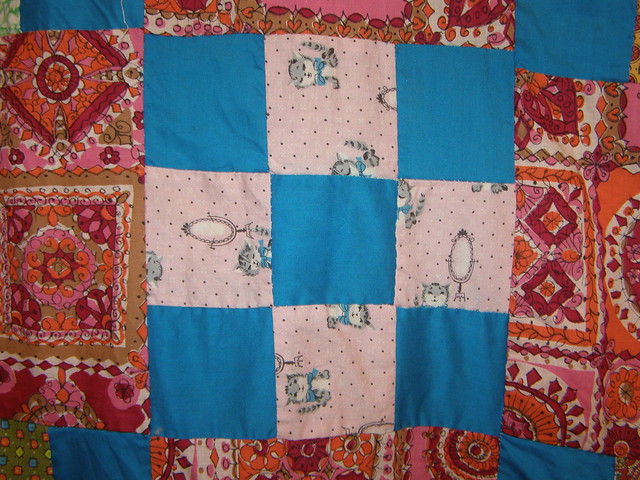
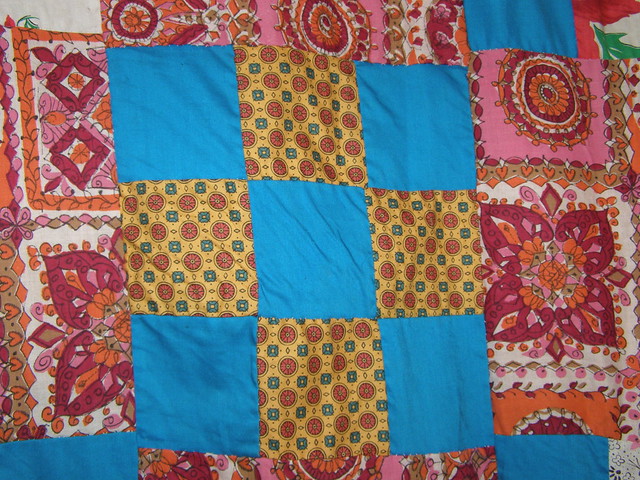
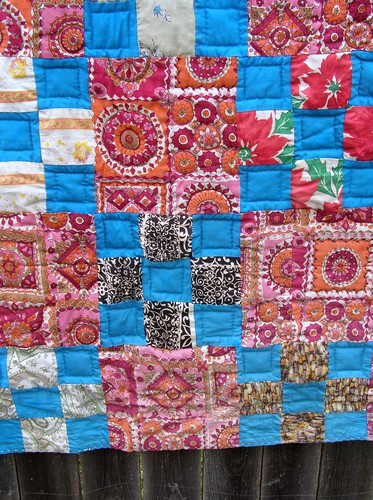
I carefully snipped off all the old yarn ties. After replacing the batting (which I will address next) I hand quilted the squares instead of using yarn ties. This was the most tedious part, but also the most fun. On the blue squares, I made a smaller blue square with matching thread. On the red parts, I used red thread to trace some of the designs that were printed on the fabric.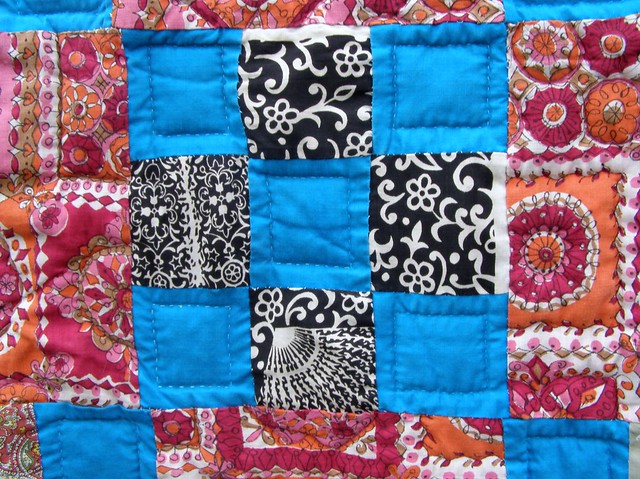
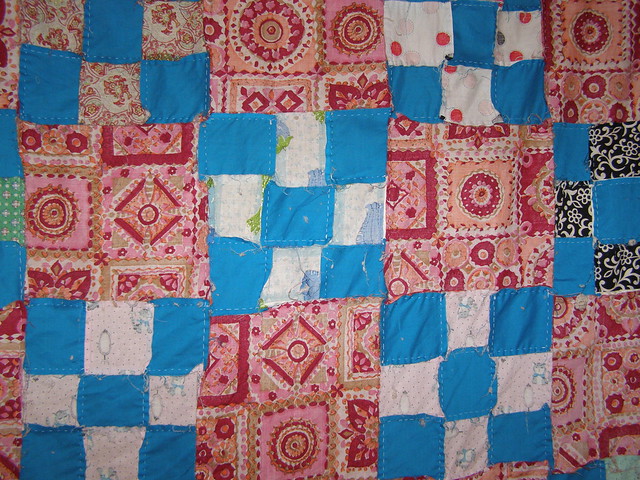
Problem #3: Batting
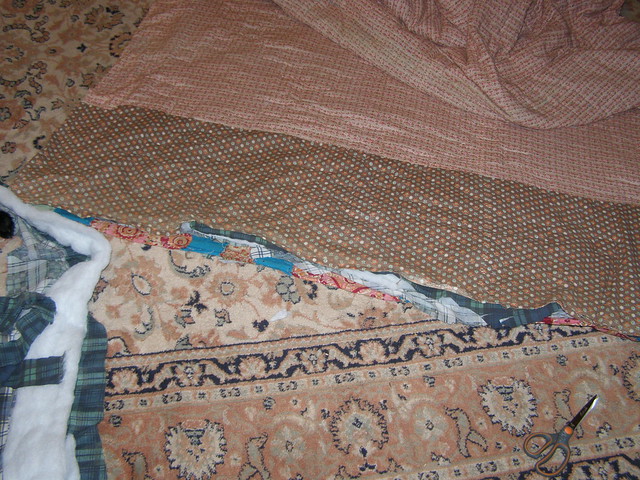
Because of the yarn tie problem, the batting had shifted considerably. Some places had no batting at all and others were up to two inches thick. Check out the pictures of the lumpiness (not the quilt is not on anything, it's that lumpy!). I decided to undo the stitching on one end of the quilt and discovered the batting was very old cotton with plant debris in it. New batting was a must.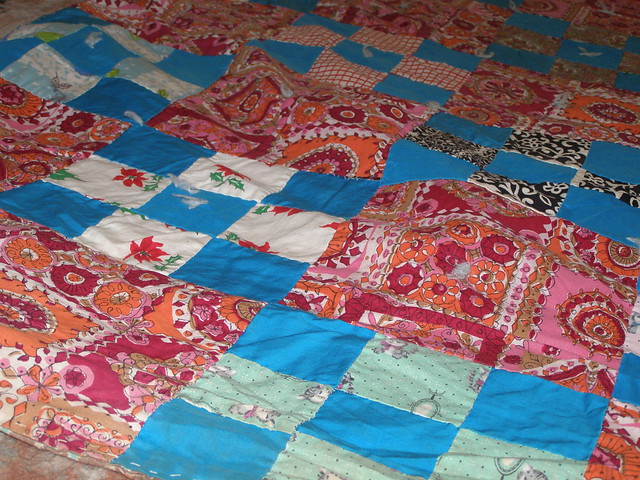

 Solution:
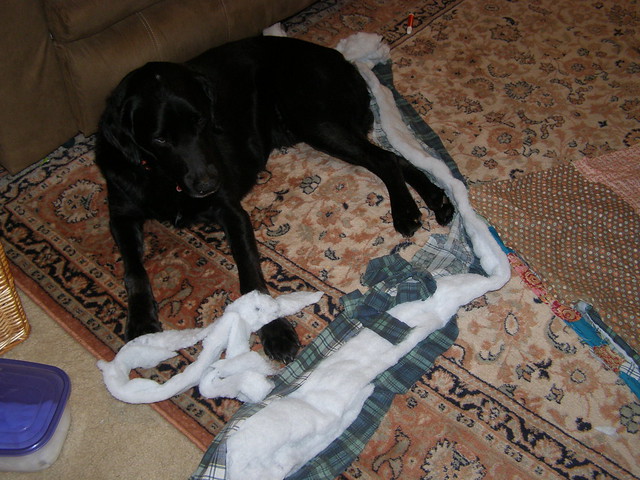 |
| My Assistant |
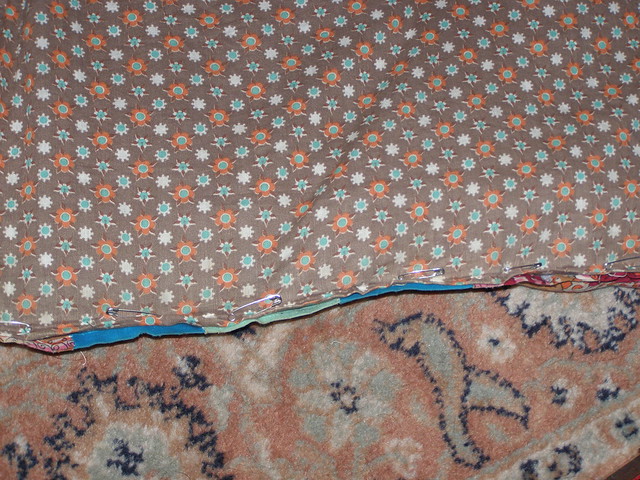
I carefully cut the stitches on one edge of the quilt and placed my quilt inside like a duvet cover. Then I fixed the burst seams (which I will discuss next). After which, I trimmed off the excess of my quilt. Then I folded the edges of the red quilt under and pinned them with safety pins. In keeping with the hand-stitched nature of this quilt, I hand stitched the edge.
As for the batting, it sadly didn't make it. No matter how much soaking and scrubbing I did, the water drained out brown. Pretty gross.
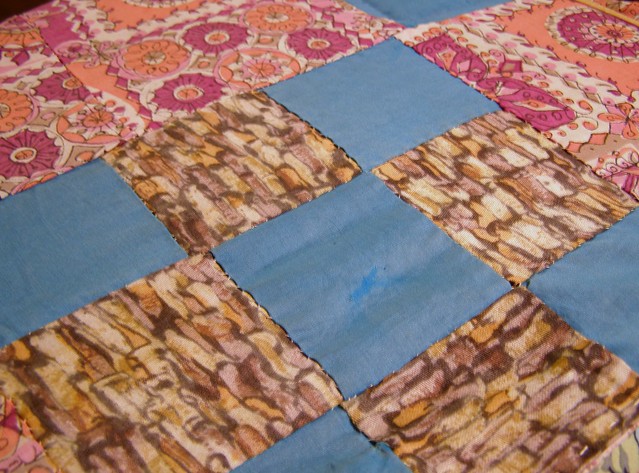
Problem #4: Burst Seams
One edge of the quilt had several seams that had come undone. At some point some of these had been repaired by hand with a large diagonal stitch.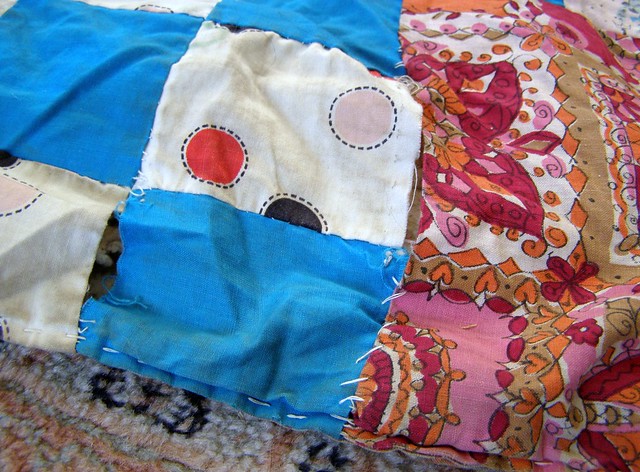
 Solution:
I removed the large stitches with a seam ripper and put in my own. Not a hard fix, just tedious.
 Problem #5: Small Holes
There was one small hole on the back of the quilt that could be easily patched. The main problem was the area along the edge that I had cut. In several places, the fabric had worn out pretty badly.

Solution:
When I replaced the batting, I used more seam allowance on the edge. This meant that most of the rough spots were turned under, but I did lose about an inch on the length of the quilt. I thought it a fair compromise.The small hole on the back I patched with a small piece of fabric.
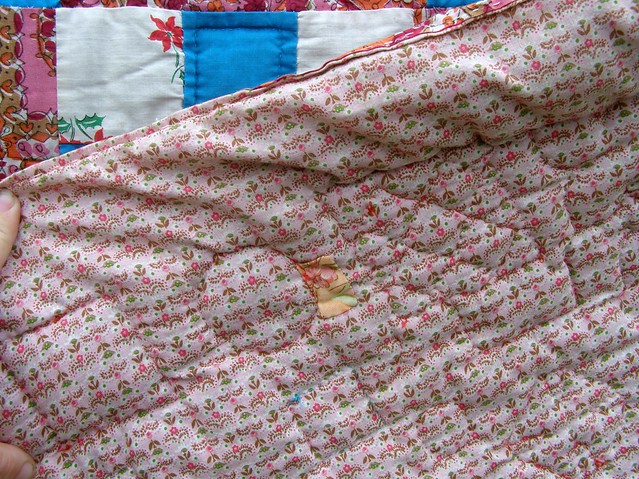
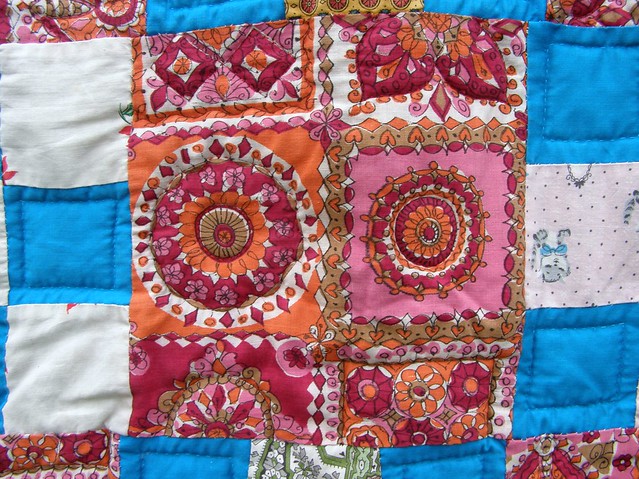
Problem #6: Fading
Some of the squares, particularly in one area, have faded.In the picture at right, see where the yarn tie has been removed.
Solution:
Short of replacing the faded areas, there was nothing more I could do. I decided to leave it since it would add to the character of the quilt and the fading was not too severe.
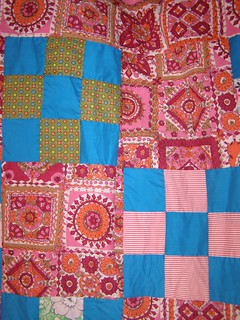 Problem #7: Irregularities
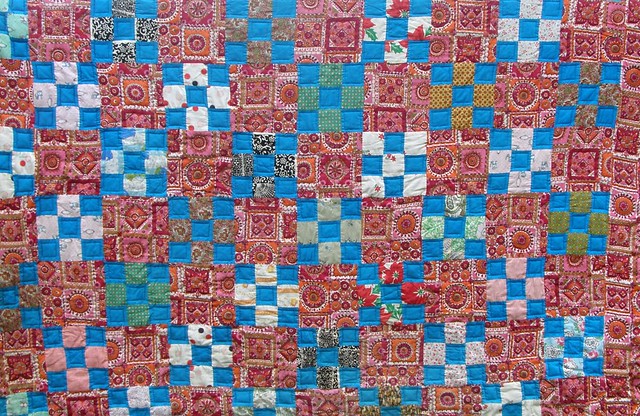
Based on what I've seen on this quilt, I'm guessing it was intended to be a daily use quilt and not a showpiece. The quilter who made it added strips between some of the squares to make the pieces fit. One end of the quilt has a large red strip. Most of the back is a pink fabric, but one on end is a large brown strip. Solution:
None, really. This is where my favorite motto comes in handy: "It doesn't have to be perfect, it's Just Folk Art." All of the quirky details tell the story of the previous quilter and I, for one, don't want to remove that story.Now that you've seen all the issues that were remedied, check out some of the amazing things this quilt has going for it. First, it's been entirely stitched by hand. All the work I did was by hand as well.

There is no doubt this quilt is old, but I'm not entirely sure it's from the 1920s. I asked my mom, who thinks a few of the squares might be as new as the 1970s. I was guessing 1960s because of the red sections. What do you all think? Any clues would be greatly appreciated.
And finally, the reveal!
I have had fun working on this project. It had a lot of character and charm, I just added some stability and a lot of little stitches. I hope you will be inspired to take on a restoration project of your own.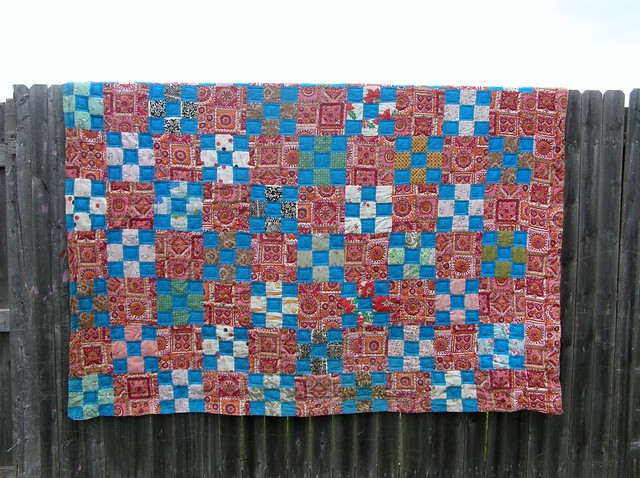

No comments:
Post a Comment