As you might know by now, I've been working on a room for my mother-in-law. The room was originally one of the girls' bedrooms, but they have graciously agreed to share in order to have almost unlimited grandmother time while she's here. We've had a canopy that has remained in the room through all of its many transformations (from toddler bed to queen size to twin). Now I wanted to change it up a bit.
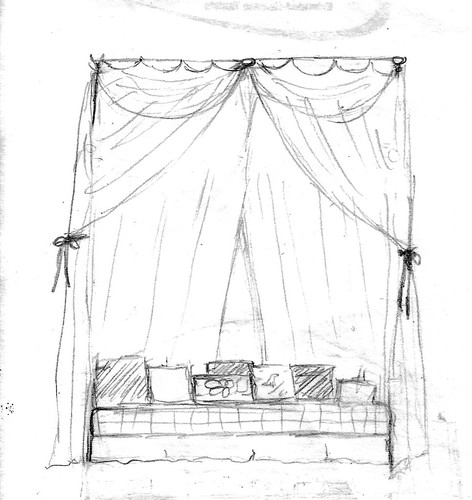
It's better if I show you this part in drawings. Below you will see the original plan for the room. The canopy would be hung from a single rod in the middle and draped gracefully across the edges of a wooden bed we planned to make.
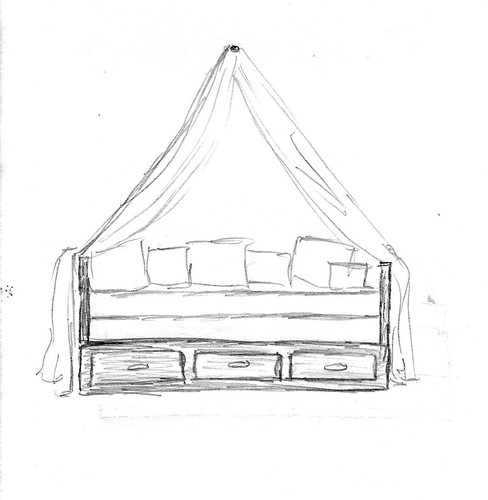
The wooden bed got put on hold. Neither my husband nor I seemed to have the time available to build it and it would require both of us and more tools. So I considered buying an iron daybed frame with some baskets for storage underneath.
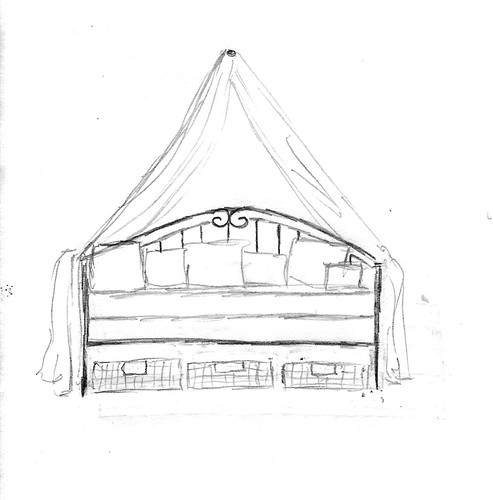
The budget did not allow for an iron daybed, so for the time being, the mattresses would remain on the floor. The drawing below is how the canopy was arranged above the bed when I started my final preparations just hours before Abuela was to arrive (although I forgot to draw the back part of the canopy that is against the wall.)

So my new plan was to install metal hooks where the corners were attached (currently the corners were hung on large command hooks). From the outer corners I would suspend the rods I had made (coming up in a bit, bear with me or just scroll down) on safety wire. I would suspend the middle rod on shorter pieces of safety wire from two more metal hooks.
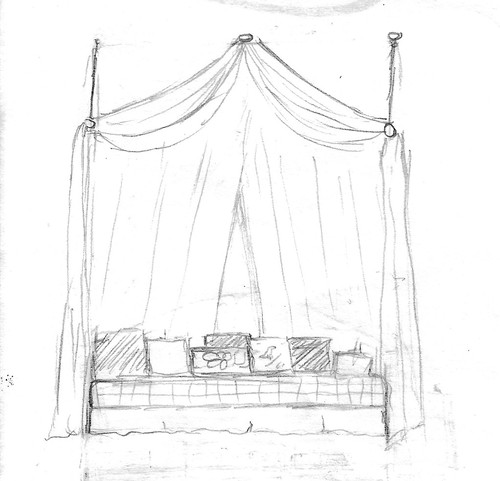
The hooks I bought? Not the right kind at all. The first one I installed pulled out of the ceiling way too easily. I had no time to run to the store, so I thought of running the safety wire from the command hooks and trying to suspend my wires from there.
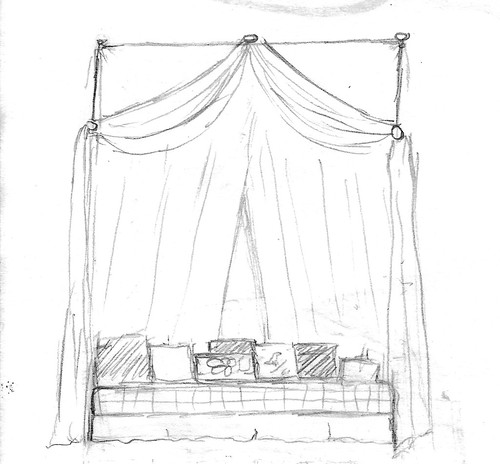
You guessed it. Too much wire. It looked atrocious. Also, procrastination is a killer. Thirty minutes before time to leave the house, I settled on the following arrangement.
Safety wire suspended between the command hooks, but hidden by the front part of the canopy. I won't tell you how many safety pins are holding up that canopy, but you probably wouldn't know unless I pointed it out. I used only one rod in the center that raised the middle of the canopy significantly.
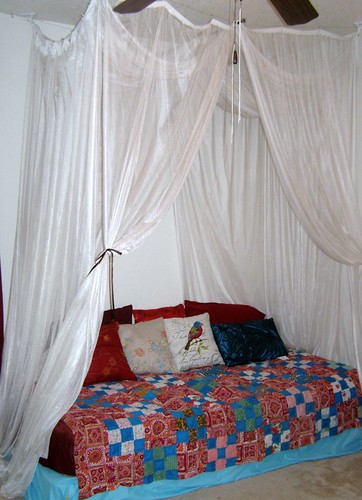
So it's not quite what I had intended, but the canopy turned out well. Maybe by the time we get around to placing the bed in there we'll have the right anchors to redo the canopy.
Even though I only used one rod in the final design, I had made three. Without further ado, here's how I made them:
How to Make a Decorative Canopy Rod
Or a pretty support for a tomato plant or a walking stick for a child ...you get the idea.
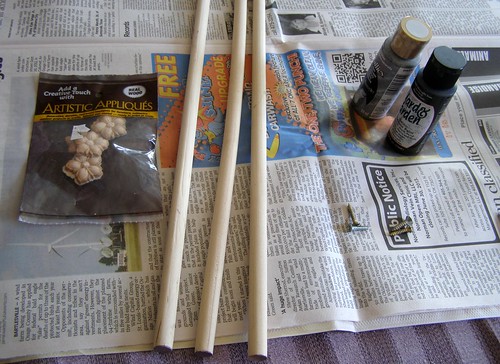 Materials:
- 3 dowel rods, 3/8" diameter, 3' length
- 3 small wooden applique flowers
- 3 small nails
- black paint
- silver paint
1. Attach flowers to ends of dowel rods.
Easier said than done, I think. The dowel rods were quite difficult to hold while hammering a nail. I ended up driving them into the ground and letting the dirt do the holding.
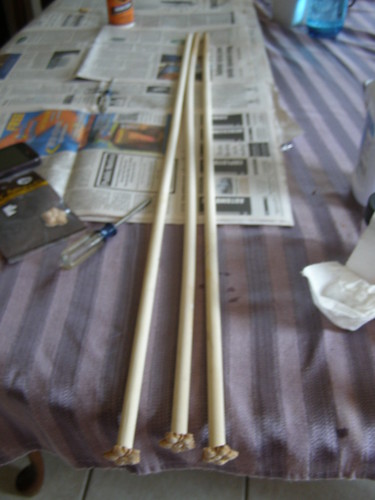
2. Paint the dowel rod black.
Don't worry about painting the flower parts just yet.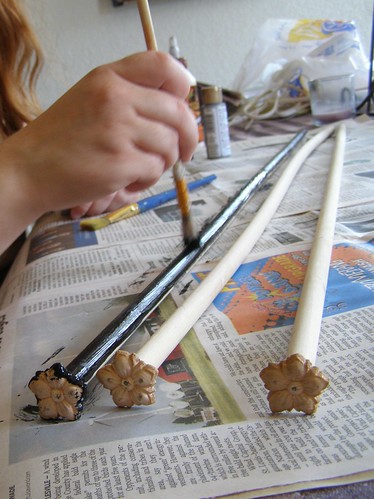
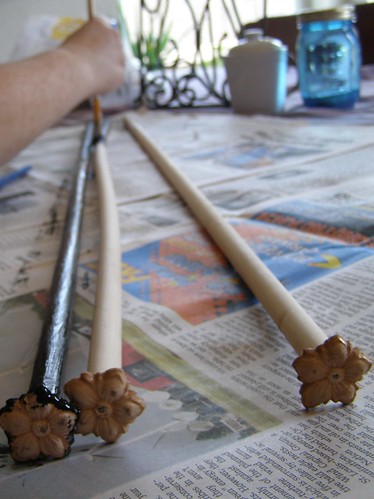
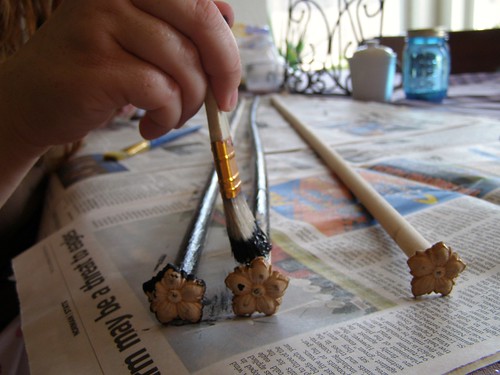
3. Paint the flowers silver.
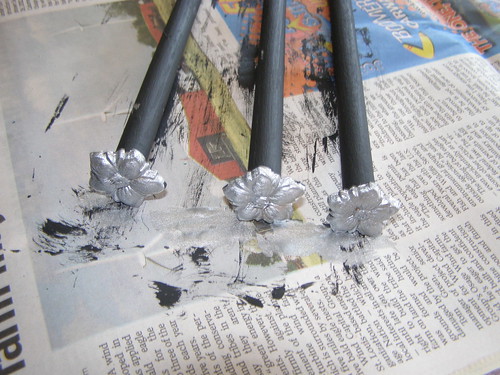
4. Allow to dry thoroughly.
Or use a hairdryer if you're impatient or in a hurry.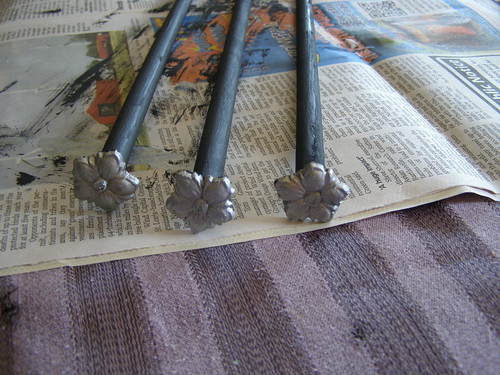
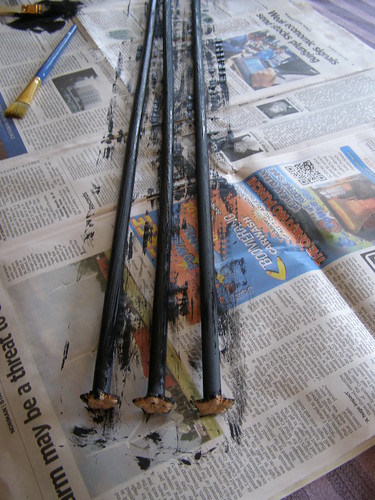
5. Add black to silver flowers.
Have a damp rag or paper towel at the ready. Paint the entire flower black, making sure the paint is pushed into the crevices. Then use your damp rag to rub off as much black as is desired.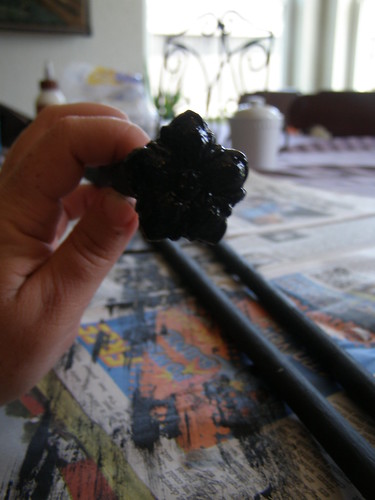
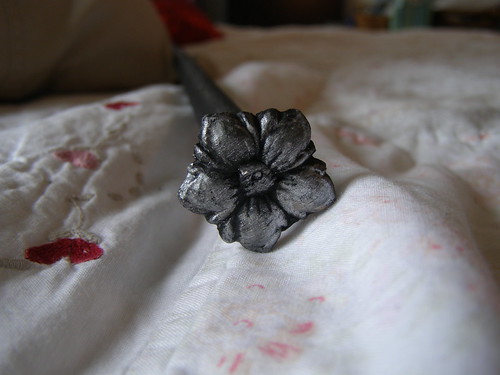
And that detail is what is at the center of our canopy.

No comments:
Post a Comment