Thursday, February 7, 2013

Backyard Visitors

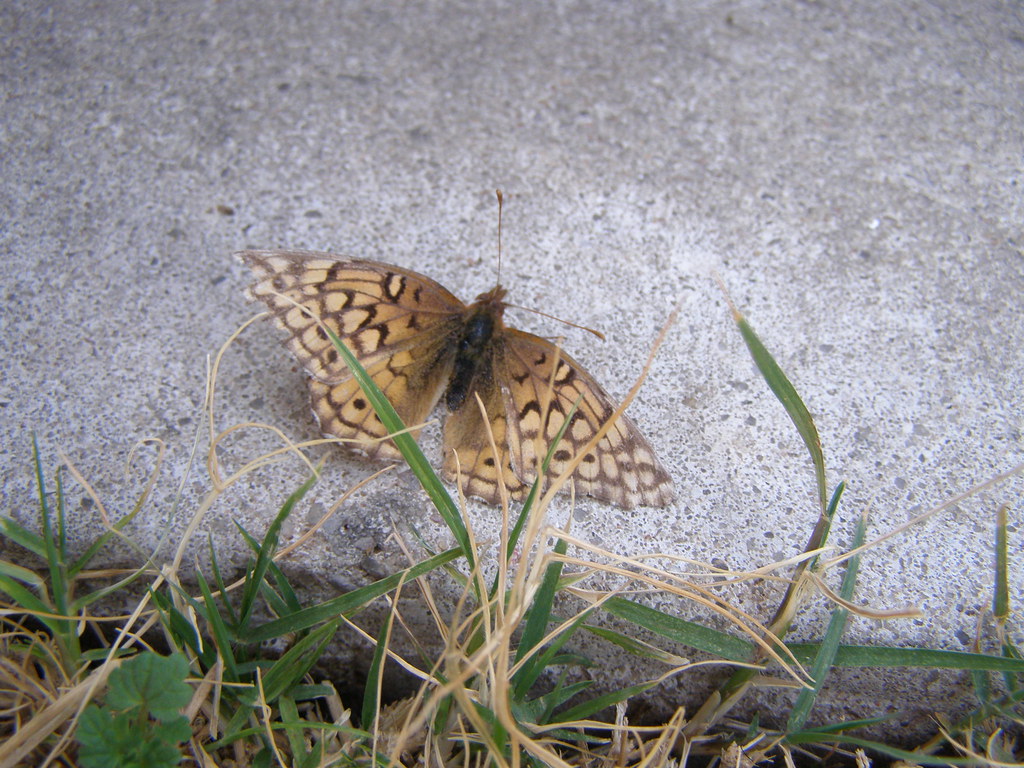
One of the nice things about living near the edge of a large city and homeschooling is that we can pause our day to observe a rabbit for about half an hour and count it as science. Check out some of the critters who have visited us recently:

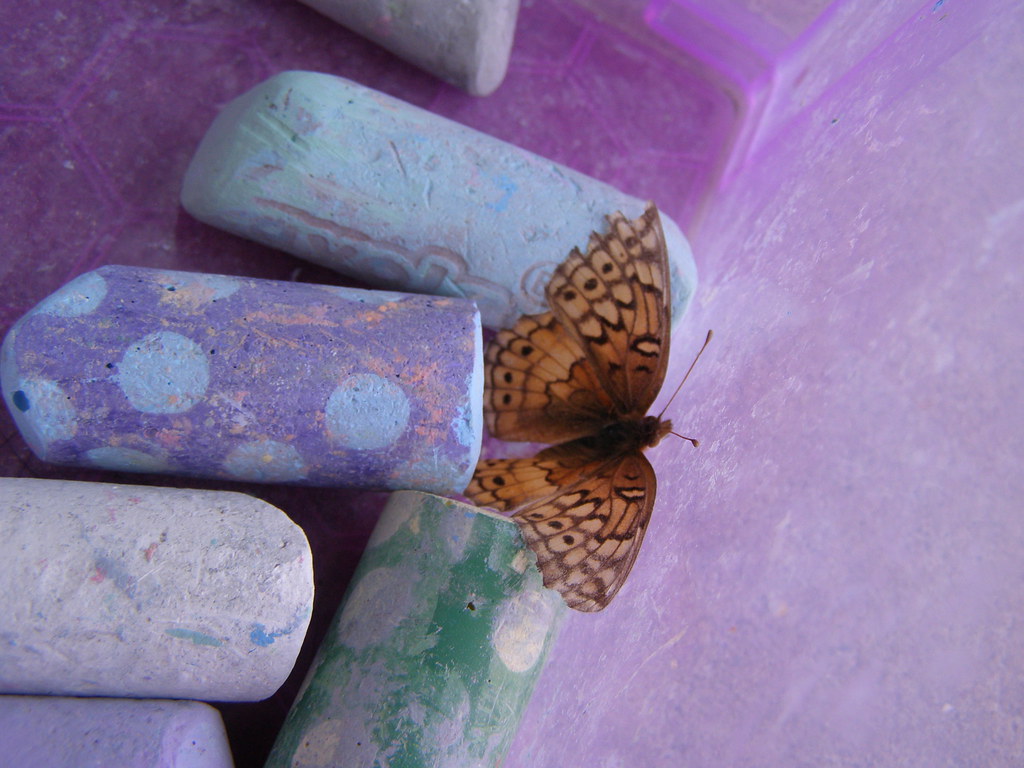
We found this poor little guy stuck in the chalk box. He was quite happy to crawl out and onto our fingers.

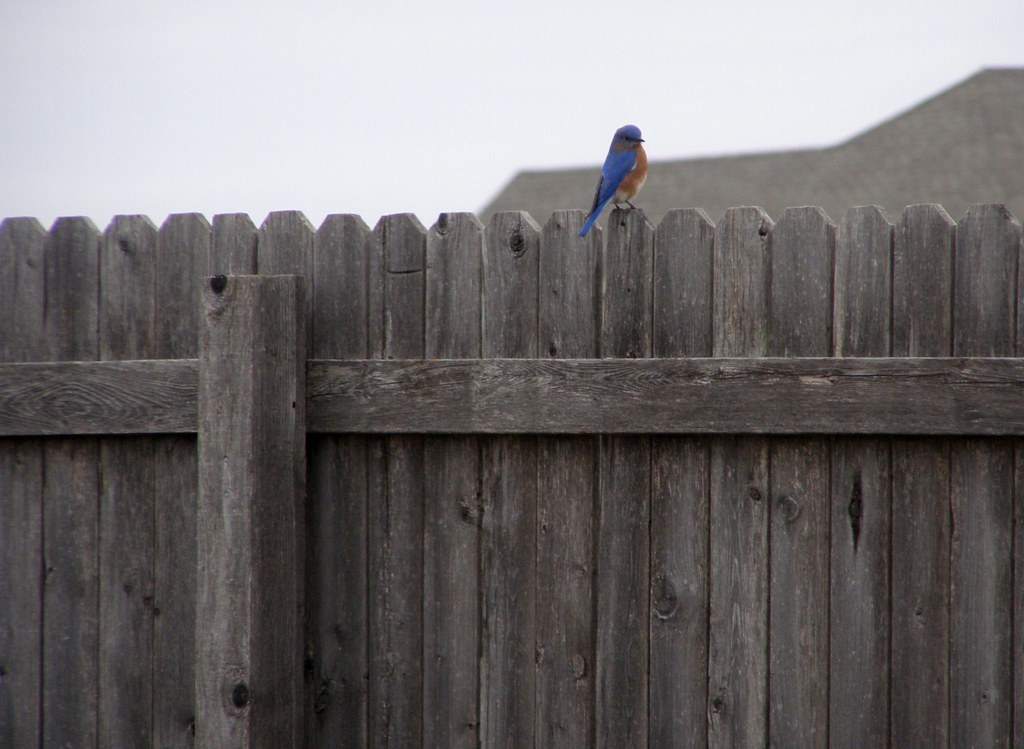
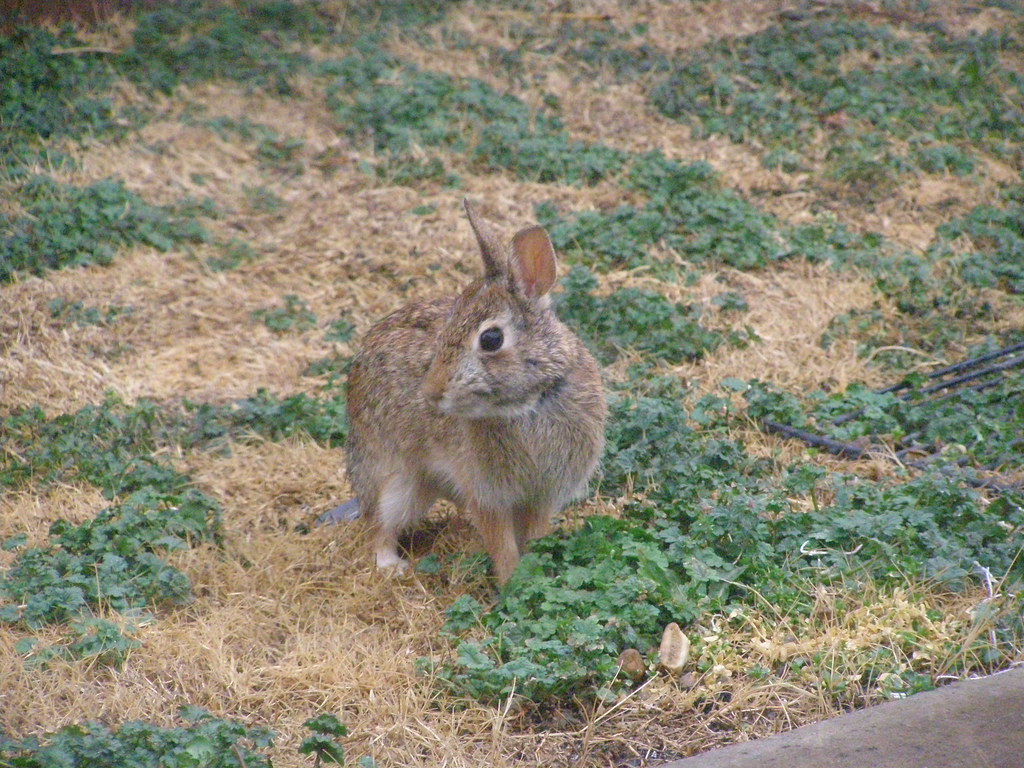
And here's our bunny friend. The cat spotted him first, but we didn't let him outside. The bunny happily hopped around the backyard munching on various weeds for quite some time. The girls thought it was amazing and were excited that he let me take his picture.


Shared on Friday's Nature Table- The Magic Onions

How to Make a Distressed Gift Box

So Here's the (Long) Story:


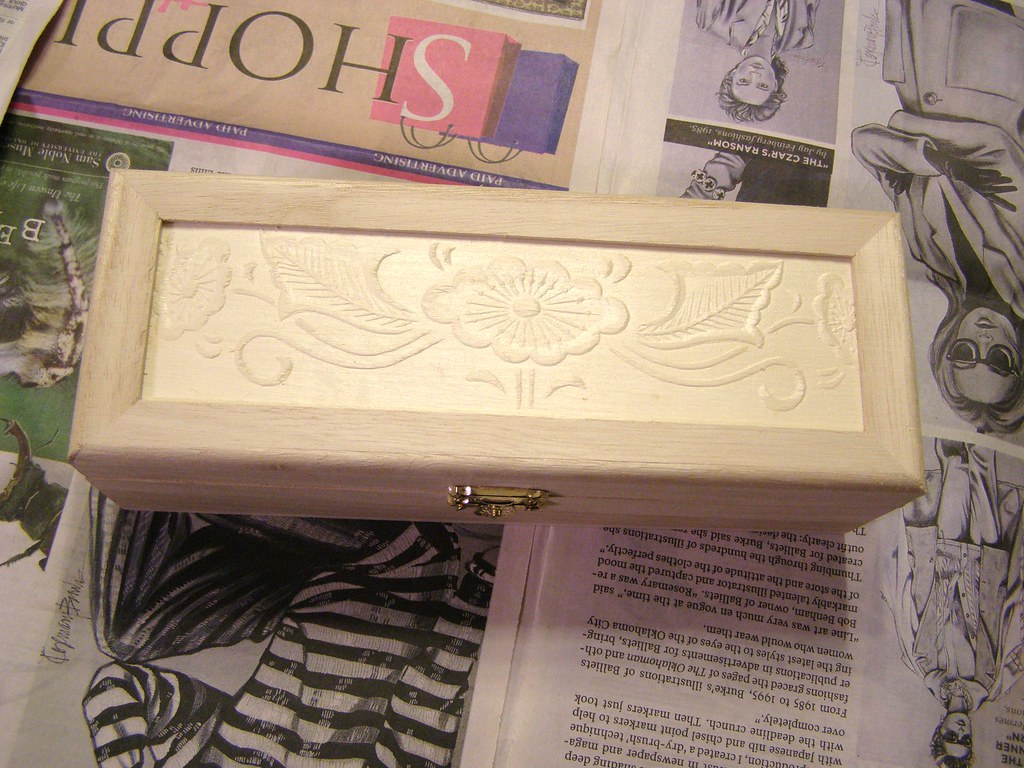
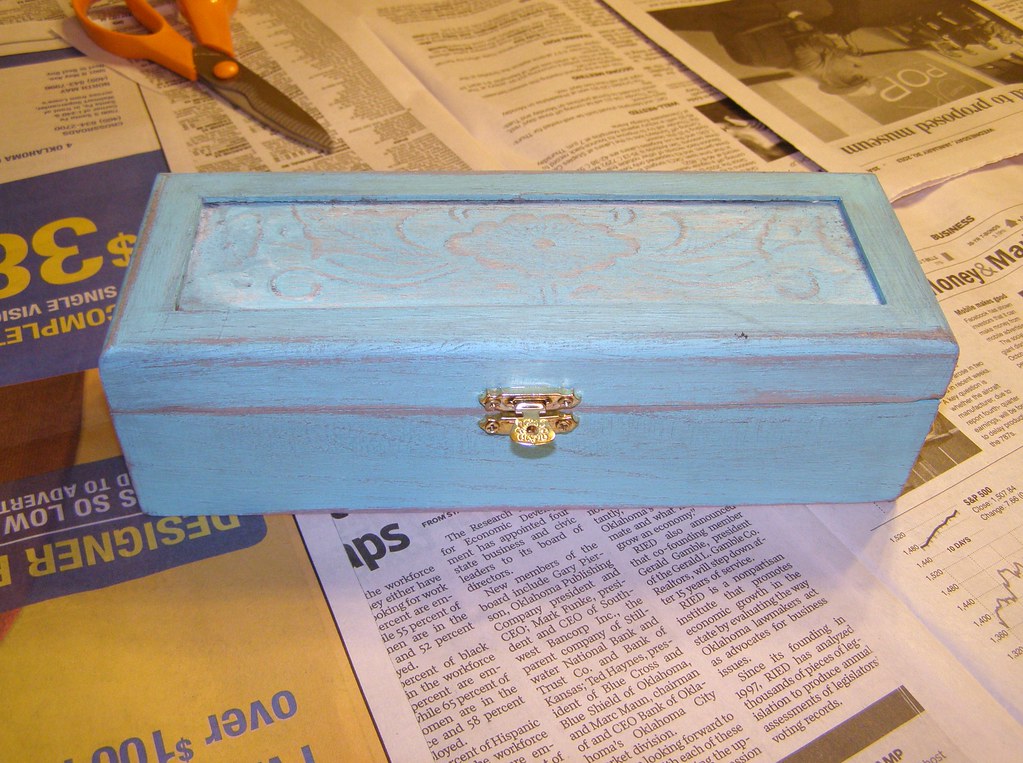
My friend recently completed a 30,000 word writing challenge. Since this was her first major writing project, I wanted to commemorate the occasion. I wanted to get her a fountain pen just like mine, but mine was no longer available with free shipping. In protest, I decided to buy a different pen. I ordered a pen and ink set that was supposed to come with a nifty suede roll to store the pen in. When it arrived, I was sadly disappointed. The suede was a sliver only large enough for the pen and a cartridge to sit on, not be rolled up in. The pen also looked cheap and was much lighter than I had expected. I sent it back and ordered a pen just like my favorite one. I expected it to come in a gift box like mine had. No such luck. It was sent very unceremoniously in a bubble mailer. A few days later we headed to the craft store for some art supplies. I found a cardboard necklace box for $1 that would have worked. Then I spotted this unpainted wooden box for $3.50. I decided that was the way to go.

How to Make a Distressed Gift Box

Here's What You'll Need:

  • Unpainted wooden box (found mine for $3.50 at Michael's).
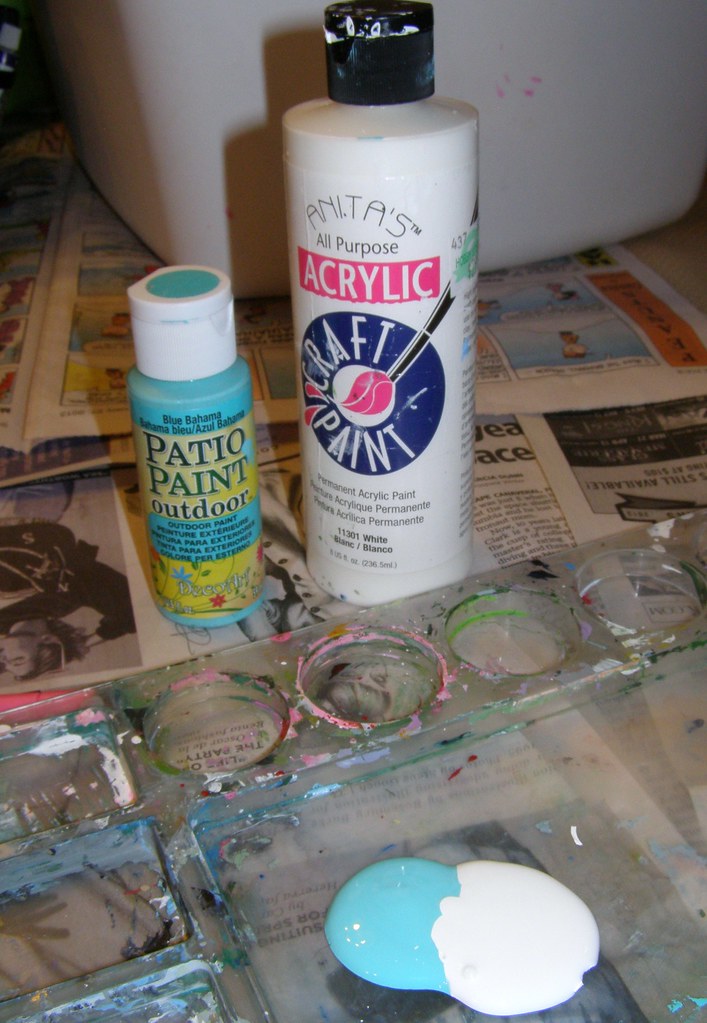
  •  Acrylic paints:
    • White
    • Turquoise
    • Brown and/or Black
  • Sandpaper
  • Screwdriver

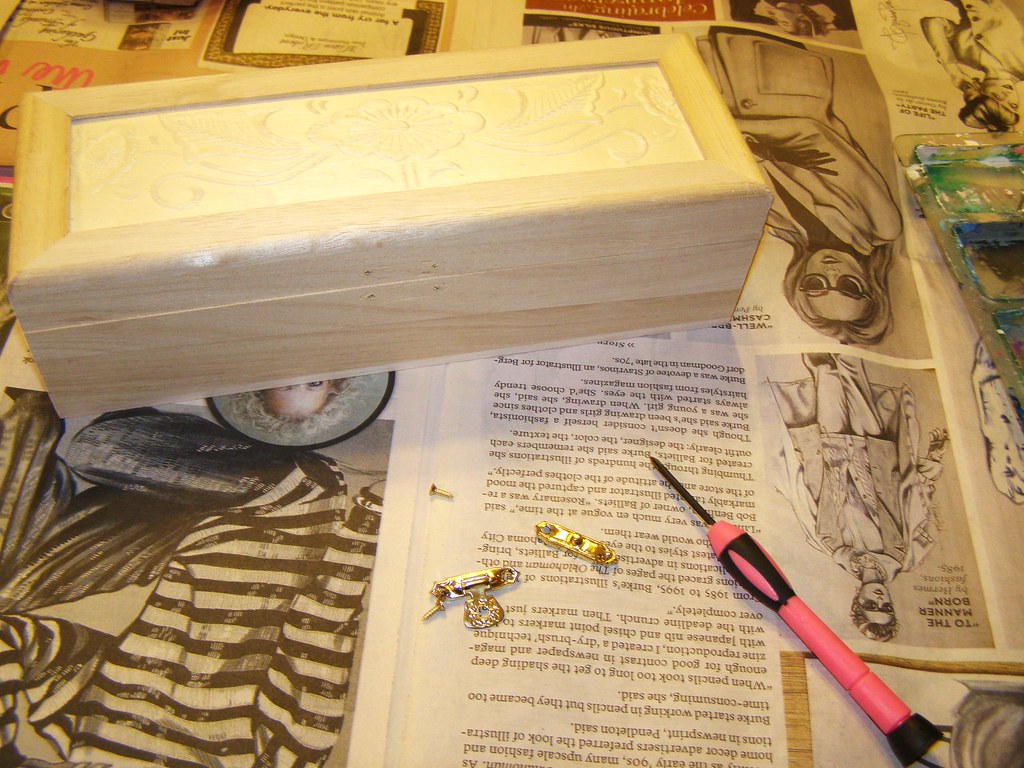
1. Remove the Hardware. 

The hardware on my box came off pretty easily. If you wish, you can mark the underside of the hinges to make sure they get back in the right place. Mine were a little uneven and required some problem solving to get the box back together once it was painted. 

2. Clean the Box up a Little. 

If you want to, sand any majorly rough places. Don't go too crazy, rough places catch paint and add to the distressed look.  Whether you sand or not, make sure all excess sawdust has been removed from the interior of the box. I used an electronics duster to blast some air into the box.

3. Apply the Base Color. 

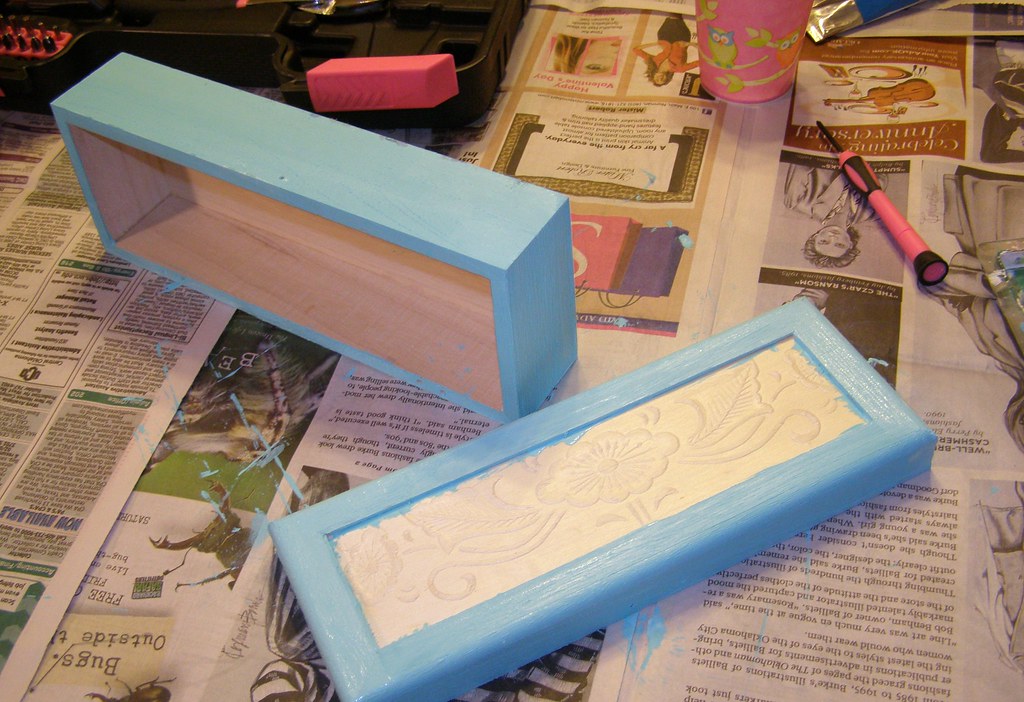
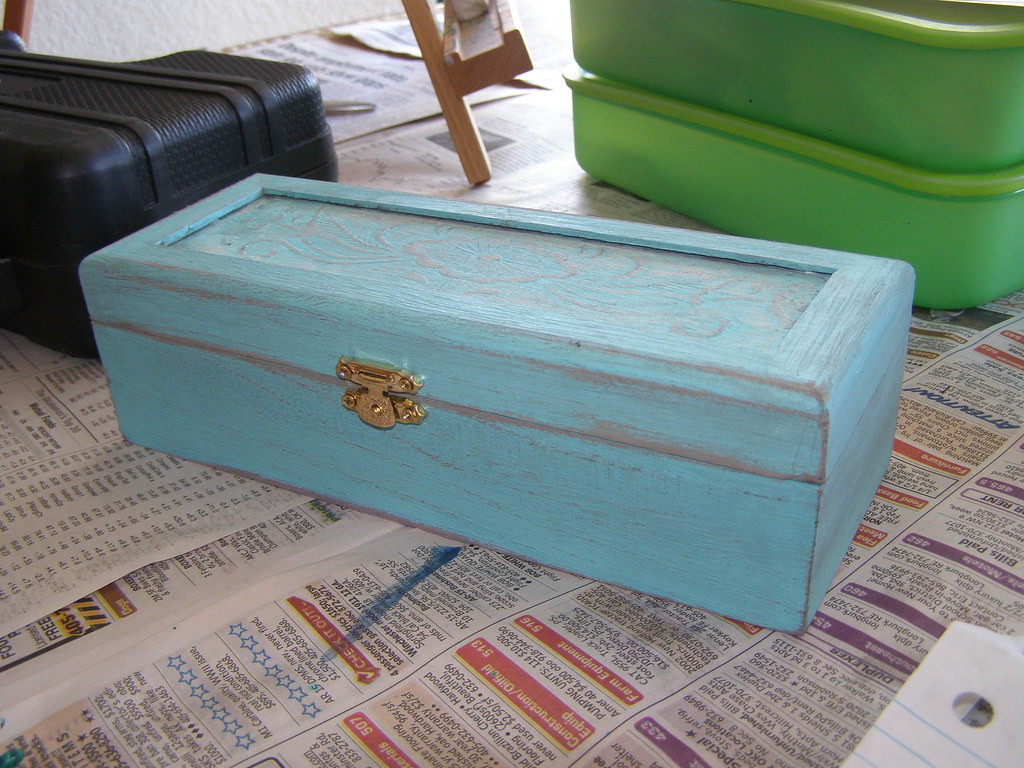
I mixed my white and turquoise in a 1:1 ratio, then applied it to the box with a 1" brush. Nothing fancy here. I only did one coat, since I'll be distressing the box. I had planned to paint the designs engraved on the box with different colors and do a peacock on the inside of the lid, but after looking at it, I decided simple was best.


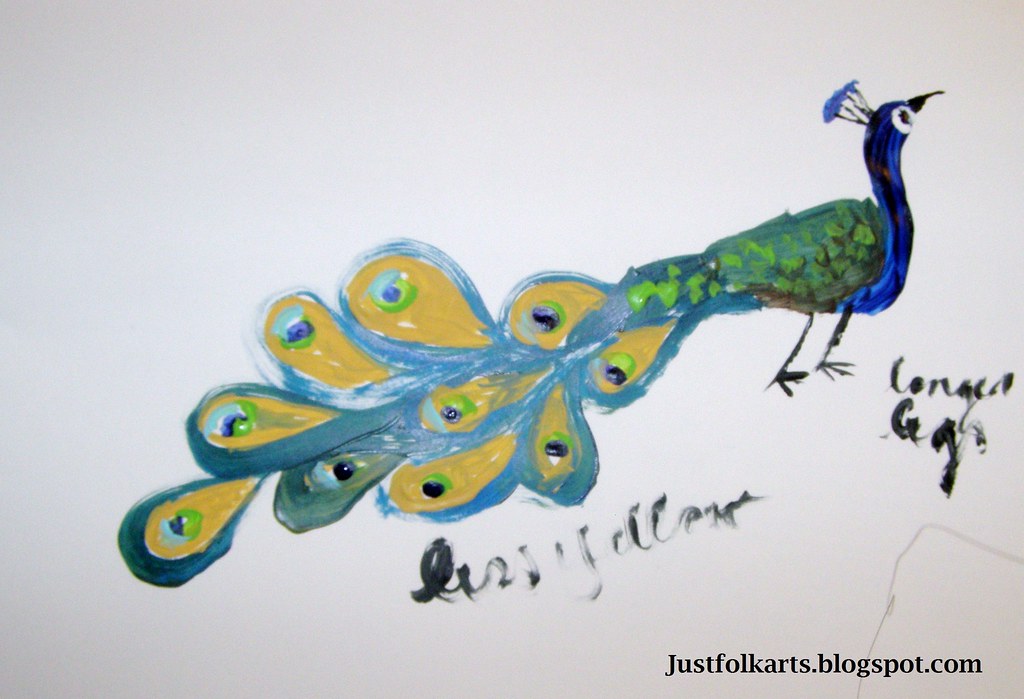
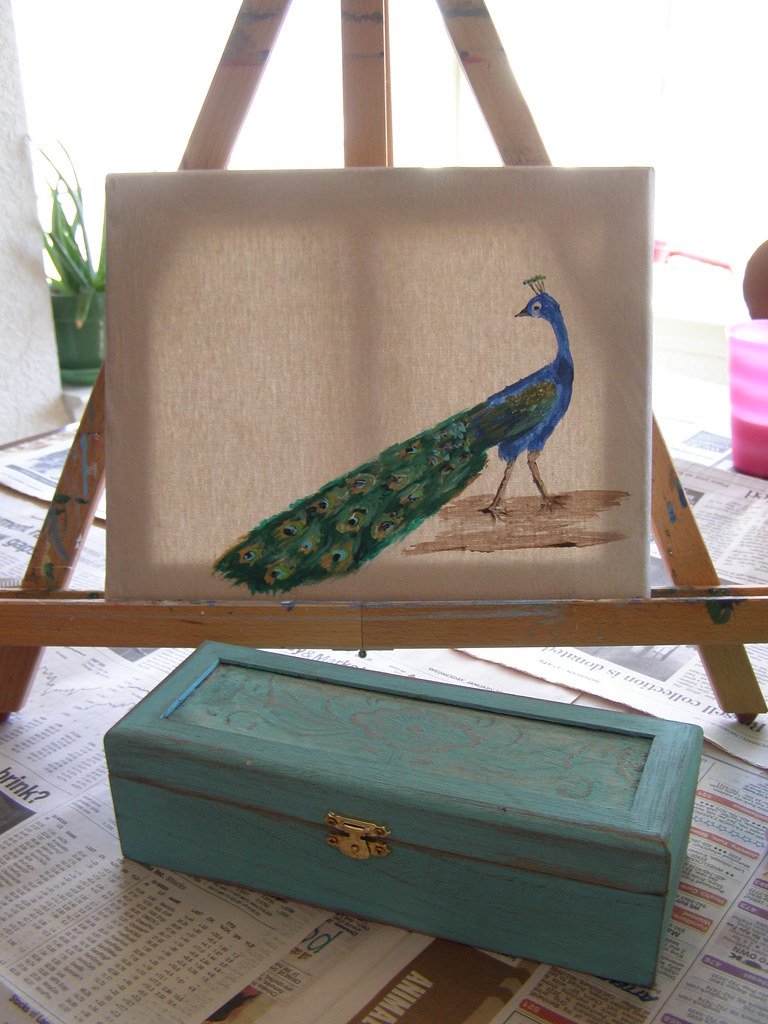
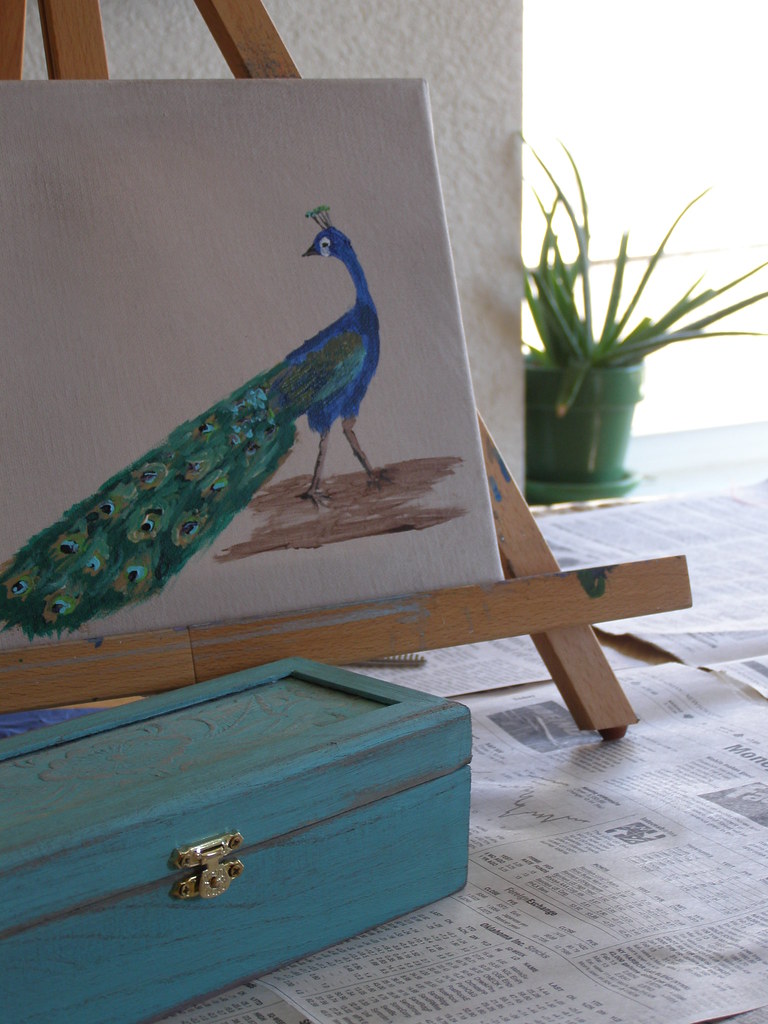
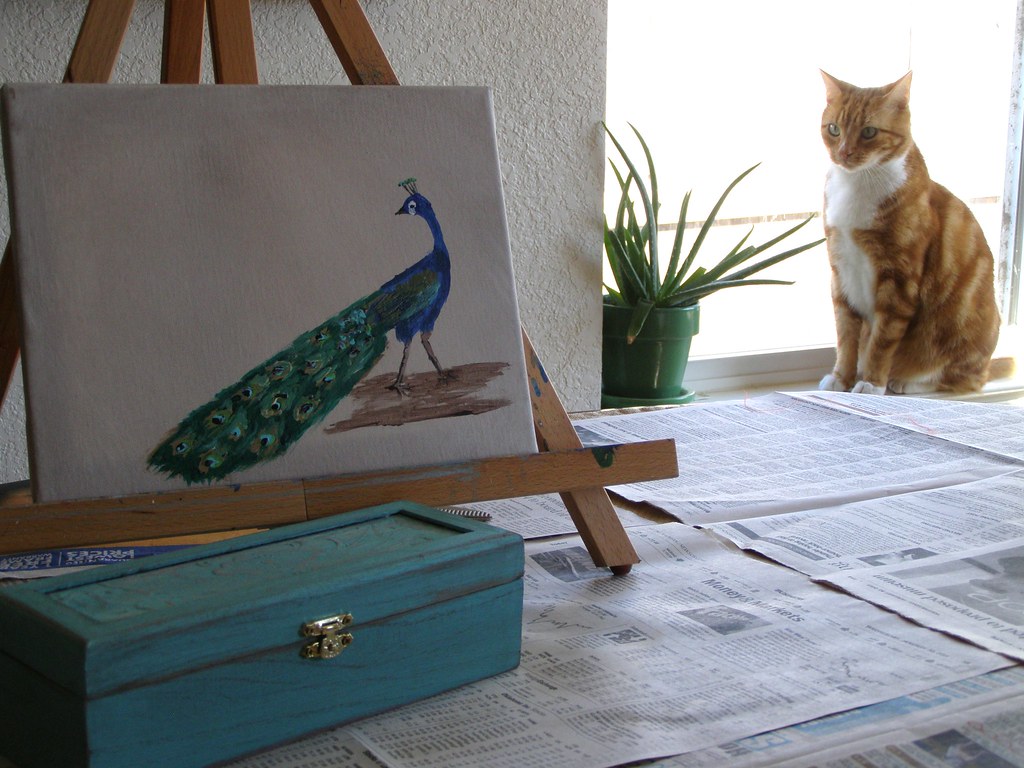
Here's my peacock sketch. Cute as he is, I decided I'm not an expert on painting peacocks. Need more practice.

4. Sand it Down. 

Dry the box with a hairdryer or wait for it to dry.

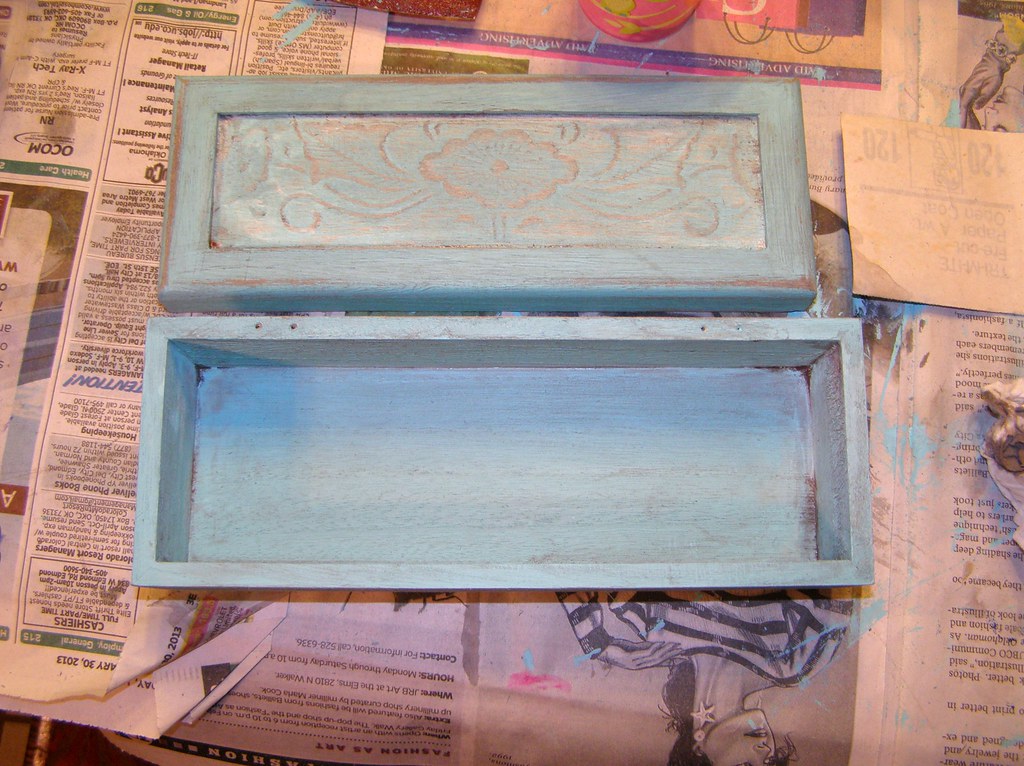
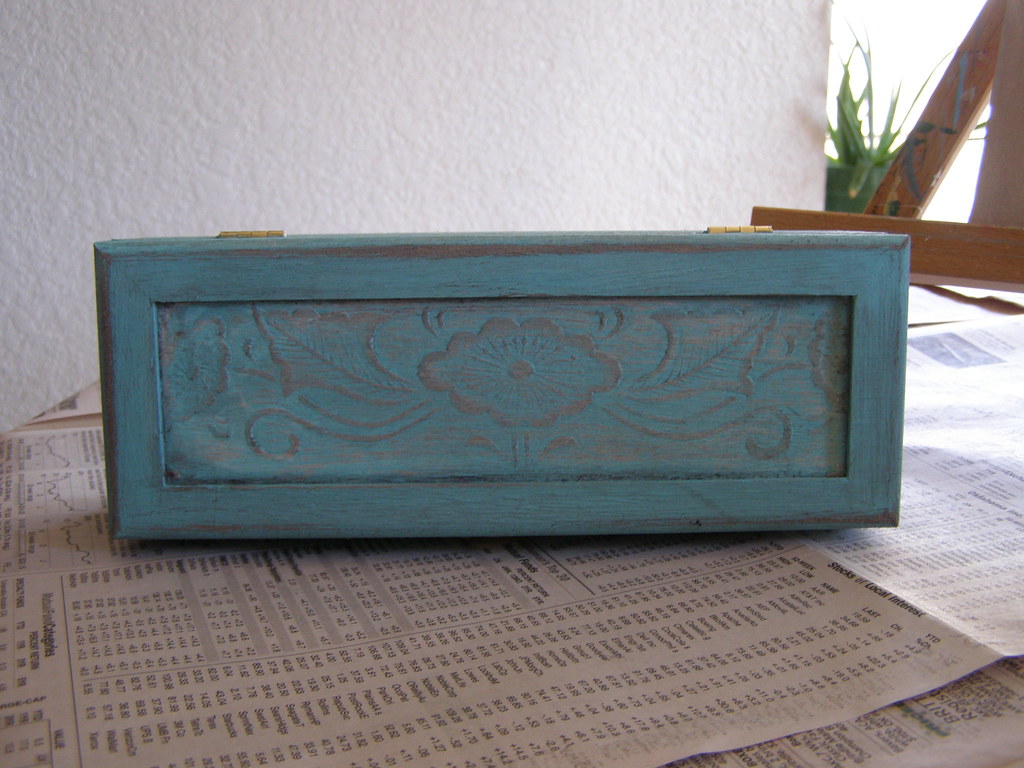
I used some rough grain sandpaper for the initial sanding, then smoothed out a few spots with a finer grade. The goal is to focus on the areas that would be scratched the most by normal wear and tear over time. Corners and edges are especially important, but be careful with the corners. These boxes aren't super thick and you can chip off a piece of the corner pretty easily. No big deal if you do, that happens over time, too.  Sand down to where you can see the natural wood underneath in some places. Also sand the engraved design a little, but not too much that you lose some of it.


5. Paint on the Distress Color. 

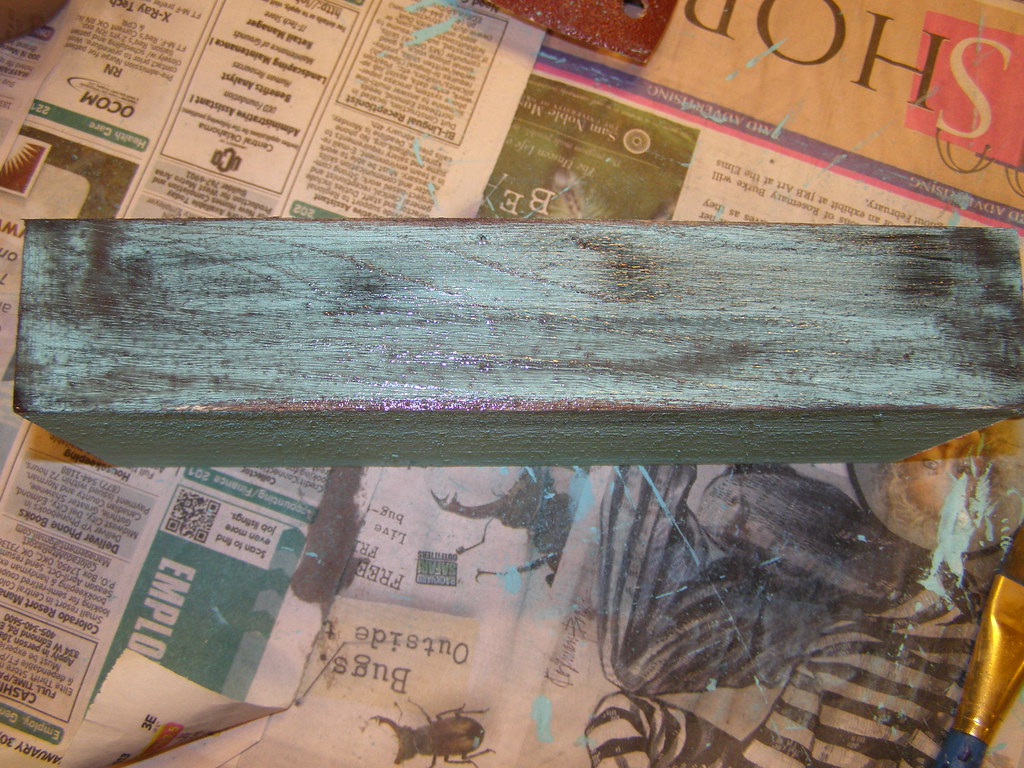
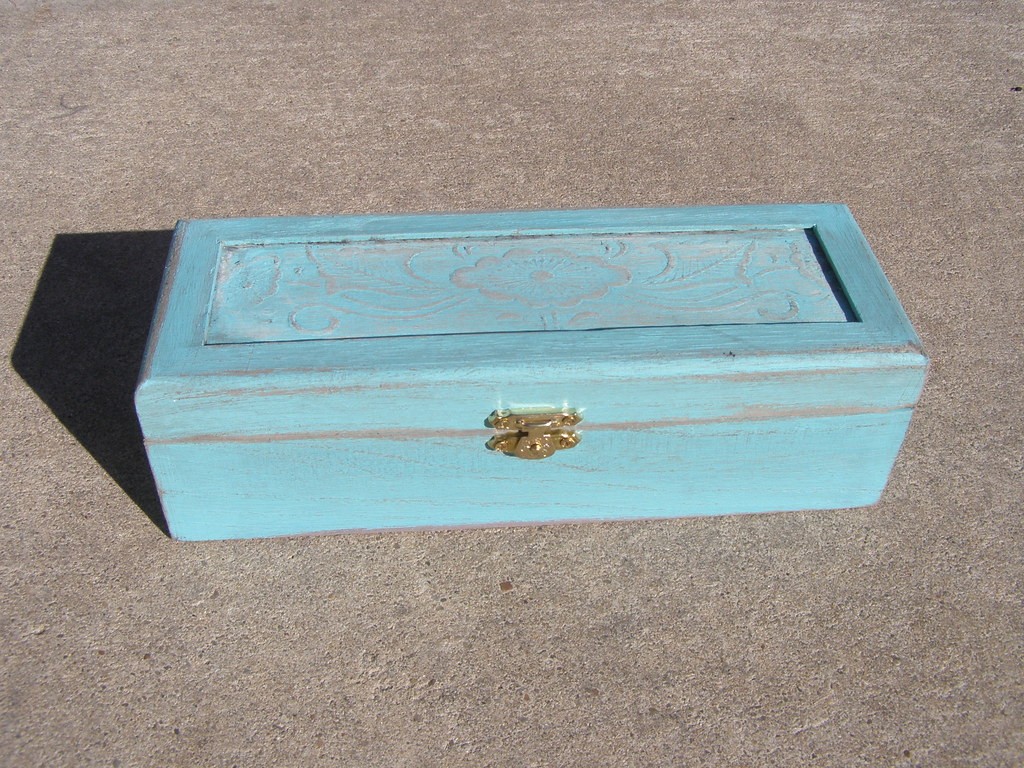
Mix brown, black, and water until you have a dark brown color that is the consistency of dirty dish water. Brush the mixture with the wood grain, making sure to dab extras into the corners and details on the lid. Before it dries, use a paper towel or rag to remove all the color you don't want. The less you remove, the darker the finish will be.

6. Reattach the Hardware.

Once your paint is dry, reattach the hinges first, making sure the edges align as well as they did before you started painting. Then close the box and reattach the clasp.

7. Fill the Box. 

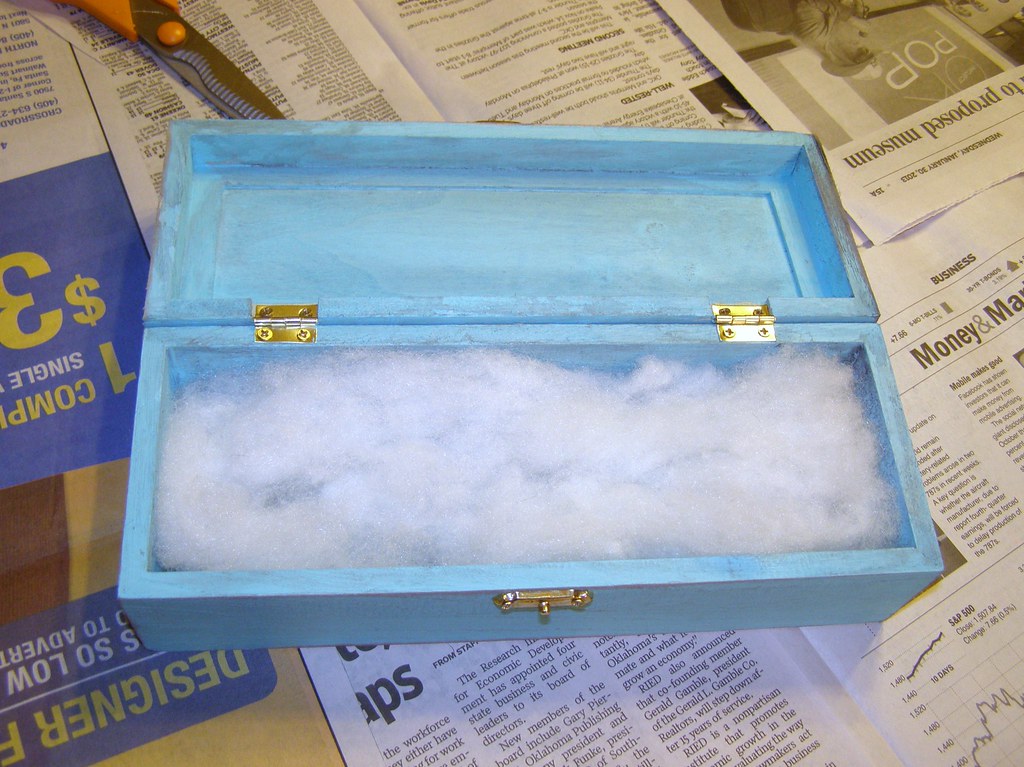
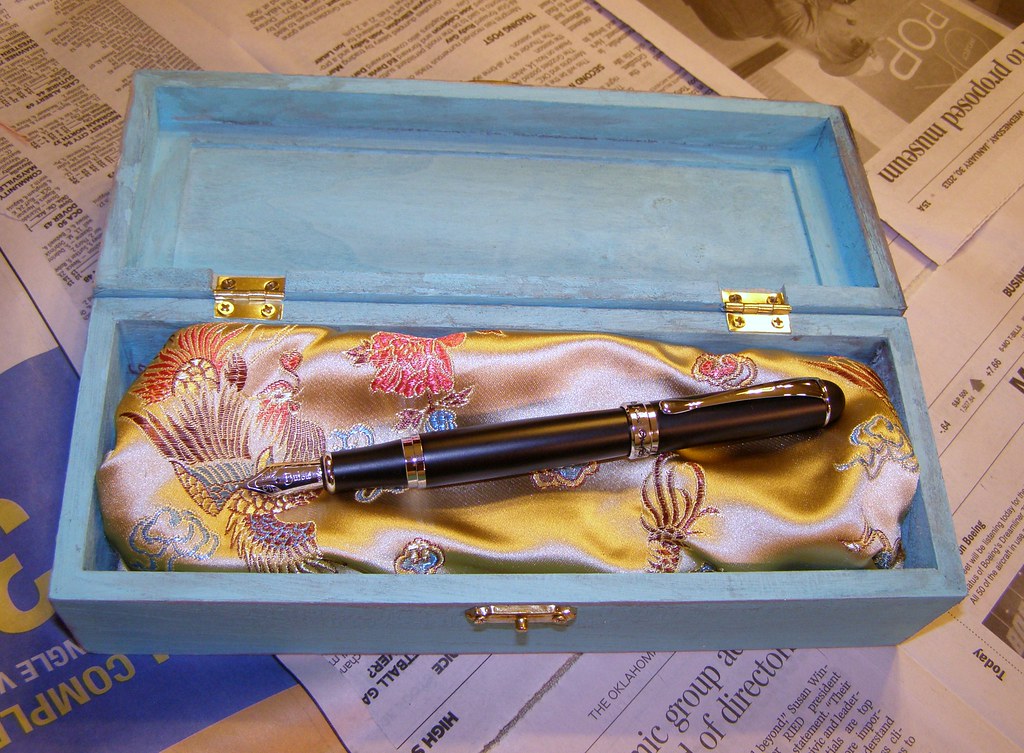
I filled the bottom of the box with some leftover stuffing from another project. Then I nestled the extra cartridges, ink, and instructions in the stuffing. I then cut a piece of scrap fabric in a rectangle that was about 3" wider and longer than the bottom of the box. I tucked the edges around the stuffing. Then put the pen on top and it was ready to go!


The box turned out to be just perfect for the present. Since I had all the other materials, the cost was only $3.50, which is about what I would pay if I had put it in a gift bag with some tissue paper.


And all my extra peacock colors? I used them to make a peacock painting. I was going to give it with the pen, but my husband convinced me to hold onto it for a little while longer and make some improvements. I'll let you know when (if) I do.


Thursday, January 24, 2013

Canvas Painting Party

I'm sure all of you have seen those amazing birthday parties on Pinterest and other places where everything looks perfect. The favors are adorable, the cake looks professional, even the kids are photogenic. You know the ones. I'm sure, given the right budget, amount of time, and a professional team of house cleaners, I could throw one of those parties. Until that day arrives, I will continue to approach birthday parties with my same formula.

1. A theme, kinda keeps things together. This year was Cake and Canvas, a clever parody of the Coffee and Canvas classes I teach at our church.

2. Something homemade. This year, it was these cool canvases. For the younger daughter's birthday a couple years ago, I made owl treat bags out of fabric.

3. Save a year, splurge a year. The older daughter (I seriously need clever nicknames for these two kids) got to have a ceramics-painting party at a studio last year followed up by a tea party with the cups the girls painted. This year, an inexpensive home party.

4. Buy as little licensed merchandise as possible. For our Hello Kitty party, we bought Hello Kitty plates, cups, and a tablecloth. We made a Hello Kitty pinata. Everything else was purchased in coordinating colors.

5. Try to have something cool as a party favor. For this party, we bought plastic cups that look like crayons. We filled each cup with two paintbrushes and enough candy for the brushes to stand up. The kids got to use their new brushes to paint and took them (and their painting) home after. Did I get a picture? No, sorry.

6. I'm sure this won't count as any sort of tip, but if you have a friend who is an aspiring baker and offers you a cake instead of a gift, take her up on it! I am so blessed to have an amazing friend who bakes the girls' cakes for me. They always turn out so well. Again, no picture. But this year's cake was a palette with different colored icing globs of "paint" on it.


Prepping Paint Boards for a "Canvas" Party 

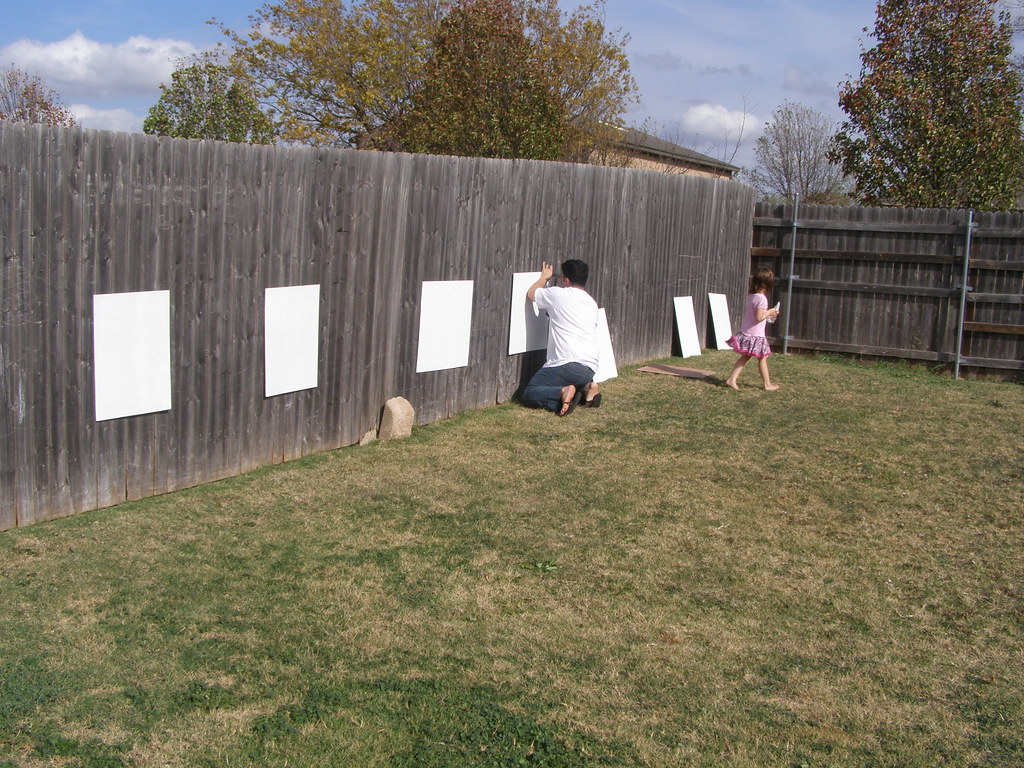
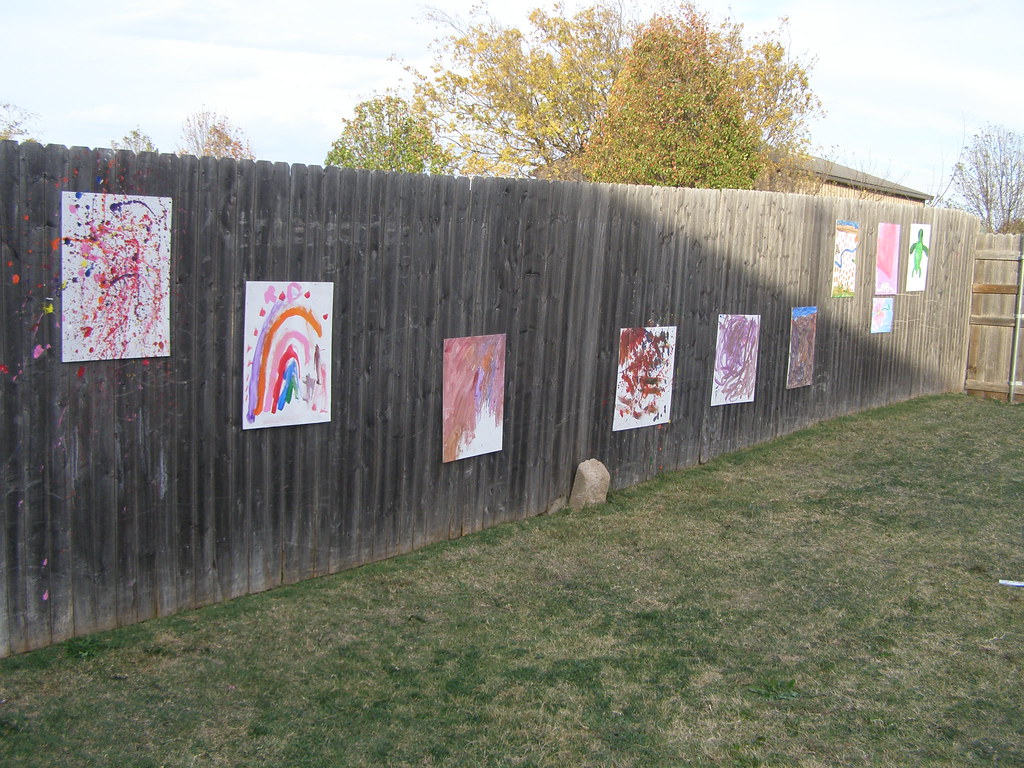
The irony of this "Cake and Canvas" party is that we didn't actually use canvas at all. The kids painted on thin plywood panels that we tacked to our fence. Here's what we did ( and by we, I mean my amazing man. I helped a little and took pictures). 

Here's What You'll Need:

  • 1- 4' x 8'  plywood underlay board, approx. 1/4" thick. I believe ours was around $10. 
  • Saw
  • Kilz 2 Latex primer
  • Paint Roller
  • Hammer
  • Nails

1. Cut the boards. 

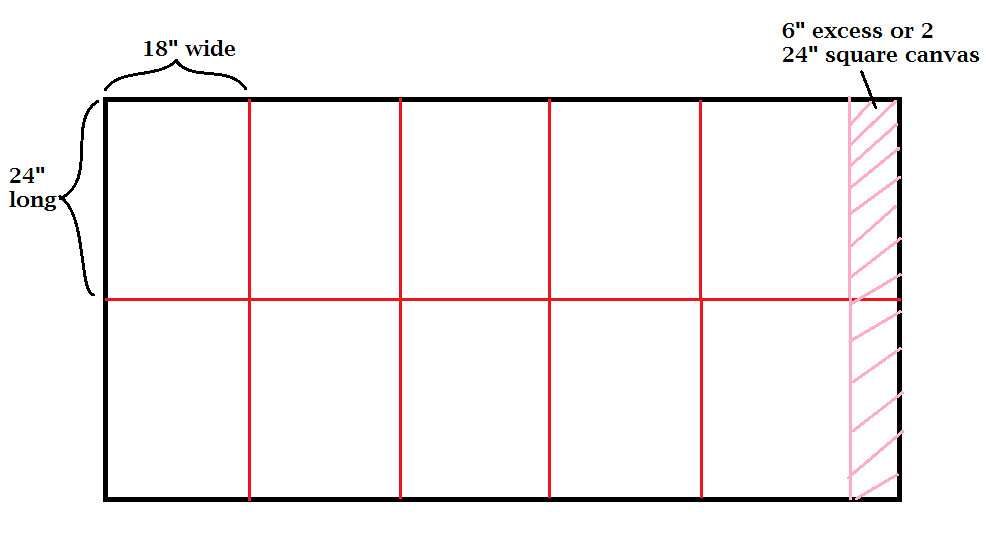
Cutting the board in half lengthwise, then cutting the halves into 18" wide segments will yield 10 18" x 24" boards. Or, you can leave the last two segments longer and have 8 18" x 24" boards and 2 24" x 24" boards.

2. Sand and Primer the Boards. 

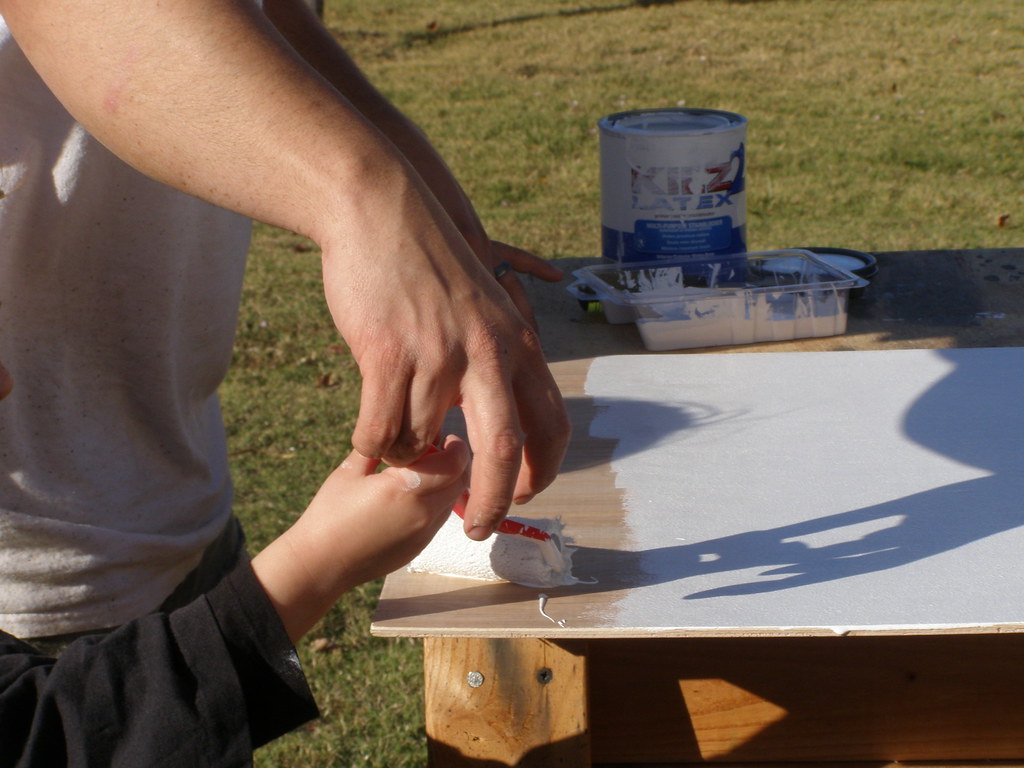
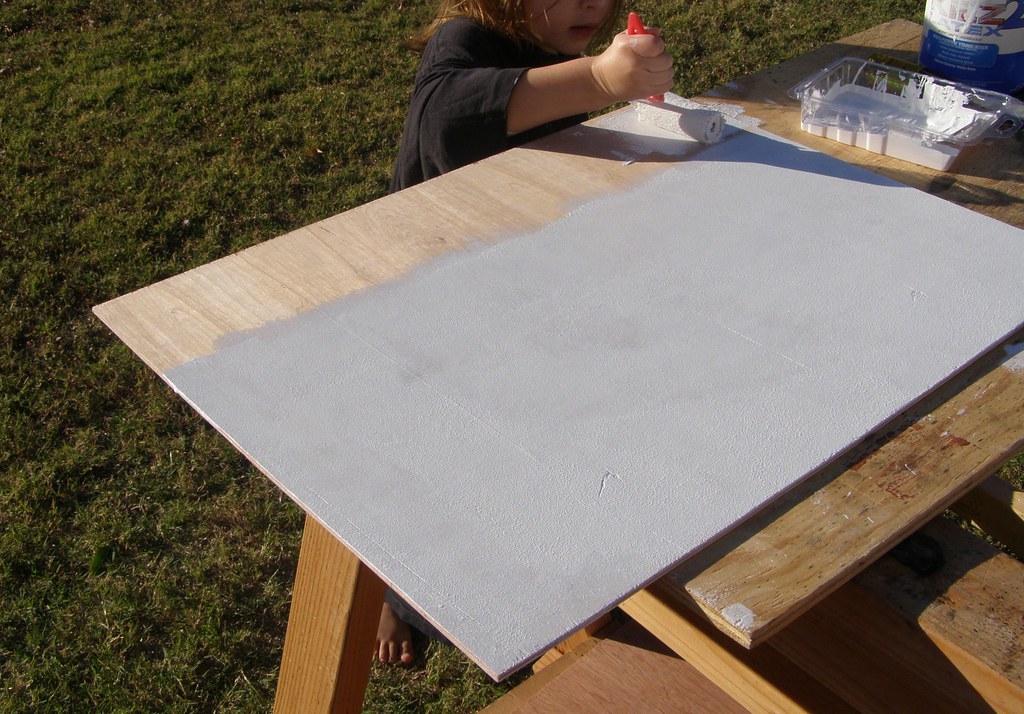
If you're feeling like an over-achiever, you can even use some wood putty to fill in any imperfections. Use a paint roller and apply 1-2 coats of latex primer. Even the birthday girl stepped in to help on this one.

Note: your boards may begin to warp. If so, after they are dry, stack them and place a weight on top to counteract the warp.


3. Tack the Boards to Your Fence. 

We used small nails, but you could use a staple gun (in theory, that is, haven't tried it).

P. S. This party was on a very warm day in November, in case you were wondering. I've got a few other posts from last year I'm still working on. 

4. Set up the Paint Refill/Handwashing Station. 

As they arrived, each kid was given two paintbrushes in his/her treat cup. We also provided palettes by cutting thumb holes in foam plates. (I had wanted to make berets, too, but ran out of time). Then we loaded up the palettes with 3-4 colors of tempera paint for each kid. We have a plastic picnic table that served well for our paint refill station. The hand-washing station consisted of a large plastic tub filled with warm soapy water. It came in handy since each child finished his/her painting at a different time. Those who were finished could wash their hands and go play. Here's the birthday girl herself playing in the bubbles. Look closely and you might be able to spot a couple of the party favors.


5. Enjoy Your Guests' Creativity. 

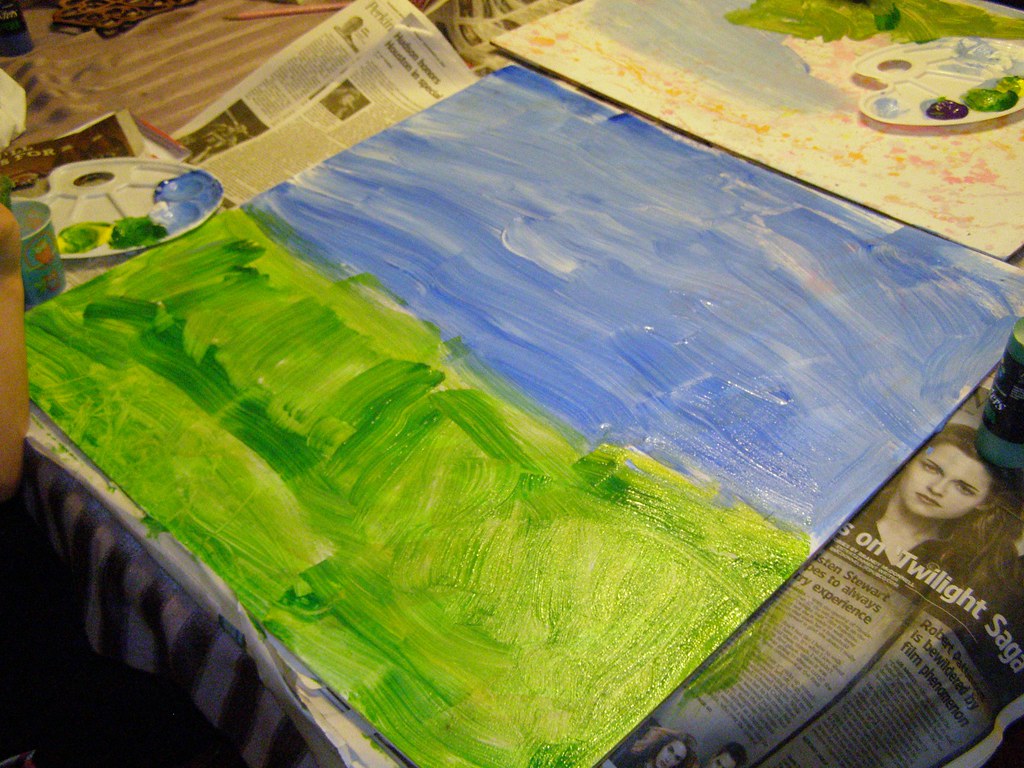
The kids had a blast decorating their paintings. We had a couple canvas left over, so my sister and I tried our hand at splatter painting. So fun. After the painting was finished, we went inside for cake, ice cream, and presents. By then, the paintings were pretty much dry. As the guests left, we pulled their art off the fence, removed any tacks, and sent it home.

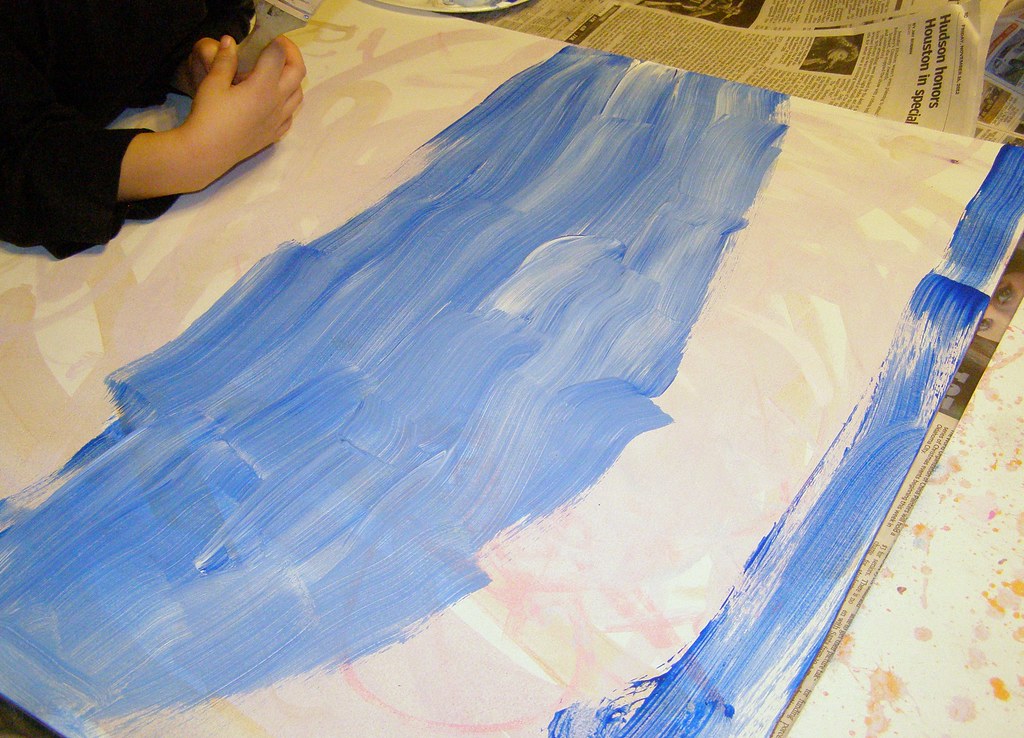
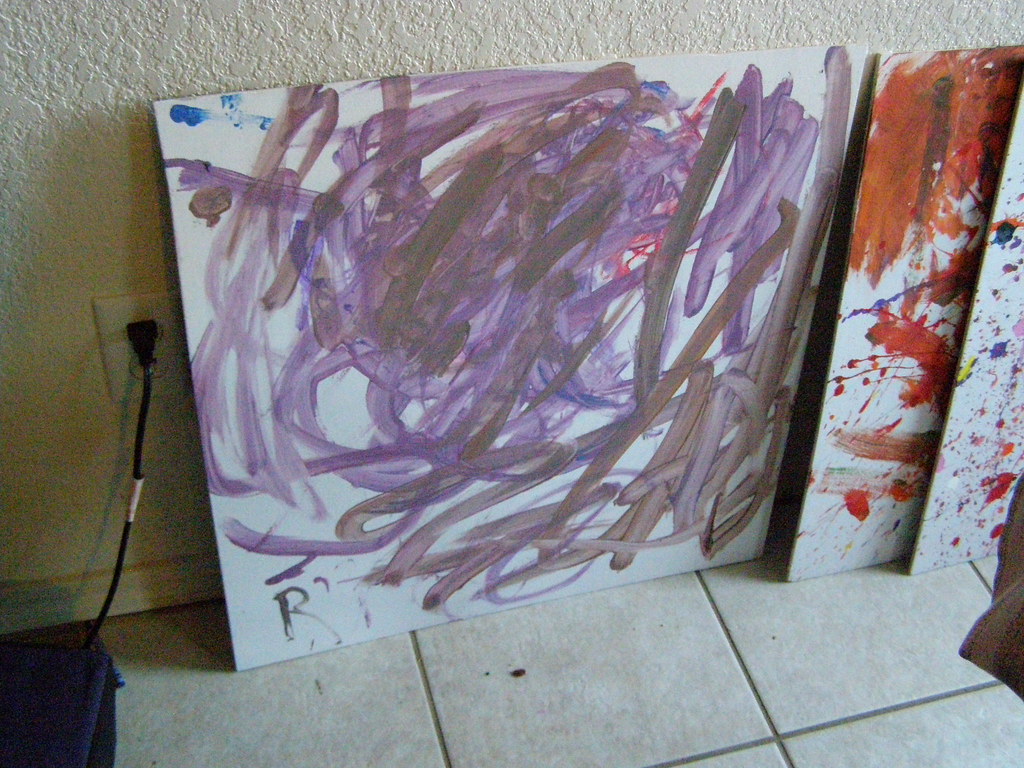
But wait, you're not done yet! We discovered something pretty nifty about these little boards. See the above painting? While it might look like an abstract interpretation of earthworms and purple yarn, it's actually a prime example of the birthday girl playing with the paint rather than painting. Which was fine. She had fun, which was the goal, but she wasn't happy with her art. So, on to round 2, if you want. I'll demonstrate with mine.

6. Rinse/Scrub/Rinse for a Clean Canvas. 

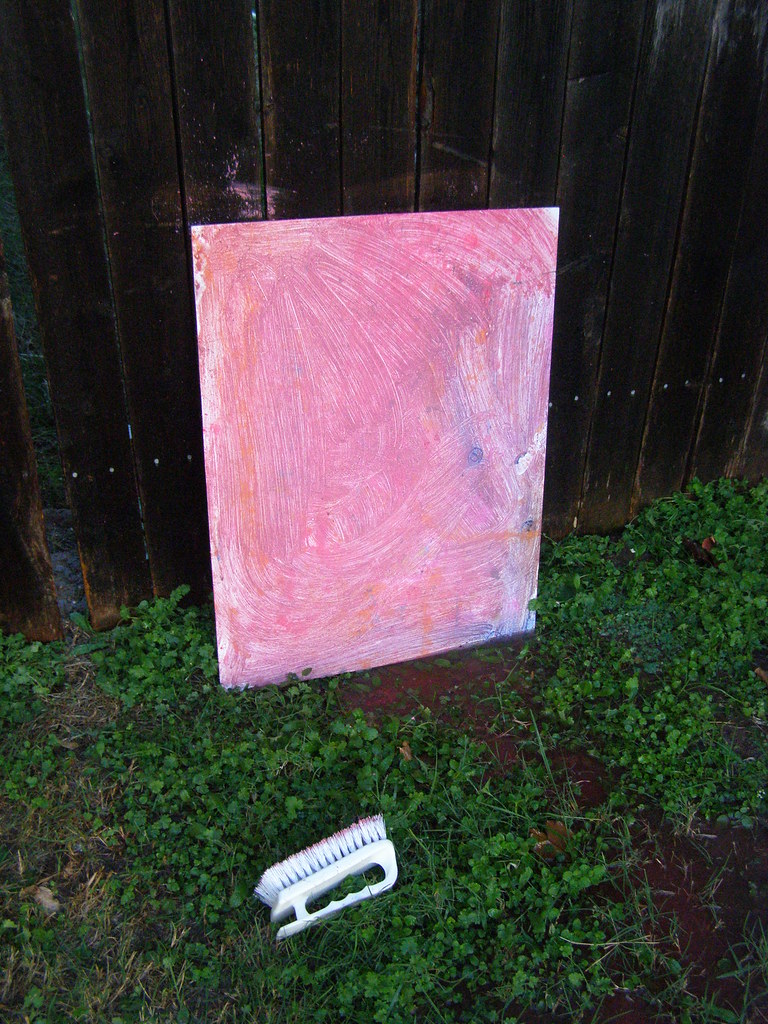
Since we used non-toxic tempera paint, we were able to rinse it off outside. Then we took a scrub brush to get off most of the paint. Another rinse, and the globs of paint were gone. Yes, I did feel like a painting executioner. Some of the color remained, but it was much lighter than before.
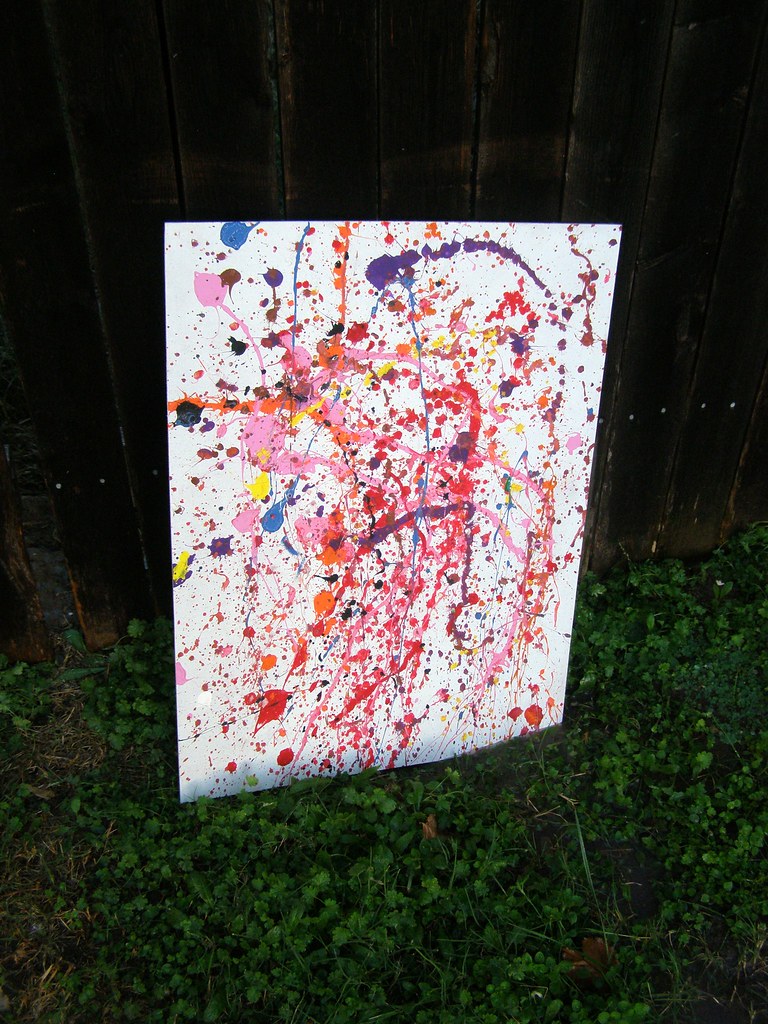
Before

During
After   

7. And Paint Again! 

I'm sure you would be able to repeat the process a few times before the canvas was too stained to paint over. Even then, you could switch to acrylic for the last round and make the painting permanent. 


Tuesday, January 22, 2013

Step by Step Dolphin Painting

I've been wanting to do a step by step painting tutorial for a while now, but I decided to rot my brain on video games rather than craft over Christmas break. :) After a relaxing evening of painting with my amazing man, here's a fresh tutorial for you.

Dolphin Painting- Step by Step

Here's What You'll Need:

  • 8 x 10" pre-stretched canvas
  • pencil
  • 1" wide brush
  • detail brushes
  • toothbrush
  • water cup
  • acrylic paint
    • White
    • Orange (or Orange Yellow, which is technically what mine was)
    • Cadmium Yellow
    • Bahama Blue (or some light turquoise)
    • Desert Turquoise (dark turquoise)
    • Phthalocyanine Blue (dark blue)
    • Black (a tiny bit, or use a permanent marker)
Optional, but recommended
  • Easel
  • Apron
  • Palette
  • Hair Dryer

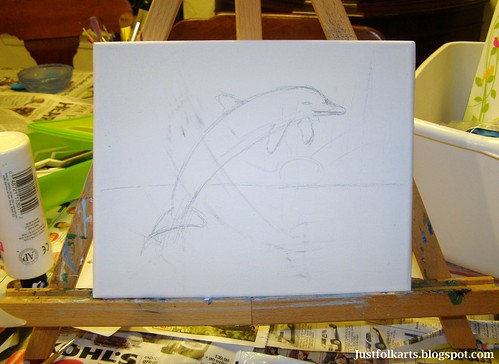
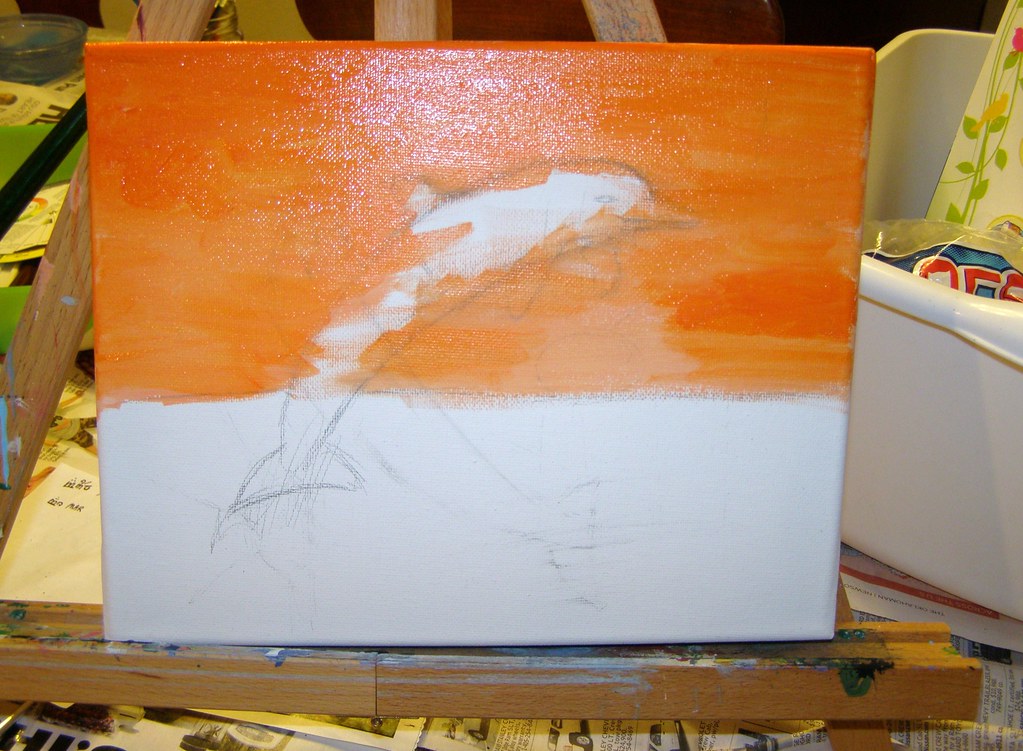
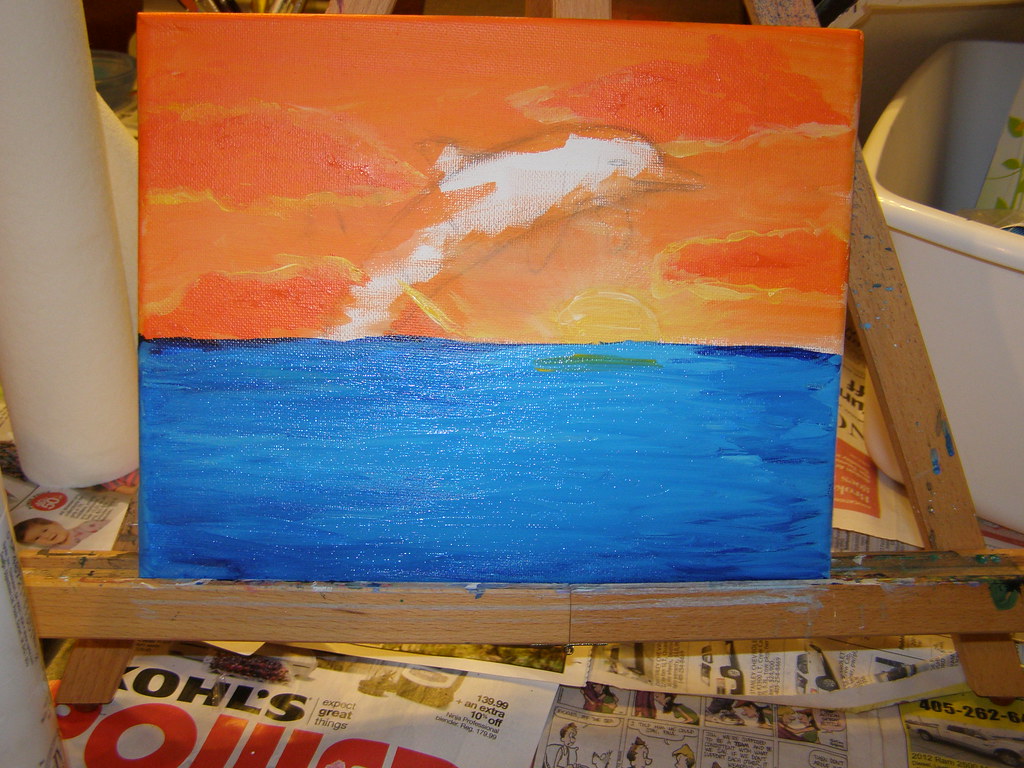
1. Sketch your dolphin and horizon line. 

I made my horizon just below the middle of the canvas. To sketch a dolphin, make the large banana shape first. Then add a longer nose, the flippers, and the tail. Don't worry about the tail too much, we'll be covering it up later.

2. Lay out your paint. 
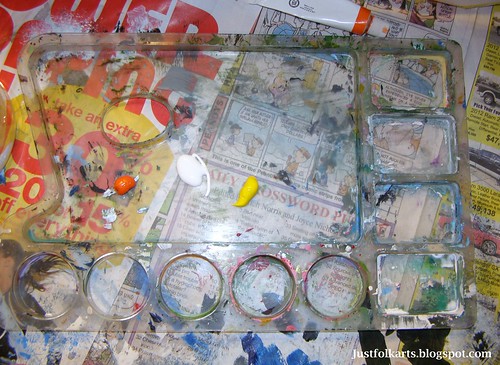
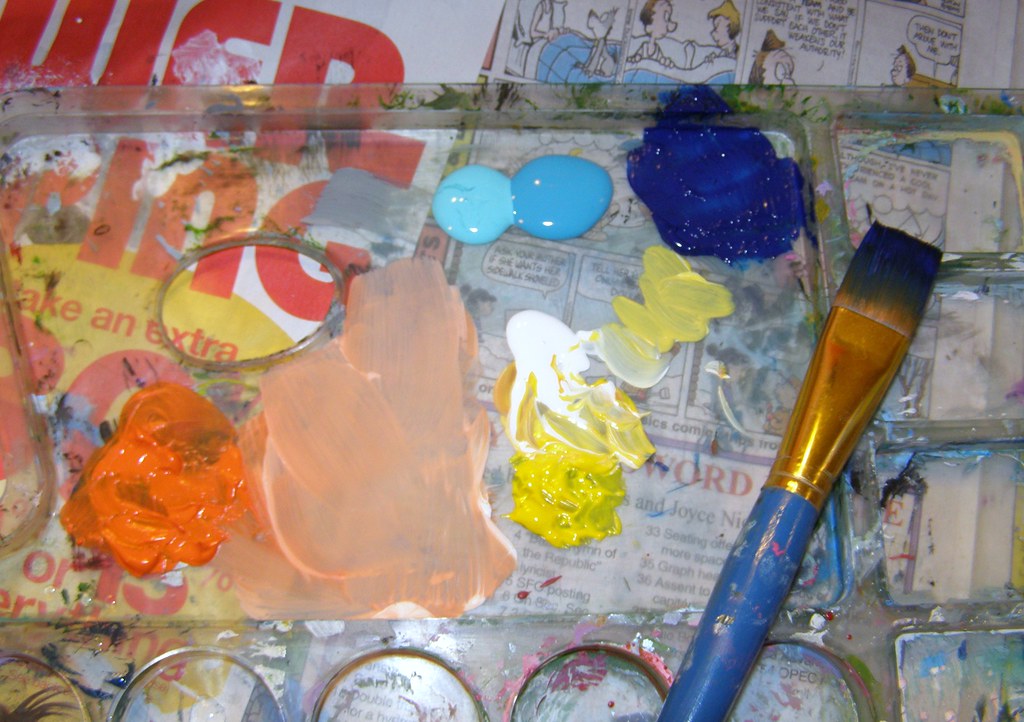
Acrylic is know for its fast-drying qualities. While there are palettes available that keep your paint moist, I don't happen to have one yet. So to keep my paints from drying out, I only place what I need on the palette. Start out with white, orange, and cadmium yellow.
3. Sky- layer one. 

For the first layer of sky, blend the white and orange to make a pale orange color. Using a wide brush, paint the entire sky. Try to avoid covering the dolphin completely.


 4. Sky- layer two. 

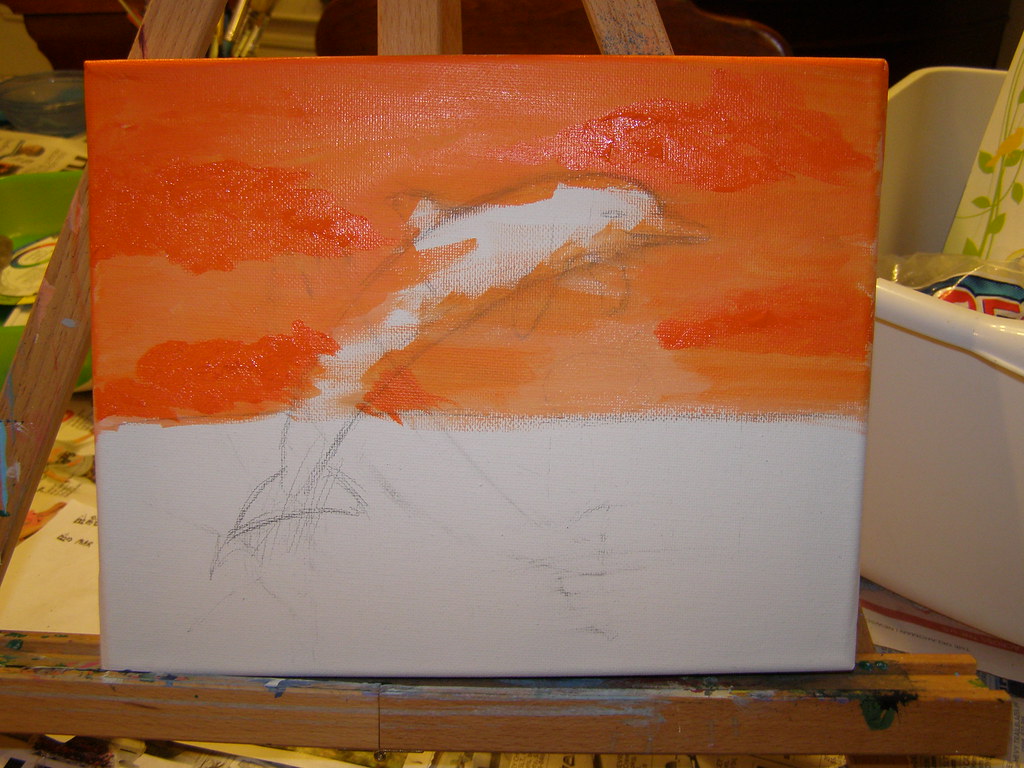
While the first layer is still wet, apply a thin layer of orange (unmixed) to the edges of the sky. Don't paint the area where your sun will be. Rinse and dry the large brush.

5. Clouds.

Use a medium-sized brush to put in some clouds with more orange.

6. Sun and highlights.

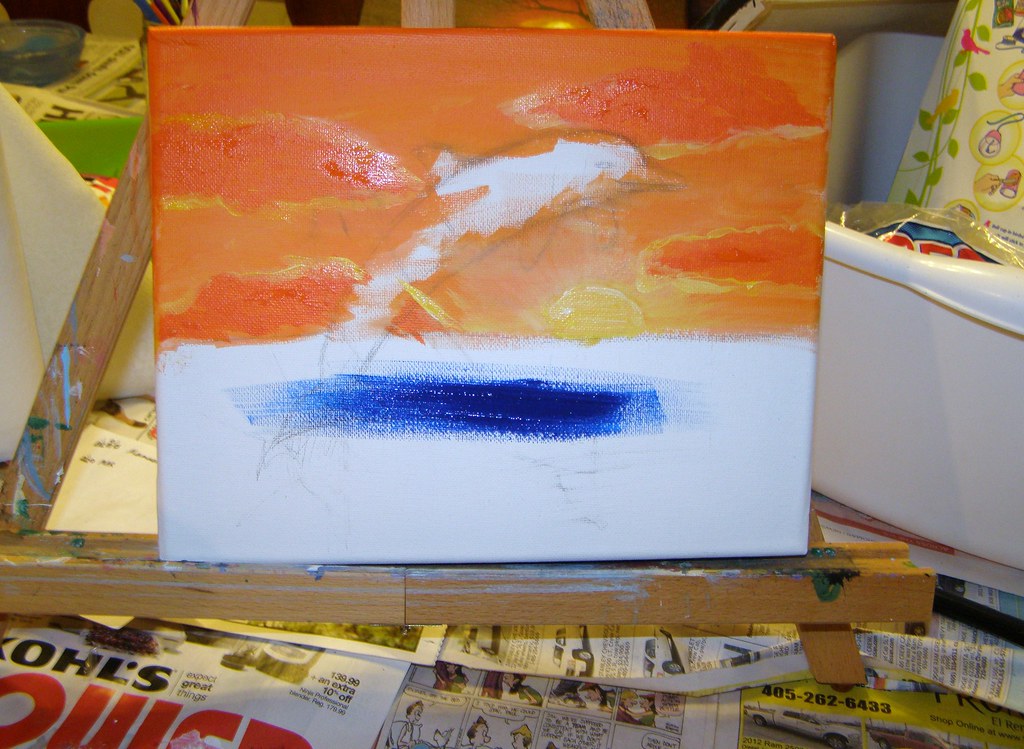
Using a fine-tip brush, apply a mix of white and yellow to the edges of the clouds. The areas closest to the sun should have more white, the areas farthest away should have more yellow or no highlights at all. Make the sun using a blend of yellow and white. Then paint yellow and white radiating from the sun. Use your large, dry brush to blend the sun rays (and the edges of the clouds, if you wish). Ignore the blue streak in the picture, I got a little ahead of myself!

7. Add blue paint to your palette. 


8. Paint the water- layer one. 

Using your large brush, paint the entire water with a layer of phthalocyanine blue. Mine is upside down so I could paint the bottom edge of the canvas. If you are not planning on framing your piece, you might want to paint the edges as well.


9. Paint the water- layer two. 

While the first layer is still wet, load your large brush with both turquoise. Turn the brush so the wide part is parallel to the long edges. Paint from side to side to simulate gentle waves.


 10. Dry it! 

Now is a good time to get out that hair dryer, if you have one. Otherwise, wait for the blue and orange to be somewhat dry before proceeding.

11. Dolphin- layer one and sun reflection. 

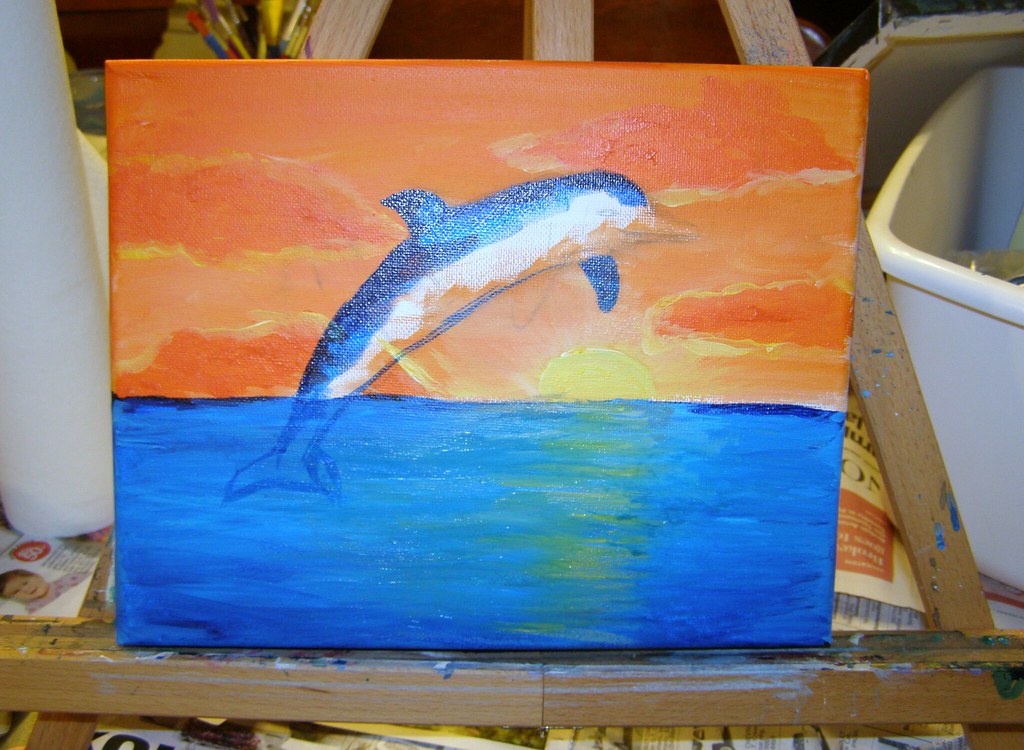
Using your fine tip brush, make horizontal lines below the sun to look like sunlight reflecting off the water. If your lines get too wide, you can cover them back up with some of the turquoise colors.

For the dolphin, use the fine tip brush to fill in the top fin, the tail, and the lower fin on the right. Paint a thin line along the bottom of the dolphin's belly. Paint a thick line along the dolphin's back.


12. Dolphin- layer two. 

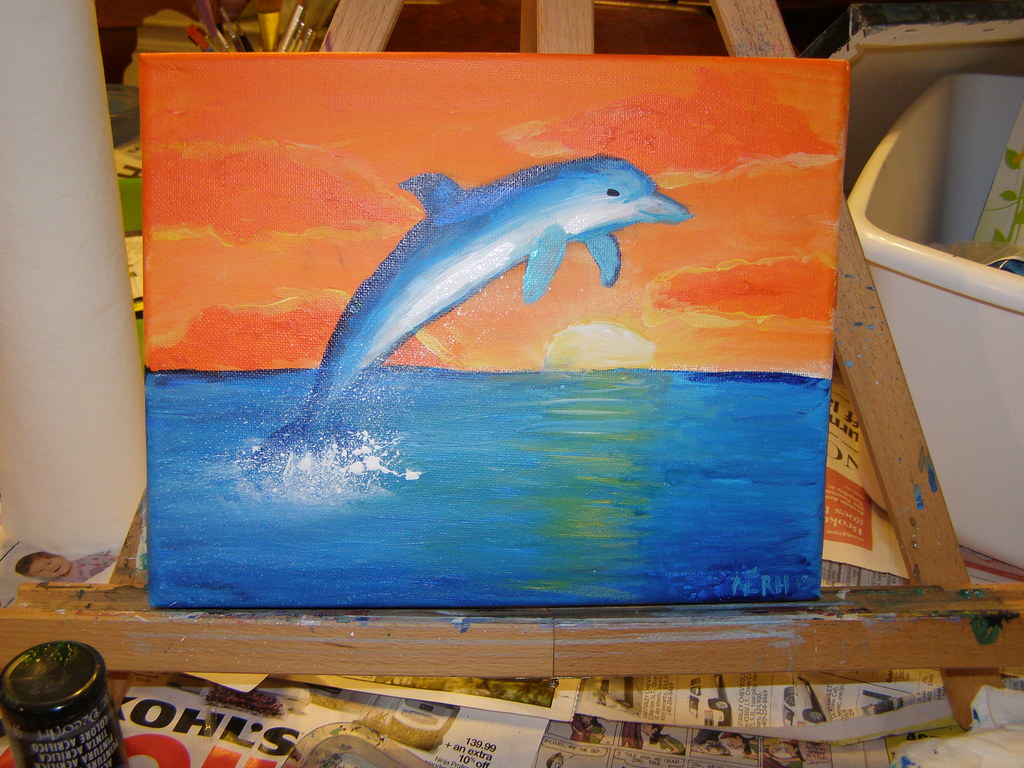
Use the darker turquoise and lay in a wide stripe along the dolphin's body just below the thick dark blue. Then layer in the lighter turquoise. Finally, use white to make the lighter parts.  For the nose, use the light turquoise to fill in. Then make a line for the mouth and the forehead shadow with the dark turquoise. Fill in the lower left fin and most of the lower right fin with dark turquoise.  Use your black paint or marker to add the eye.

13. Sea spray. 

I think this is the most fun part. Load up your toothbrush with white paint. Carefully run your thumbnail along the brush to make a controlled splatter. You might want to practice on paper before putting your spray on the canvas. You can retouch the sky or ocean with more paint or blend in the extra spray with a large dry brush if necessary.

And you're done! 

So long and thanks for all the fish. :)