Thursday, January 24, 2013

Canvas Painting Party

I'm sure all of you have seen those amazing birthday parties on Pinterest and other places where everything looks perfect. The favors are adorable, the cake looks professional, even the kids are photogenic. You know the ones. I'm sure, given the right budget, amount of time, and a professional team of house cleaners, I could throw one of those parties. Until that day arrives, I will continue to approach birthday parties with my same formula.

1. A theme, kinda keeps things together. This year was Cake and Canvas, a clever parody of the Coffee and Canvas classes I teach at our church.

2. Something homemade. This year, it was these cool canvases. For the younger daughter's birthday a couple years ago, I made owl treat bags out of fabric.

3. Save a year, splurge a year. The older daughter (I seriously need clever nicknames for these two kids) got to have a ceramics-painting party at a studio last year followed up by a tea party with the cups the girls painted. This year, an inexpensive home party.

4. Buy as little licensed merchandise as possible. For our Hello Kitty party, we bought Hello Kitty plates, cups, and a tablecloth. We made a Hello Kitty pinata. Everything else was purchased in coordinating colors.

5. Try to have something cool as a party favor. For this party, we bought plastic cups that look like crayons. We filled each cup with two paintbrushes and enough candy for the brushes to stand up. The kids got to use their new brushes to paint and took them (and their painting) home after. Did I get a picture? No, sorry.

6. I'm sure this won't count as any sort of tip, but if you have a friend who is an aspiring baker and offers you a cake instead of a gift, take her up on it! I am so blessed to have an amazing friend who bakes the girls' cakes for me. They always turn out so well. Again, no picture. But this year's cake was a palette with different colored icing globs of "paint" on it.


Prepping Paint Boards for a "Canvas" Party 

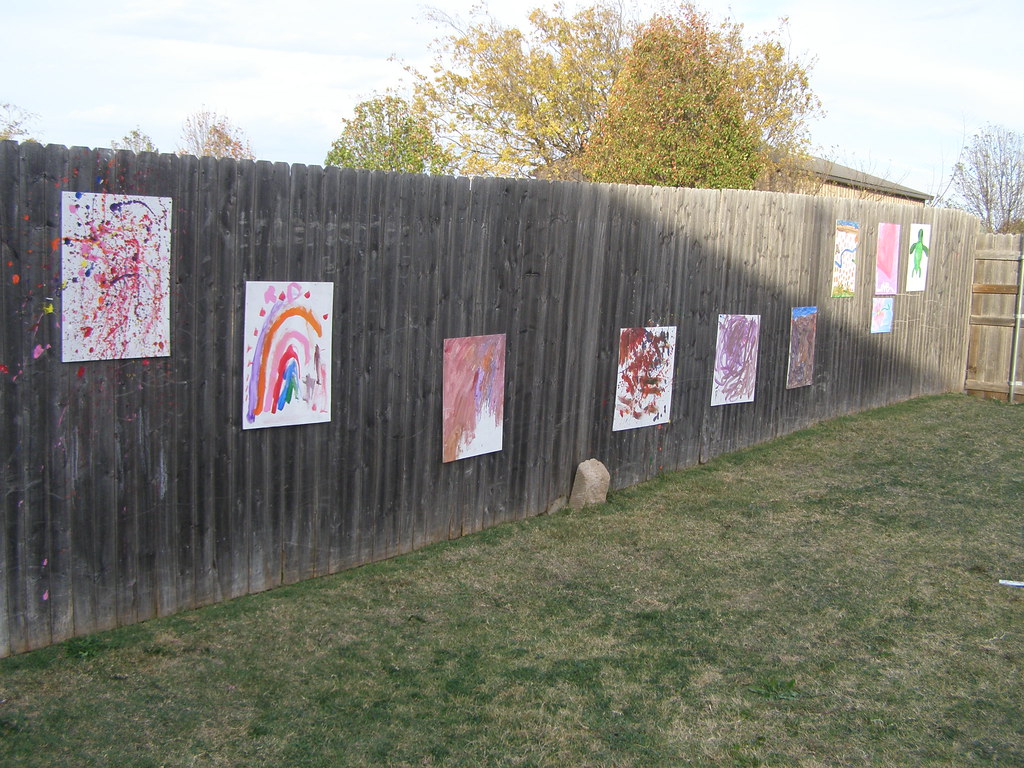
The irony of this "Cake and Canvas" party is that we didn't actually use canvas at all. The kids painted on thin plywood panels that we tacked to our fence. Here's what we did ( and by we, I mean my amazing man. I helped a little and took pictures). 

Here's What You'll Need:

  • 1- 4' x 8'  plywood underlay board, approx. 1/4" thick. I believe ours was around $10. 
  • Saw
  • Kilz 2 Latex primer
  • Paint Roller
  • Hammer
  • Nails

1. Cut the boards. 

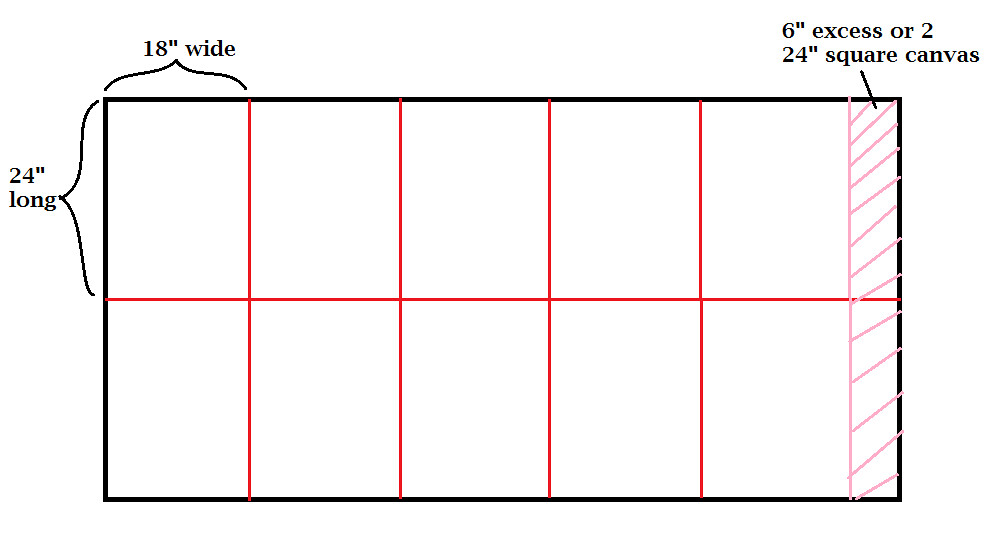
Cutting the board in half lengthwise, then cutting the halves into 18" wide segments will yield 10 18" x 24" boards. Or, you can leave the last two segments longer and have 8 18" x 24" boards and 2 24" x 24" boards.
2. Sand and Primer the Boards. 

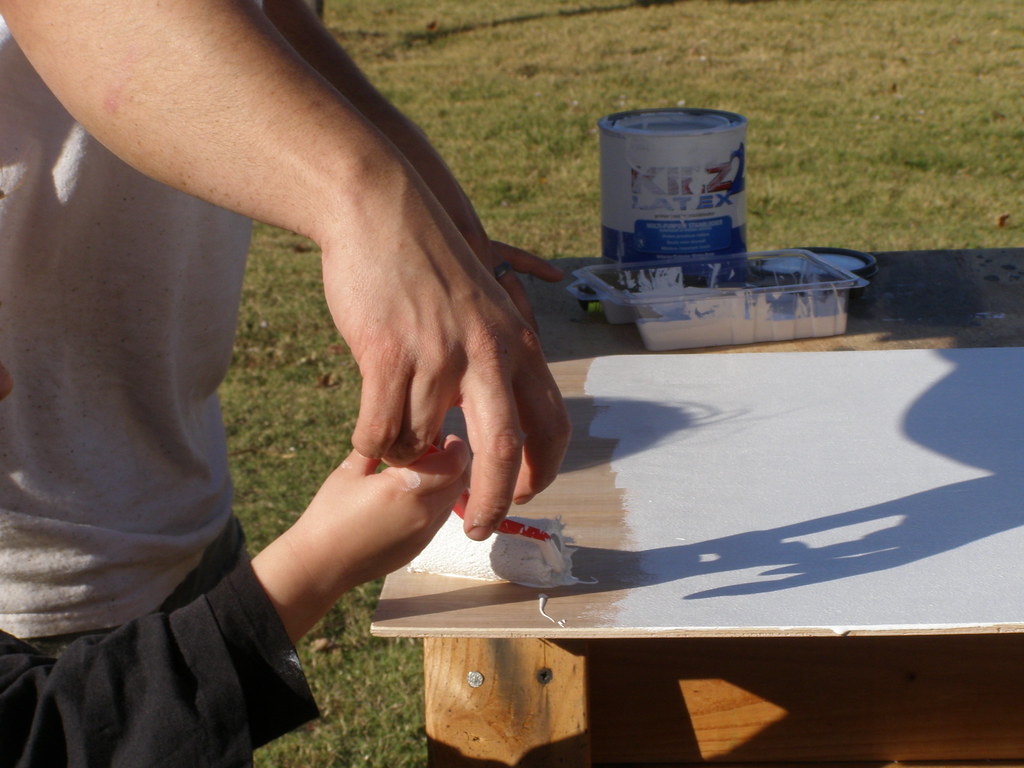
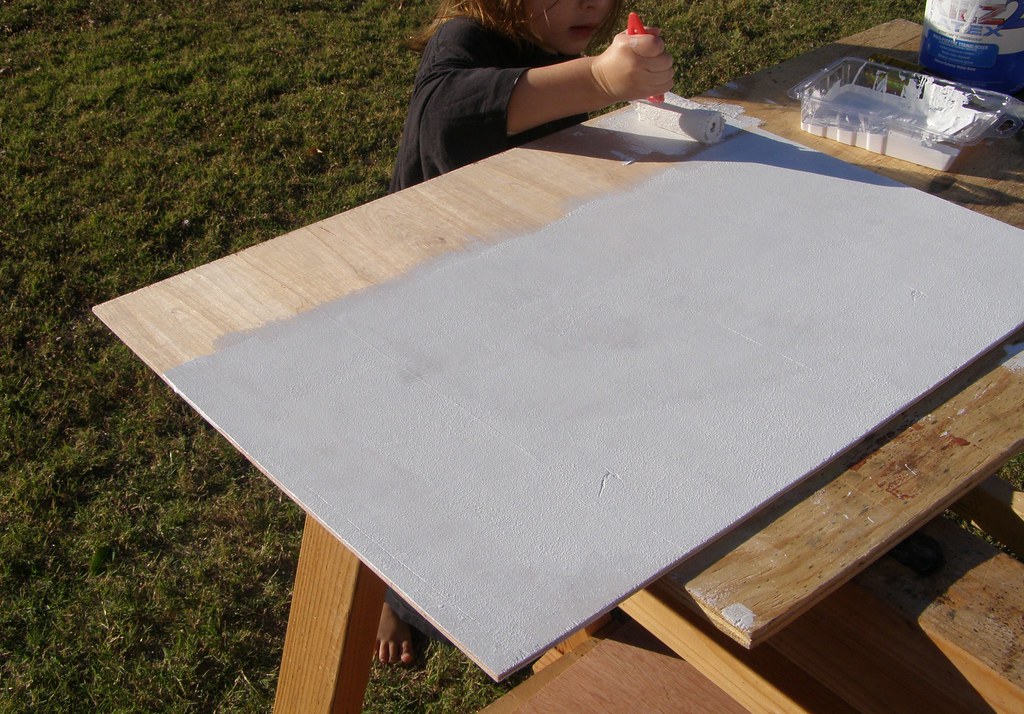
If you're feeling like an over-achiever, you can even use some wood putty to fill in any imperfections. Use a paint roller and apply 1-2 coats of latex primer. Even the birthday girl stepped in to help on this one.

Note: your boards may begin to warp. If so, after they are dry, stack them and place a weight on top to counteract the warp.
3. Tack the Boards to Your Fence. 

We used small nails, but you could use a staple gun (in theory, that is, haven't tried it).
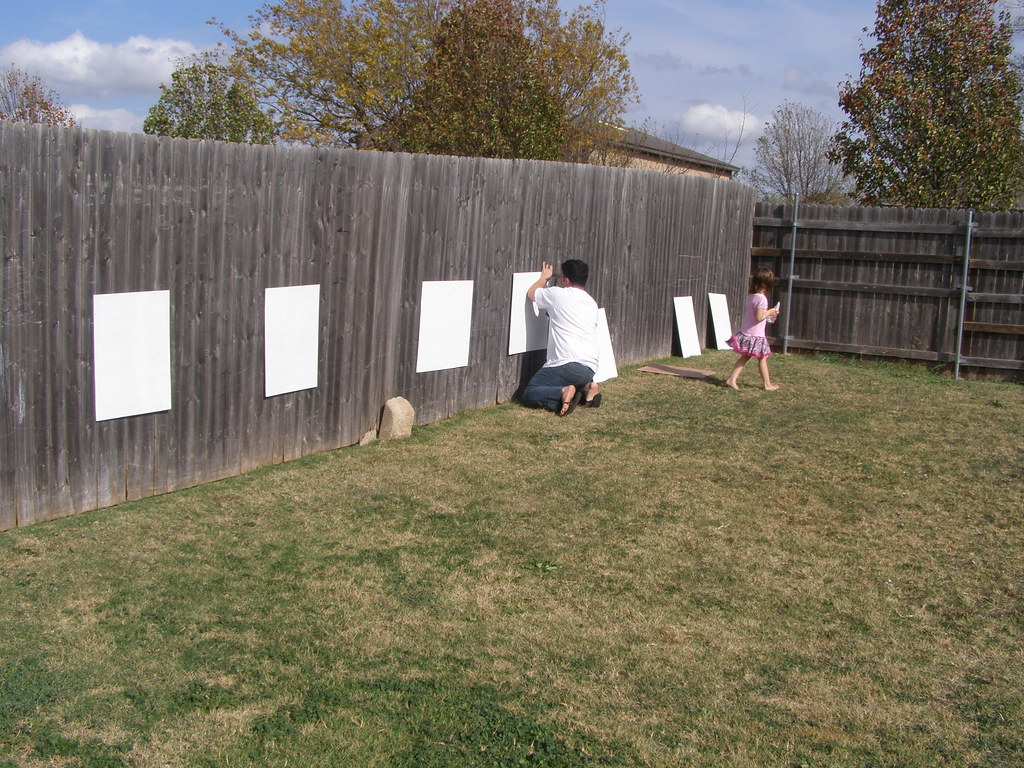
P. S. This party was on a very warm day in November, in case you were wondering. I've got a few other posts from last year I'm still working on. 

4. Set up the Paint Refill/Handwashing Station. 

As they arrived, each kid was given two paintbrushes in his/her treat cup. We also provided palettes by cutting thumb holes in foam plates. (I had wanted to make berets, too, but ran out of time). Then we loaded up the palettes with 3-4 colors of tempera paint for each kid. We have a plastic picnic table that served well for our paint refill station. The hand-washing station consisted of a large plastic tub filled with warm soapy water. It came in handy since each child finished his/her painting at a different time. Those who were finished could wash their hands and go play. Here's the birthday girl herself playing in the bubbles. Look closely and you might be able to spot a couple of the party favors.


5. Enjoy Your Guests' Creativity. 

The kids had a blast decorating their paintings. We had a couple canvas left over, so my sister and I tried our hand at splatter painting. So fun. After the painting was finished, we went inside for cake, ice cream, and presents. By then, the paintings were pretty much dry. As the guests left, we pulled their art off the fence, removed any tacks, and sent it home.
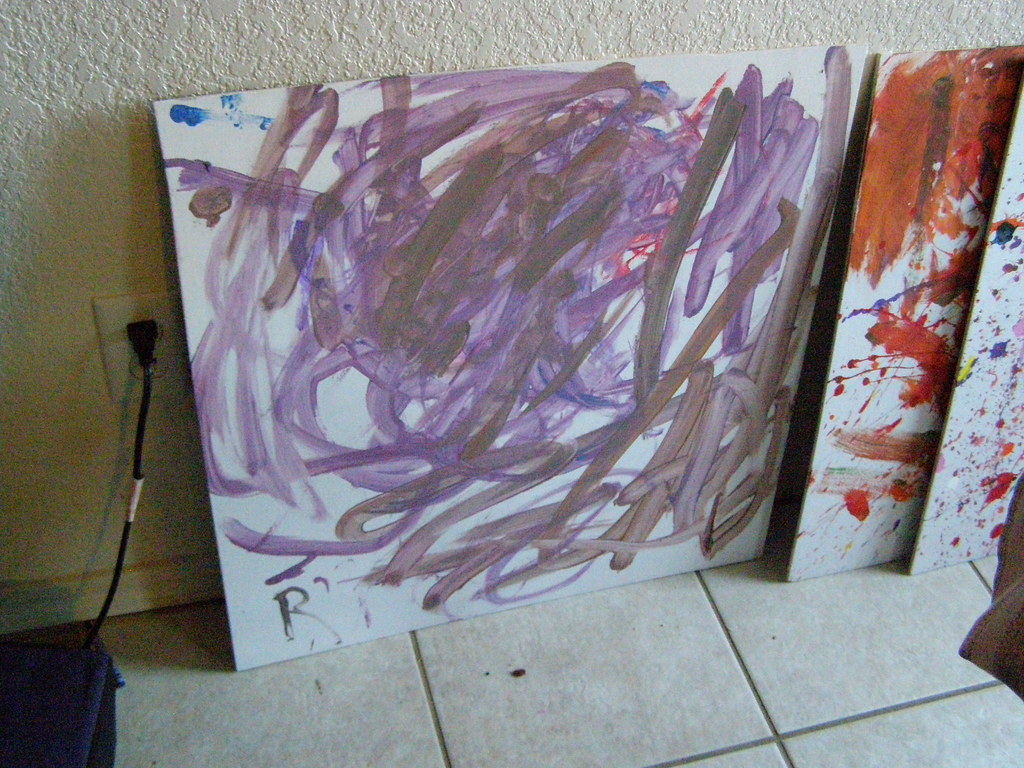
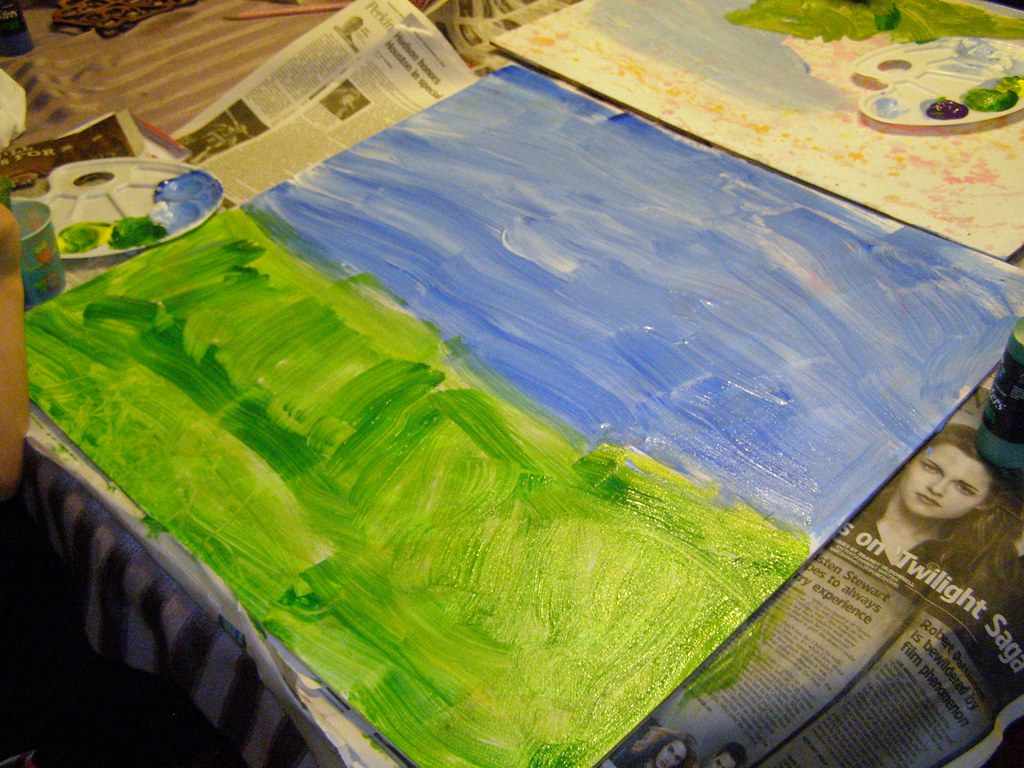
But wait, you're not done yet! We discovered something pretty nifty about these little boards. See the above painting? While it might look like an abstract interpretation of earthworms and purple yarn, it's actually a prime example of the birthday girl playing with the paint rather than painting. Which was fine. She had fun, which was the goal, but she wasn't happy with her art. So, on to round 2, if you want. I'll demonstrate with mine.

6. Rinse/Scrub/Rinse for a Clean Canvas. 

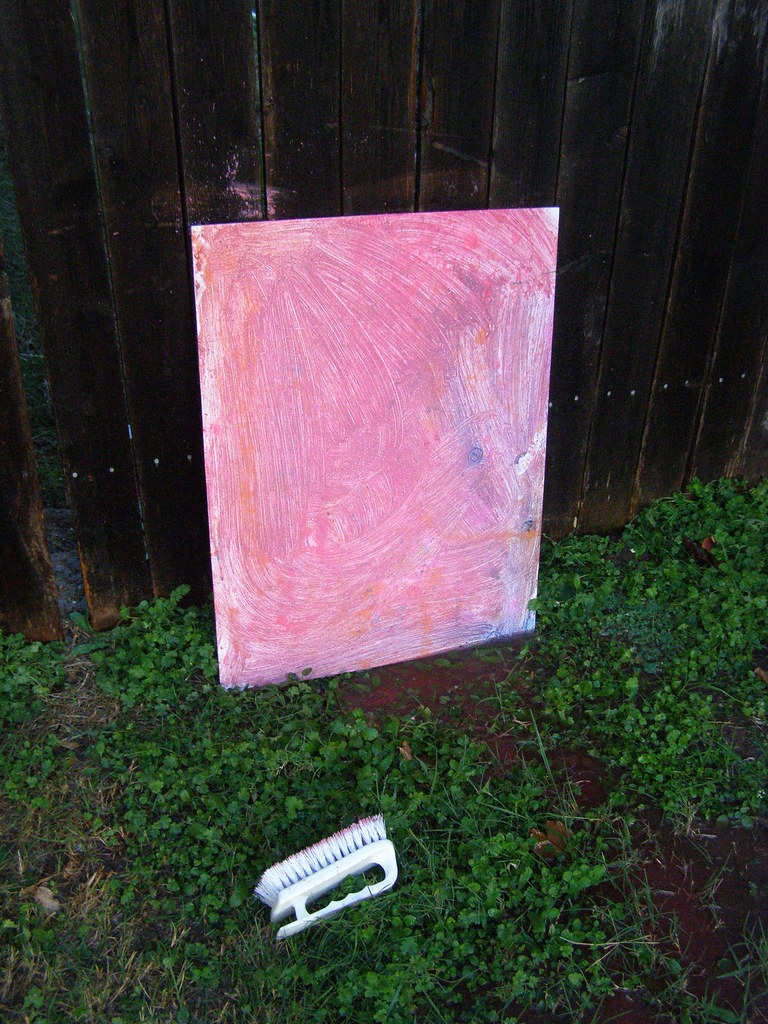
Since we used non-toxic tempera paint, we were able to rinse it off outside. Then we took a scrub brush to get off most of the paint. Another rinse, and the globs of paint were gone. Yes, I did feel like a painting executioner. Some of the color remained, but it was much lighter than before.
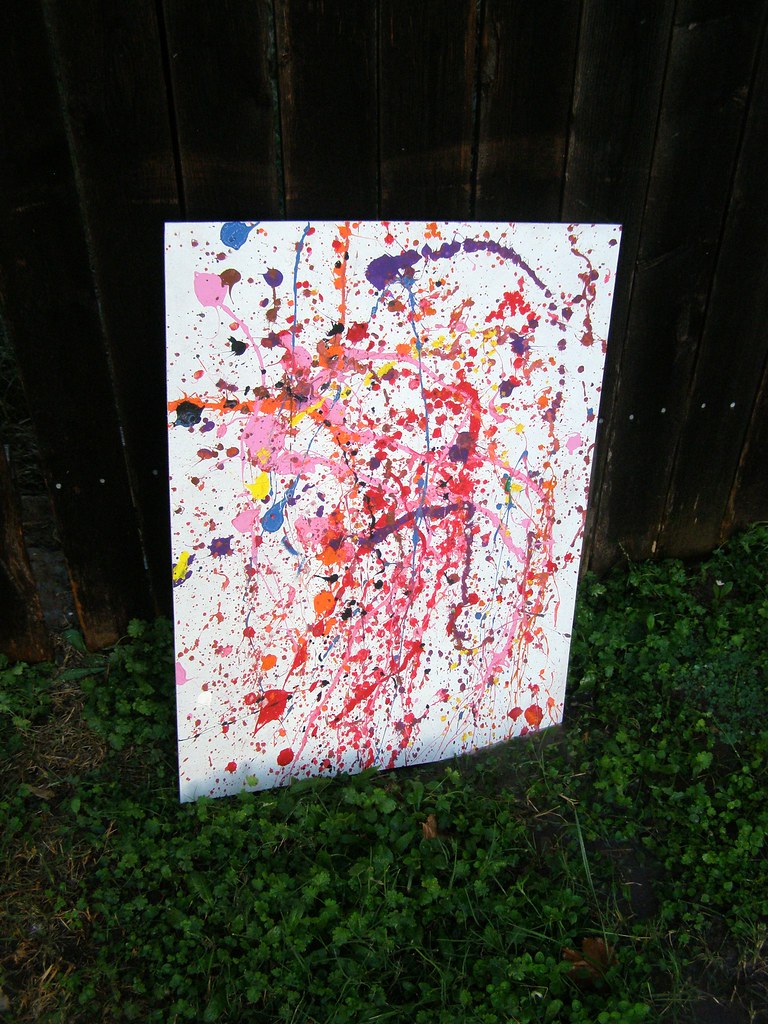
Before

During
After   

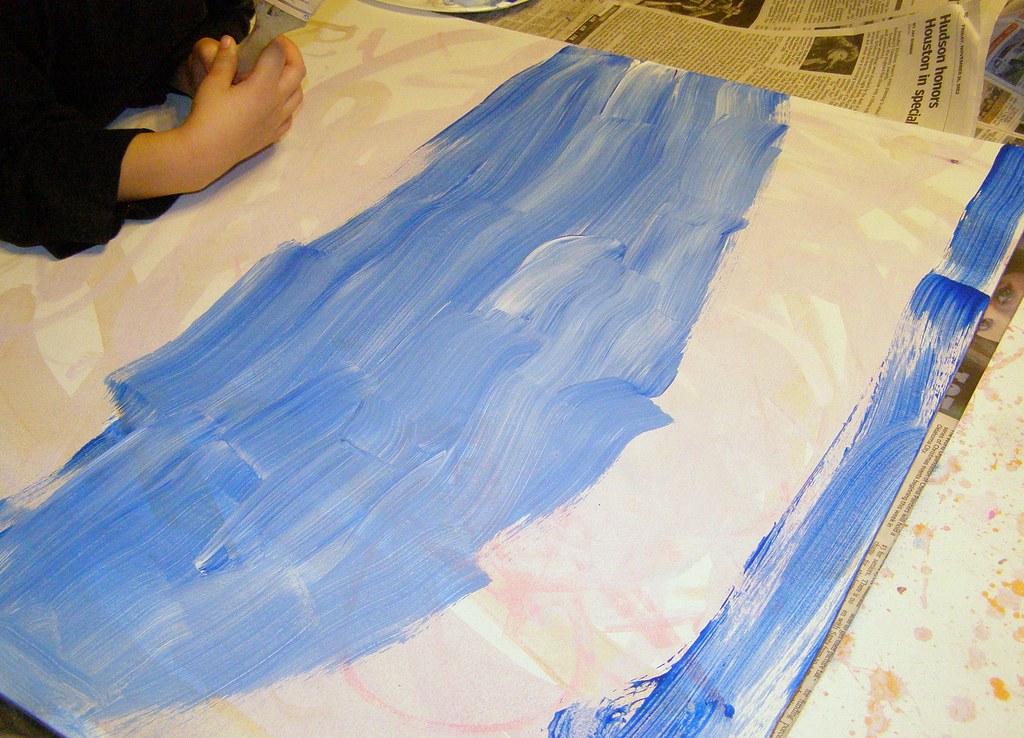
7. And Paint Again! 

I'm sure you would be able to repeat the process a few times before the canvas was too stained to paint over. Even then, you could switch to acrylic for the last round and make the painting permanent. 


Tuesday, January 22, 2013

Step by Step Dolphin Painting

I've been wanting to do a step by step painting tutorial for a while now, but I decided to rot my brain on video games rather than craft over Christmas break. :) After a relaxing evening of painting with my amazing man, here's a fresh tutorial for you.

Dolphin Painting- Step by Step

Here's What You'll Need:

  • 8 x 10" pre-stretched canvas
  • pencil
  • 1" wide brush
  • detail brushes
  • toothbrush
  • water cup
  • acrylic paint
    • White
    • Orange (or Orange Yellow, which is technically what mine was)
    • Cadmium Yellow
    • Bahama Blue (or some light turquoise)
    • Desert Turquoise (dark turquoise)
    • Phthalocyanine Blue (dark blue)
    • Black (a tiny bit, or use a permanent marker)
Optional, but recommended
  • Easel
  • Apron
  • Palette
  • Hair Dryer

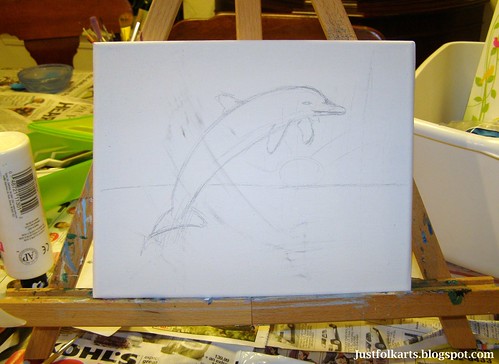
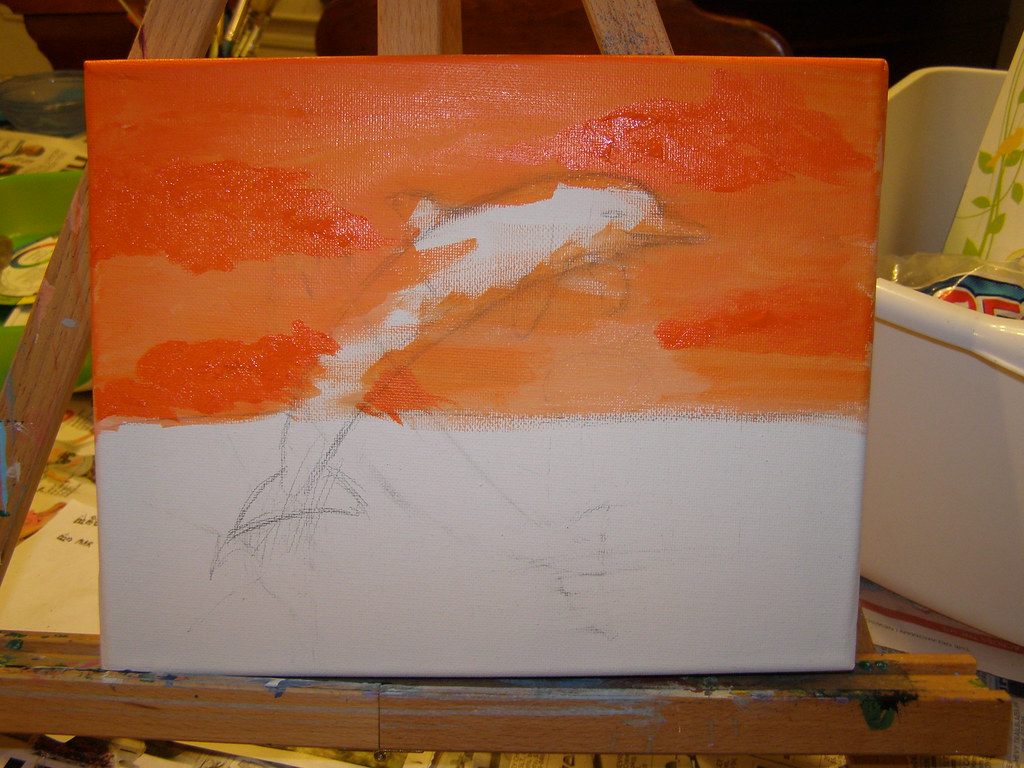
1. Sketch your dolphin and horizon line. 

I made my horizon just below the middle of the canvas. To sketch a dolphin, make the large banana shape first. Then add a longer nose, the flippers, and the tail. Don't worry about the tail too much, we'll be covering it up later.

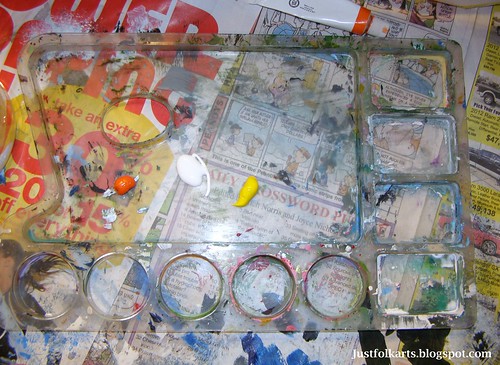
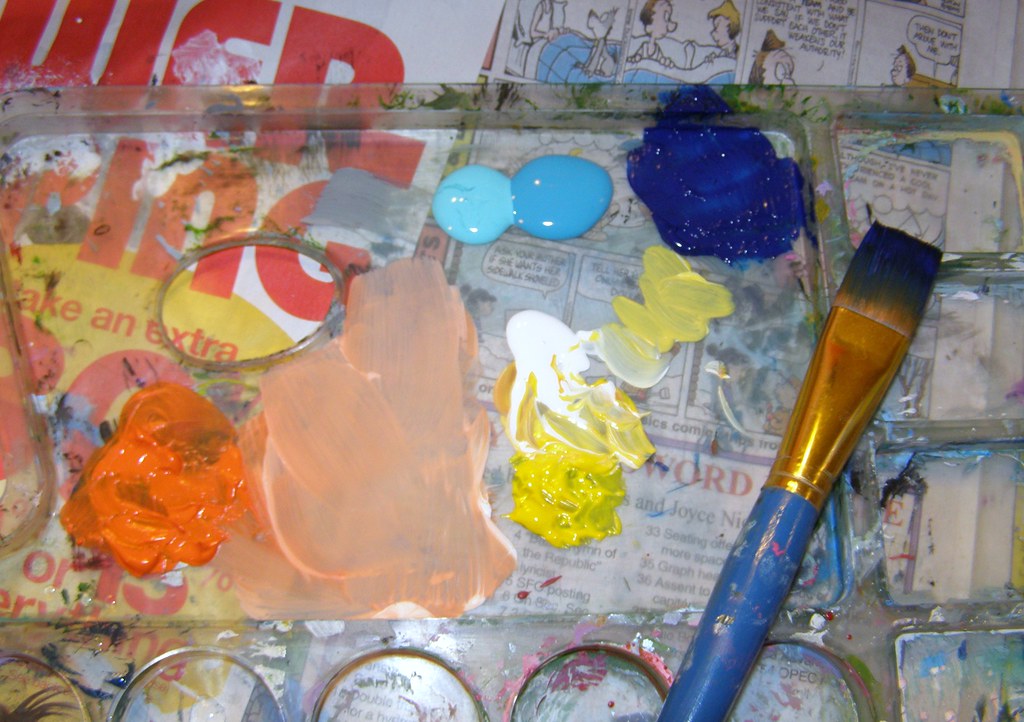
2. Lay out your paint. 

Acrylic is know for its fast-drying qualities. While there are palettes available that keep your paint moist, I don't happen to have one yet. So to keep my paints from drying out, I only place what I need on the palette. Start out with white, orange, and cadmium yellow.

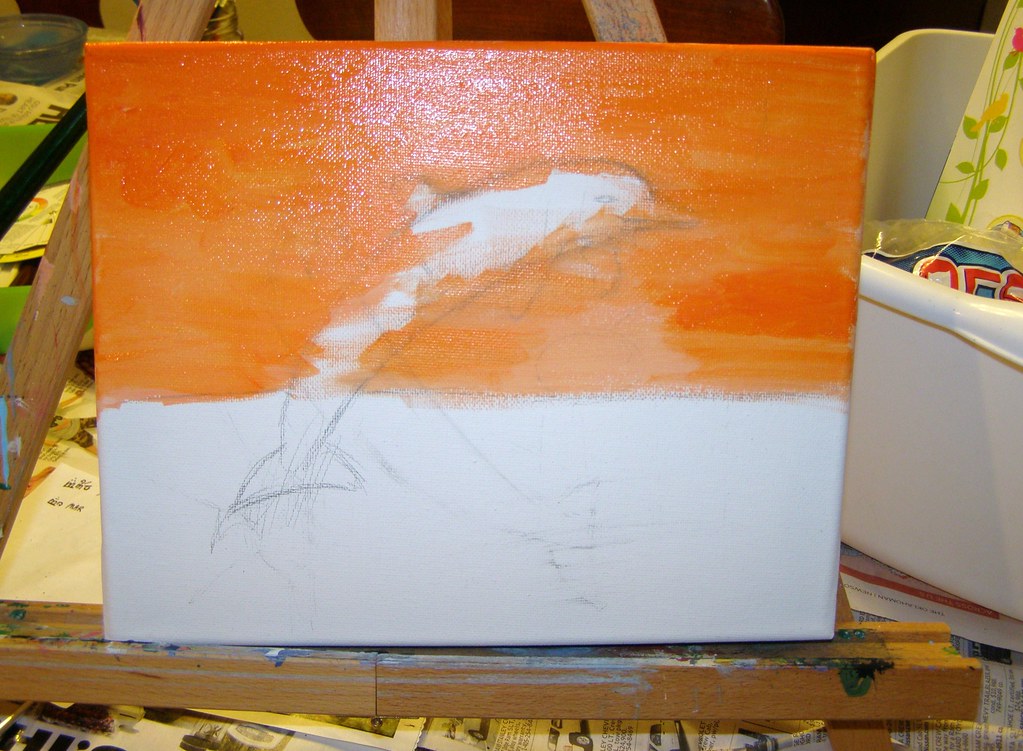
3. Sky- layer one. 

For the first layer of sky, blend the white and orange to make a pale orange color. Using a wide brush, paint the entire sky. Try to avoid covering the dolphin completely.


 4. Sky- layer two. 

While the first layer is still wet, apply a thin layer of orange (unmixed) to the edges of the sky. Don't paint the area where your sun will be. Rinse and dry the large brush.

5. Clouds.

Use a medium-sized brush to put in some clouds with more orange.

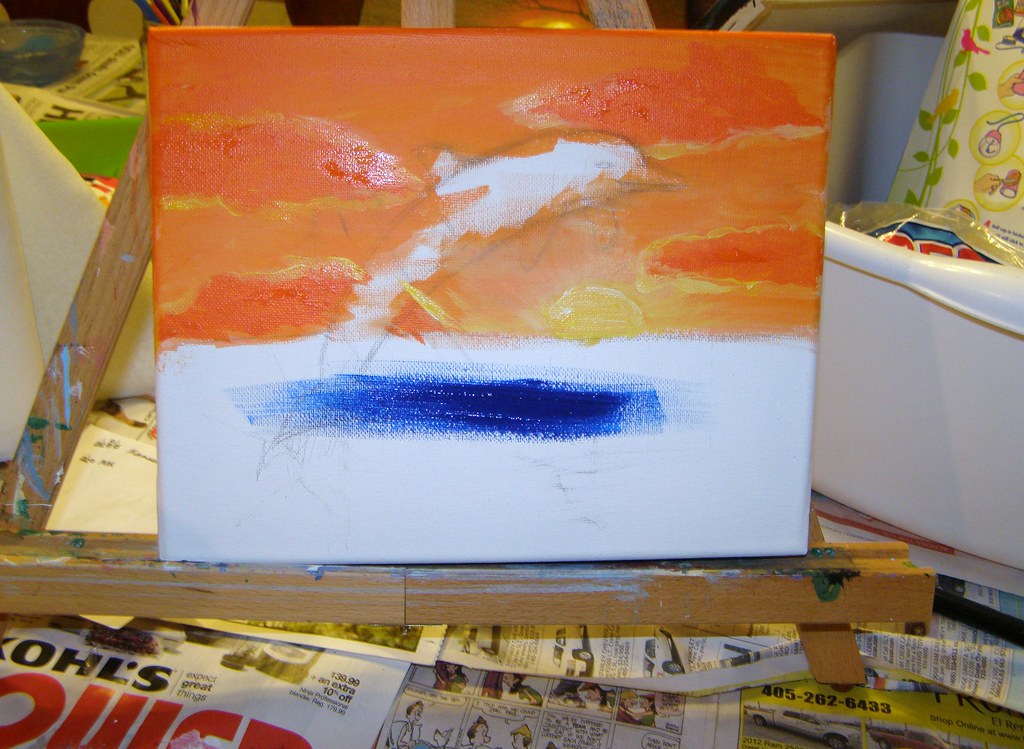
6. Sun and highlights.

Using a fine-tip brush, apply a mix of white and yellow to the edges of the clouds. The areas closest to the sun should have more white, the areas farthest away should have more yellow or no highlights at all. Make the sun using a blend of yellow and white. Then paint yellow and white radiating from the sun. Use your large, dry brush to blend the sun rays (and the edges of the clouds, if you wish). Ignore the blue streak in the picture, I got a little ahead of myself!

7. Add blue paint to your palette. 


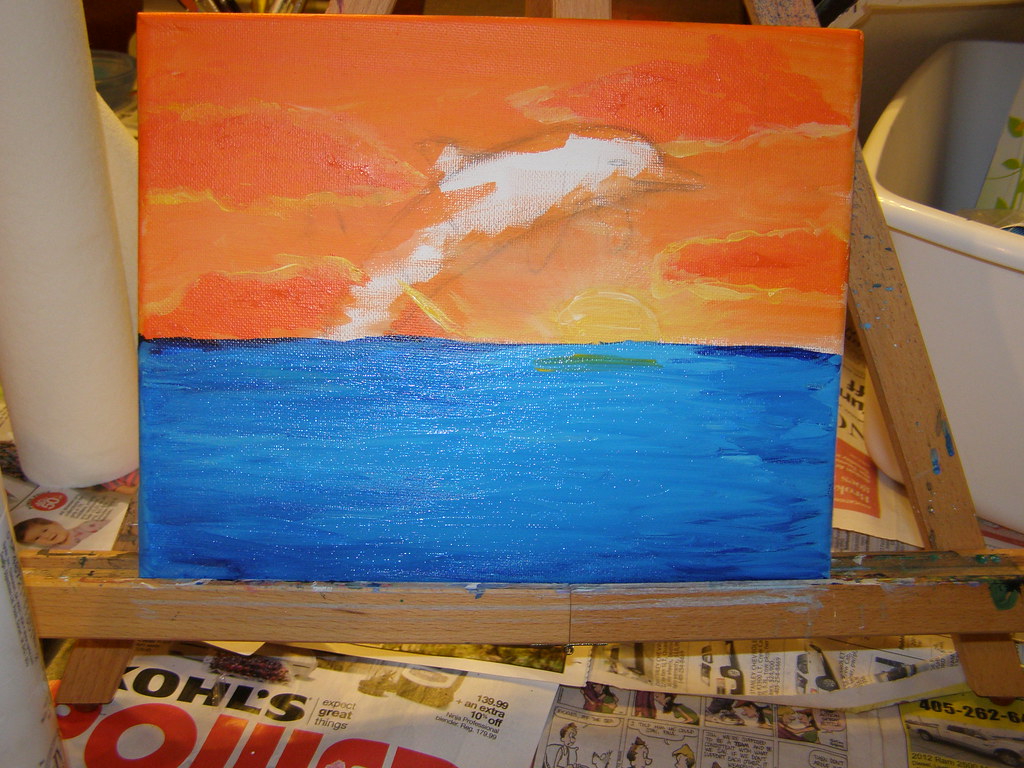
8. Paint the water- layer one. 

Using your large brush, paint the entire water with a layer of phthalocyanine blue. Mine is upside down so I could paint the bottom edge of the canvas. If you are not planning on framing your piece, you might want to paint the edges as well.


9. Paint the water- layer two. 

While the first layer is still wet, load your large brush with both turquoise. Turn the brush so the wide part is parallel to the long edges. Paint from side to side to simulate gentle waves.


 10. Dry it! 

Now is a good time to get out that hair dryer, if you have one. Otherwise, wait for the blue and orange to be somewhat dry before proceeding.

11. Dolphin- layer one and sun reflection. 

Using your fine tip brush, make horizontal lines below the sun to look like sunlight reflecting off the water. If your lines get too wide, you can cover them back up with some of the turquoise colors.

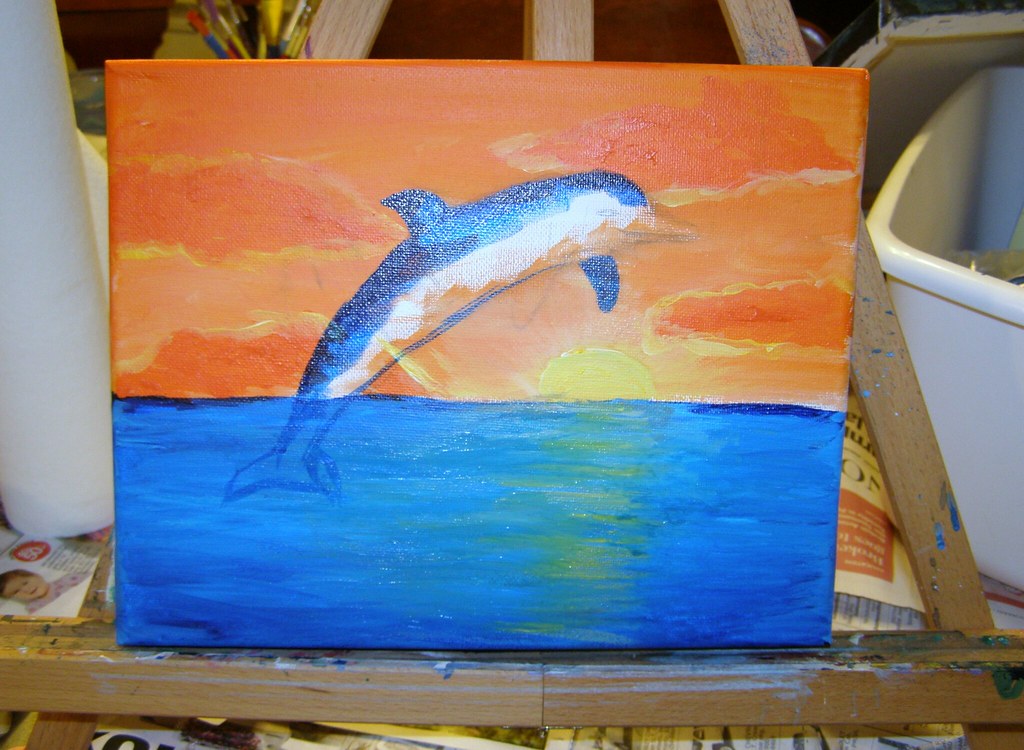
For the dolphin, use the fine tip brush to fill in the top fin, the tail, and the lower fin on the right. Paint a thin line along the bottom of the dolphin's belly. Paint a thick line along the dolphin's back.


12. Dolphin- layer two. 

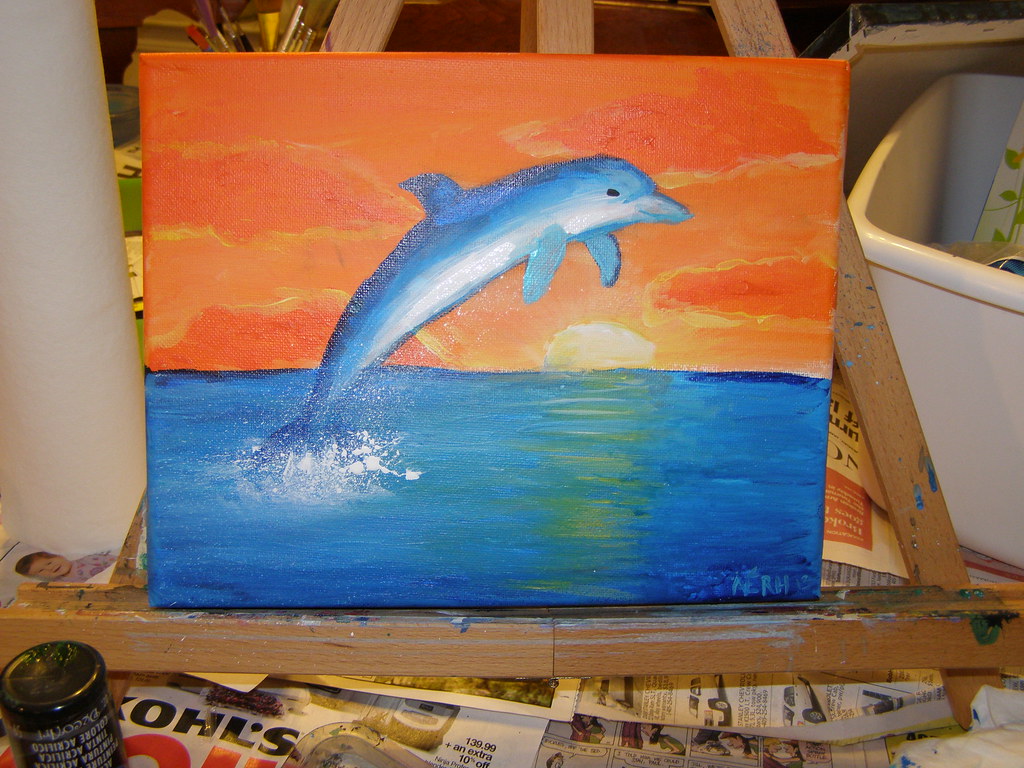
Use the darker turquoise and lay in a wide stripe along the dolphin's body just below the thick dark blue. Then layer in the lighter turquoise. Finally, use white to make the lighter parts.  For the nose, use the light turquoise to fill in. Then make a line for the mouth and the forehead shadow with the dark turquoise. Fill in the lower left fin and most of the lower right fin with dark turquoise.  Use your black paint or marker to add the eye.

13. Sea spray. 

I think this is the most fun part. Load up your toothbrush with white paint. Carefully run your thumbnail along the brush to make a controlled splatter. You might want to practice on paper before putting your spray on the canvas. You can retouch the sky or ocean with more paint or blend in the extra spray with a large dry brush if necessary.

And you're done! 

So long and thanks for all the fish. :)


Sunday, December 9, 2012

String or Yarn Star Christmas Ornaments

Allow me to begin by saying that my mom is a fantastic teacher. When I was younger, I would visit her classroom as often as I could to help out. Later, she became a librarian and I would read stories for the kids (in very badly done accents, but the kids were impressed). One of my favorite activities was, of course, when we did crafts with the kids. Today I'm going to share with you one of the crafts that we did.

This craft has MANY variations, so if the first set of instructions don't include what you might have on hand, keep scrolling to the other versions.

Yarn Star Ornaments

What You'll Need:

  • Cardboard (we used a pizza box)
  • Wax Paper (recommended, but optional)
  • Yarn
  • Craft or School Glue
  • Thumbtacks

1. Draw a star shape on your cardboard. 

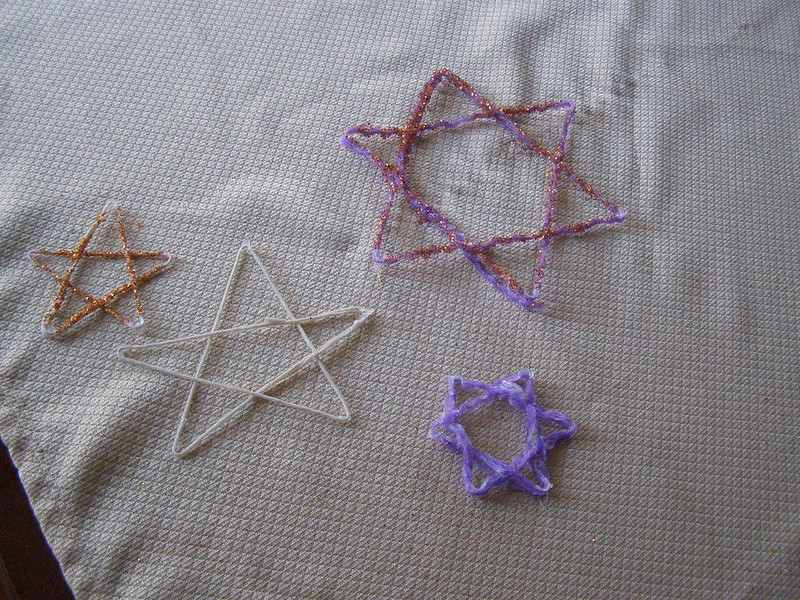
I've found a simple 5-point star or Star of David (2 triangles) somewhere in the range of 3-6" across work best. You can try a 7- or 8-point star, but they are more complex. Or if you have a cool hexagon-shaped trivet, you can trace that as well to make a Star of David.

2.  Lay a piece of wax paper over the design. 

The wax paper will prevent the star from sticking to the cardboard and can be used to catch glitter if you decide to go that route.

3. Stick a thumbtack in each corner of your design. 

My 6-year-old thought this step was pretty cool. She felt rather grown up. 


4. Loosely measure your yarn to the correct size. 

To do this, place the yarn over the design and cut long enough so there is a couple inches excess. (Weird camera angle, I promise she didn't cut herself!).

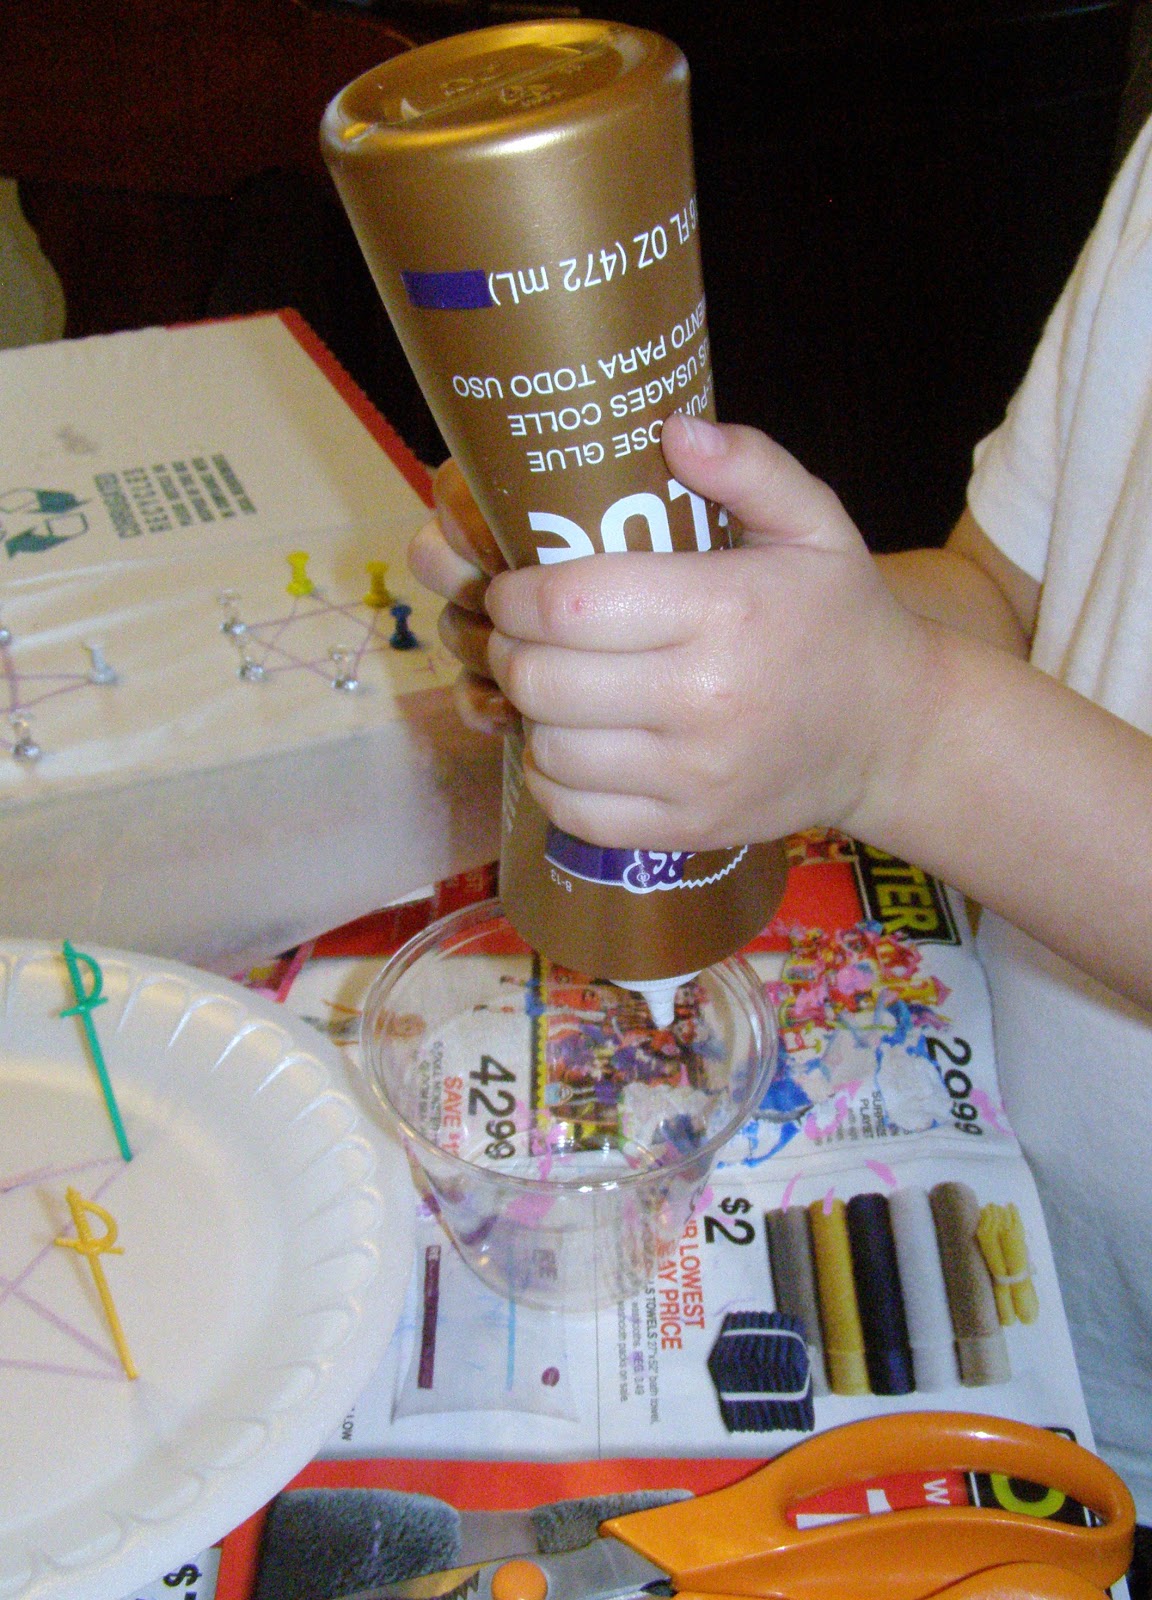
5. Soak the yarn in glue. 

For this project, we used Aleene's Craft Glue. We tried watering it down, but it made the ornaments too flexible. Our second attempt, with undiluted glue, turned out much better.


6. Once the yarn is saturated, stretch it around your star shape. 

Stretch the yarn so it is taut, but not so tight that your thumbtacks are pulled out of place. For added strength, weave the yarn in an over-under pattern as you string it along. You may tie the yarn or simply twist it into place. This part is messy!

7. Allow to dry at least overnight.


Variation 1 

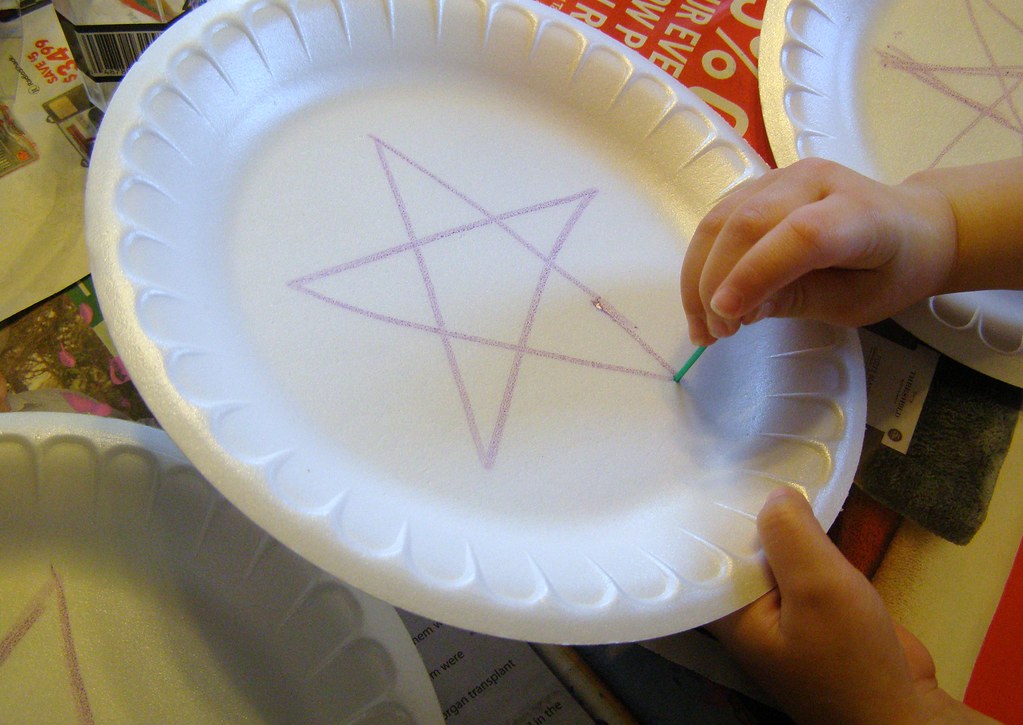
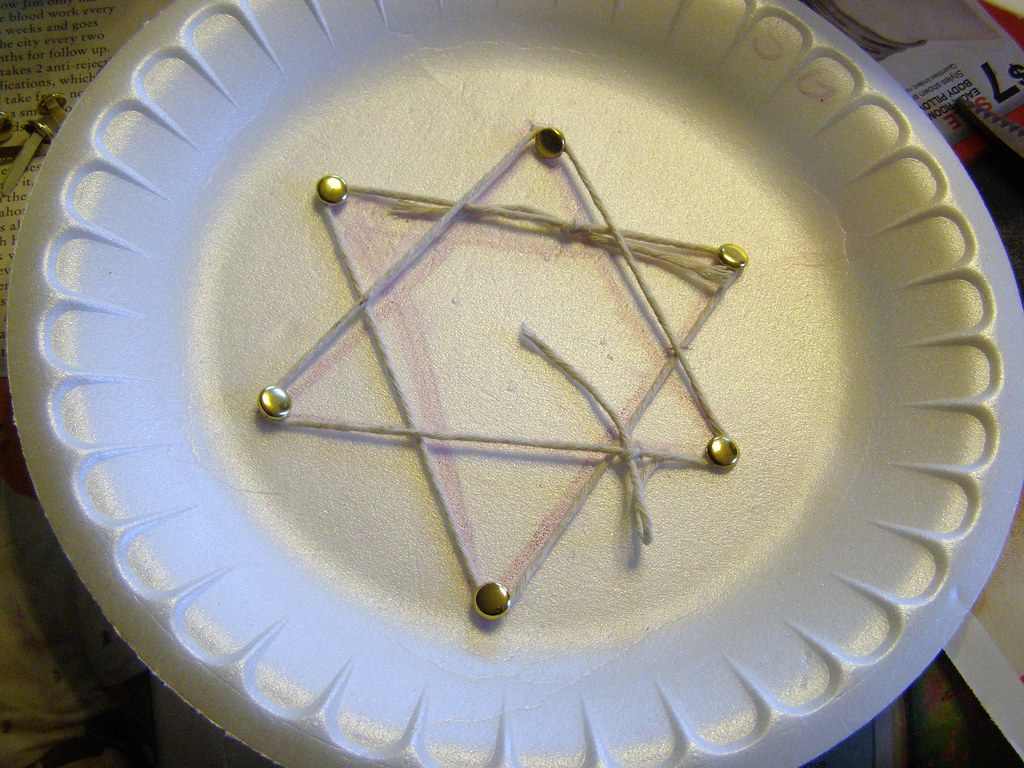
No cardboard or pushpins? Not to worry, you can use foam plates and toothpicks instead!


Variation 2

Brads also work instead of toothpicks and pushpins.


Variation 3 

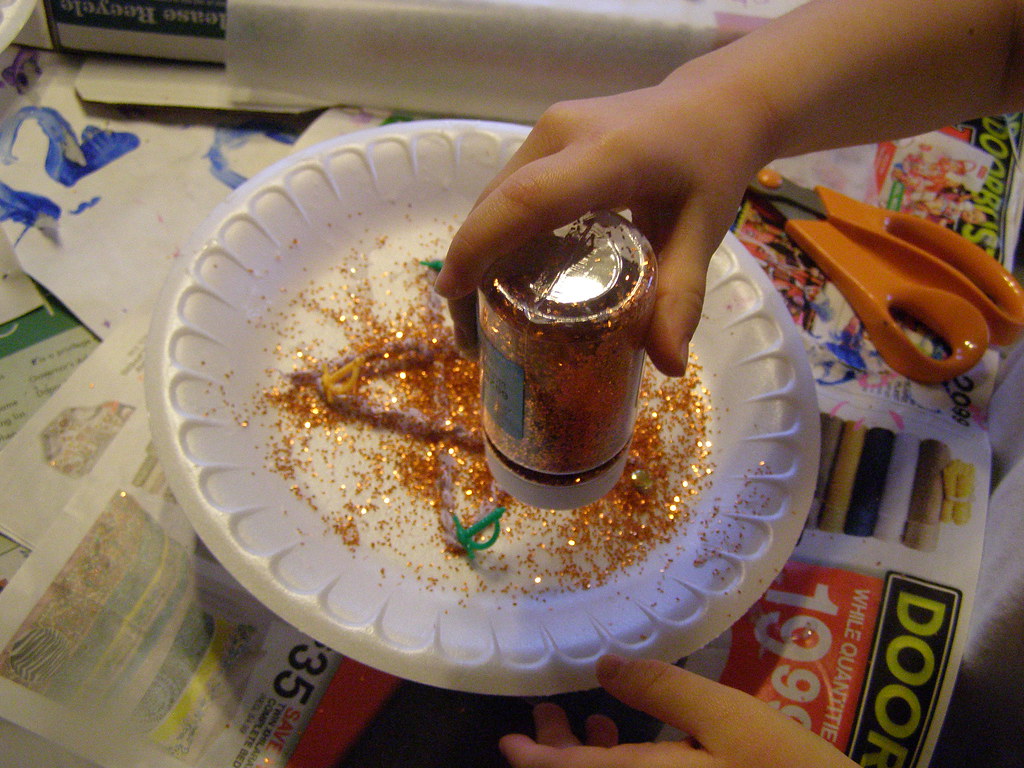
Add glitter just before step 7.


Variation 4 

Want stars of different colors and textures? Either use different colors and weights of yarn or use plain cotton string and add tempera paint to your glue in step 5.


Variation 5

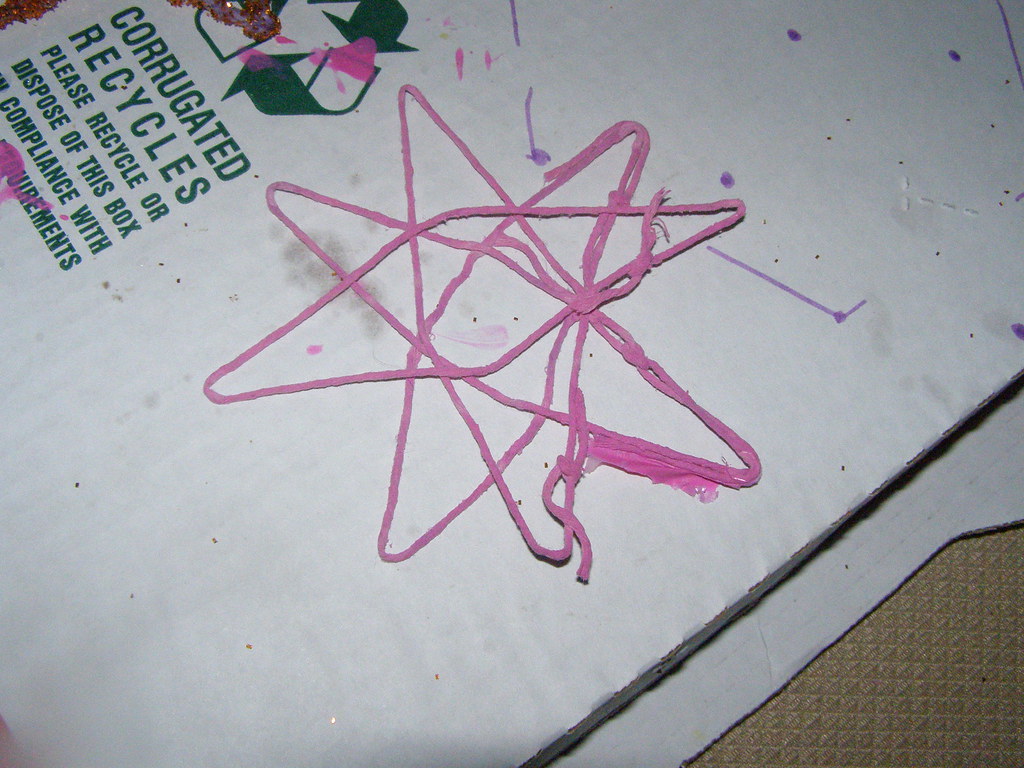
Try an 8-point star or more! I will probably try to make another one at some point, but I made mine with diluted glue and it failed-miserably. I'm not too proud to show you, either! May you have better success with it!


If I remember correctly, the project my mom's class did used bluing and liquid starch. If anyone knows that variation, please let me know!


Photo Limits

Well, here's another weird post. I suppose since a lot of my posts are about trial and error, I thought I'd share with you my trial and error experience on posting. You won't have to read my blog very long to find out how much I love pictures, especially big, colorful, megabyte-crunching ones. When trying to post my latest entry on Christmas ornaments I ran into a little problem- I've filled up my photo storage allotment!

Faced with the choices of paying for storage (which is all well and fine, but I'm not quite ready to go that route yet), deleting old photos (which means they get removed from my posts), posting without photos (not really an option, is it?), or signing up for a free online photo service, I chose the online service. We'll see how it goes and hopefully bring you my String Star Ornaments very soon!

Friday, December 7, 2012

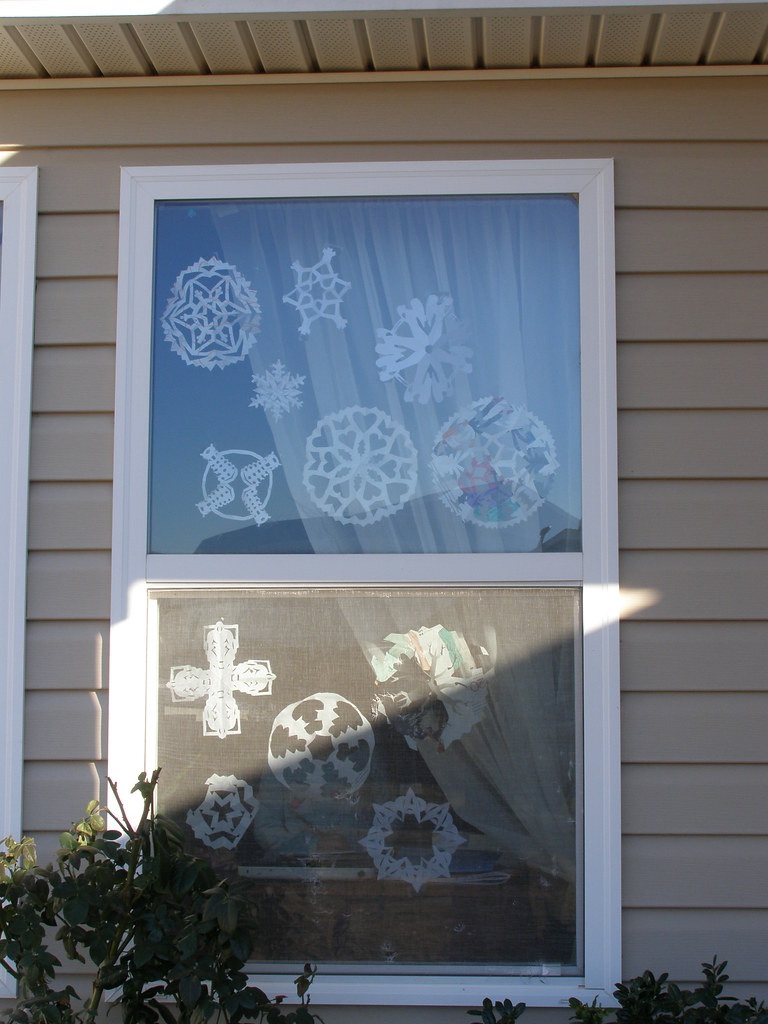
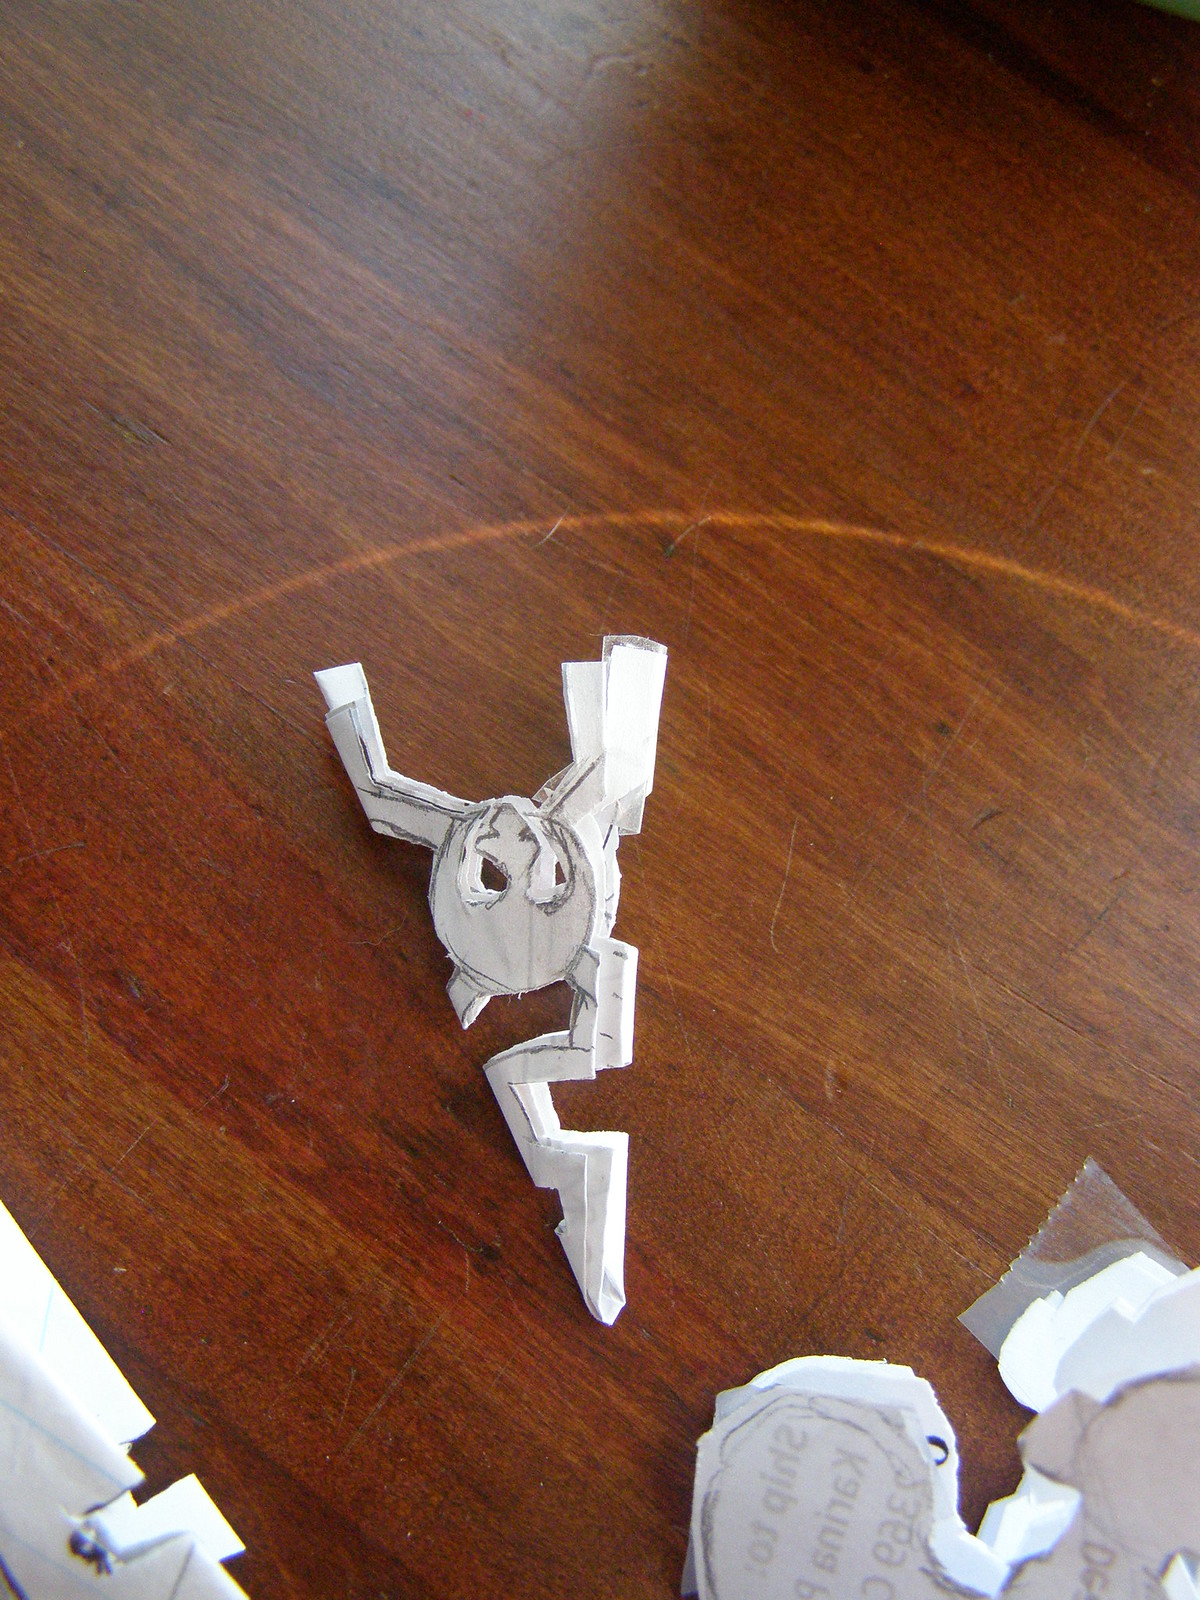
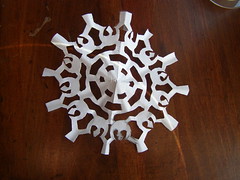
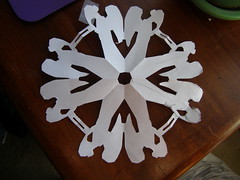
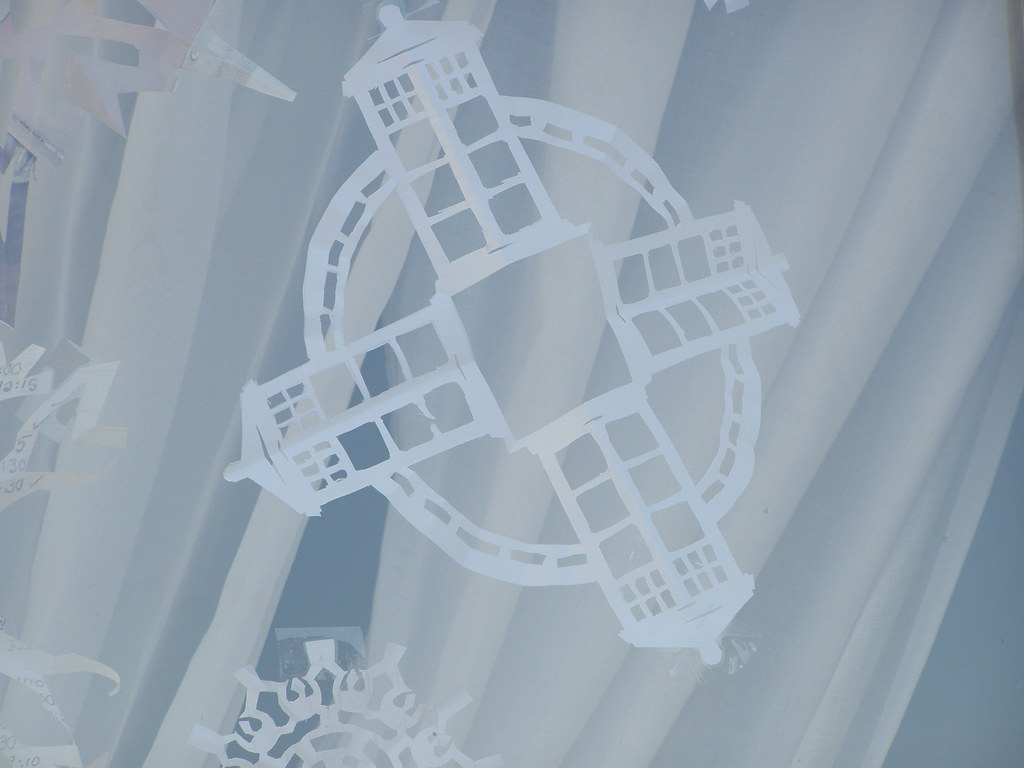
Doctor Who Snowflakes

Christmas is finally looking like it might be welcome at my house. The school duties are slowing as the semester draws to a close (not a moment too soon!), which is giving me a little time to decorate. Please don't misunderstand, I don't NEED the decorations for Christmas to be considered a success. However, I love to decorate for Christmas and the fact that this year I was too overworked to care was an indicator that I needed to take a couple days off, relax, and do a craft project to unwind. So while the kindergartener was working on something for her school, I sat down and dug out the Doctor Who Snowflake patterns I've been saving for a long time now.

If you're interested in making a set of your own, here's where I got them: Oodly Crafting
You might need to fold them a bit off-center since I believe these were made for A4, which is similar to, but not quite, letter size.


Just for fun, we made some other snowflakes as well. I made up a couple Batman patterns, but I'm not too happy with them just now. I'll keep working at them and post a template eventually, if I get another spare moment.

And finally, my word of the day (yesterday was grumbletonian) is nerdflakes. Here are some nerdflake sites I found and hopefully will be adding to my snowflake collection soon:

Doctor Who, Star Wars, Galactica Snowflakes
TARDIS and Weeping Angels Flake
Sonic Screwdriver Flake

Let me know if you try any of these and how they turned out! I wasn't pleased with my Oods, so they didn't get a close-up. By the way, you will probably need some very sharp scissors, an X-acto knife, and a cutting board. Also lots of patience! Enjoy!


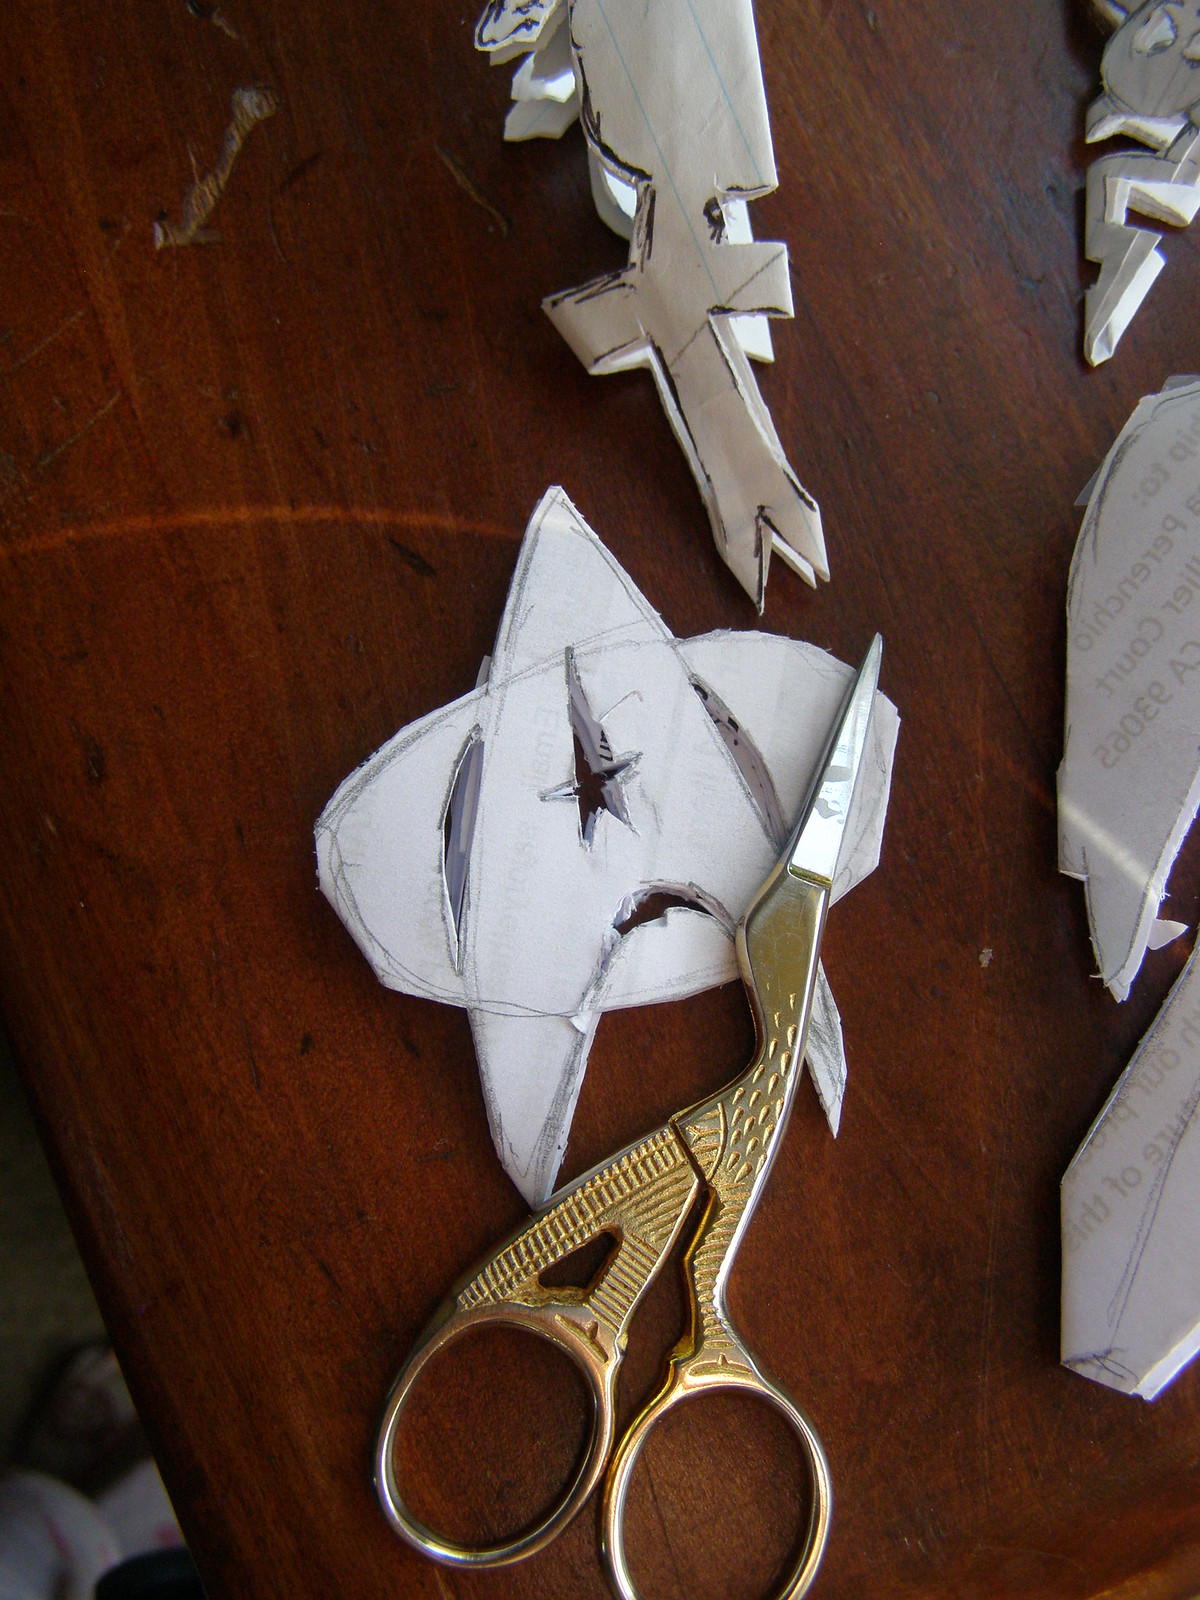
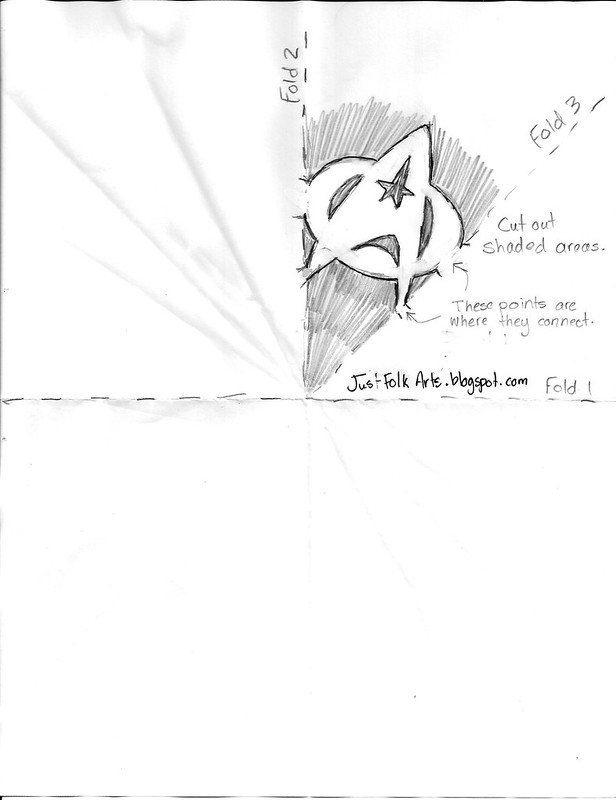
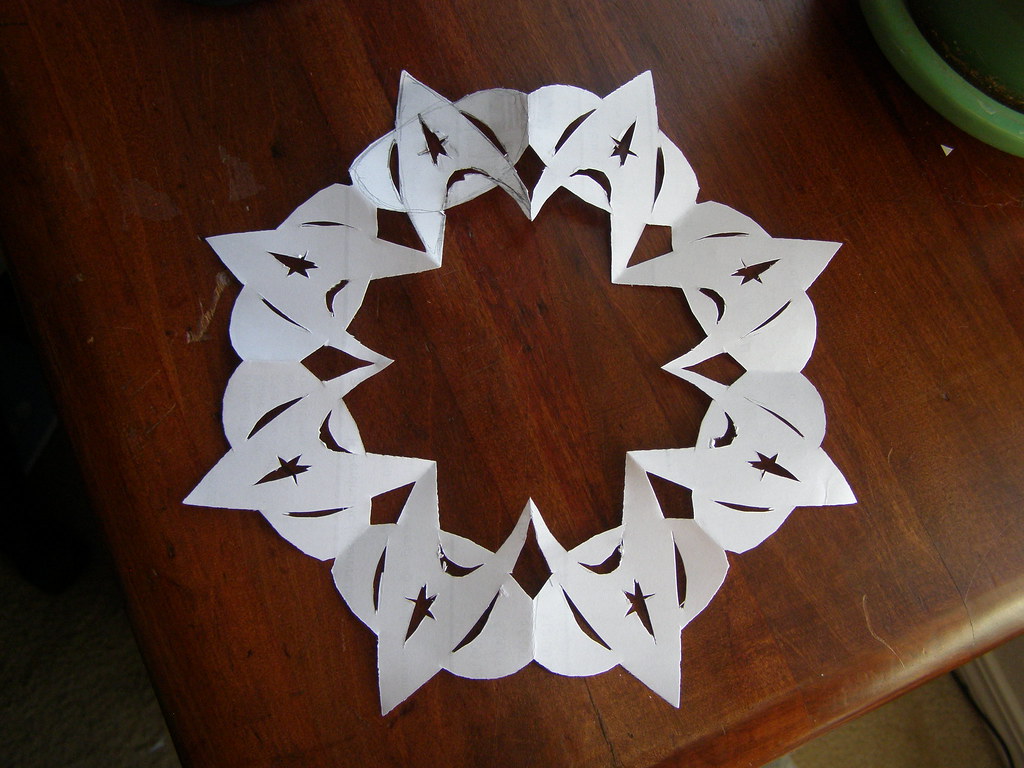
UPDATE: We've added a few more flakes and I've done some nerdflakes of my own now.  I can add a template upon request, but I don't have one yet. And without further ado: NERDFLAKES!!


Star Trek


 Rebel Alliance

(By the way, I did a Rebel Alliance logo in cross-stitch last year for a stocking topper. I might be persuaded to post the pattern.)

Adipose

Weeping Angels